Introduction
As the cold winds of winter start to blow, do you ever find yourself looking down at your nails, wishing they matched the cozy, stylish vibe of the season? It’s easy to forget that your nails can make a big statement, even when bundled up in layers of winter clothes. This year, winter nails are all about combining comfort with style, bringing in warm, cool, and festive colors that reflect the chilly yet magical essence of the season. Whether you’re into bold and dark shades or prefer light and subtle tones, these winter nail ideas will have you covered.
Here are 25 trendy winter nail ideas to inspire your next manicure, each one offering a unique, on-point look for the season.
Table of Contents
35 Simple Winter Nail Ideas
1. Snowy Quartz
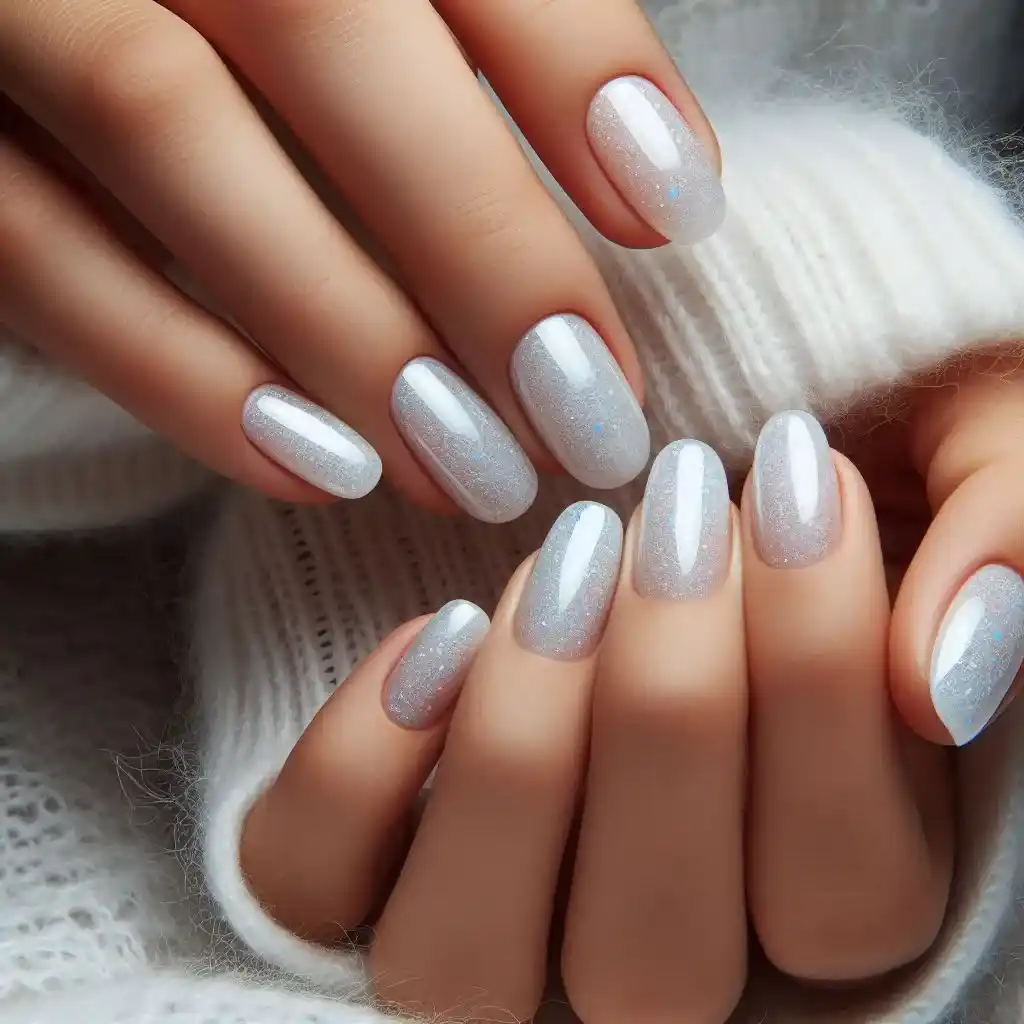
Think of a milky white quartz stone, but with a wintery twist. These nails blend soft, translucent white with light shimmer for an elegant, frosty look that mimics snow falling on a crisp winter morning.
To make design:
- Start by applying a base coat.
- Use a sheer white polish and apply two thin layers to each nail.
- Add a layer of shimmery top coat for a frosted effect.
- Finish with a glossy top coat to seal the look.
2. Icy Blue Ombre
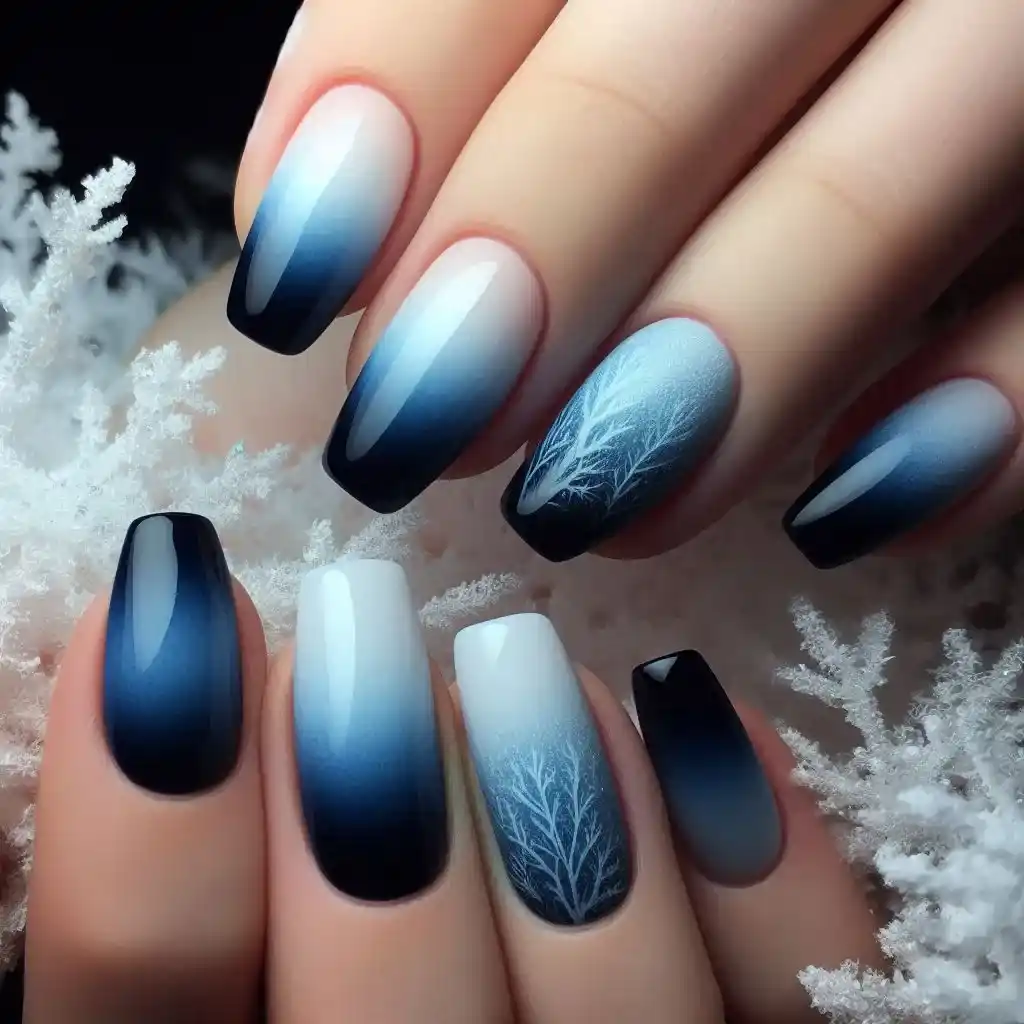
Cool tones are in, and an icy blue ombre is perfect for winter. It starts with a dark, deep blue at the base and fades into a frosty, light blue at the tips. It’s bold, yet serene, capturing the essence of a cold, clear sky.
To make design:
- Apply a clear base coat.
- Paint the top half of your nails with a light blue polish.
- Use a makeup sponge to dab dark blue polish at the bottom, blending it into the light blue.
- Seal the design with a top coat.
3. Matte Midnight
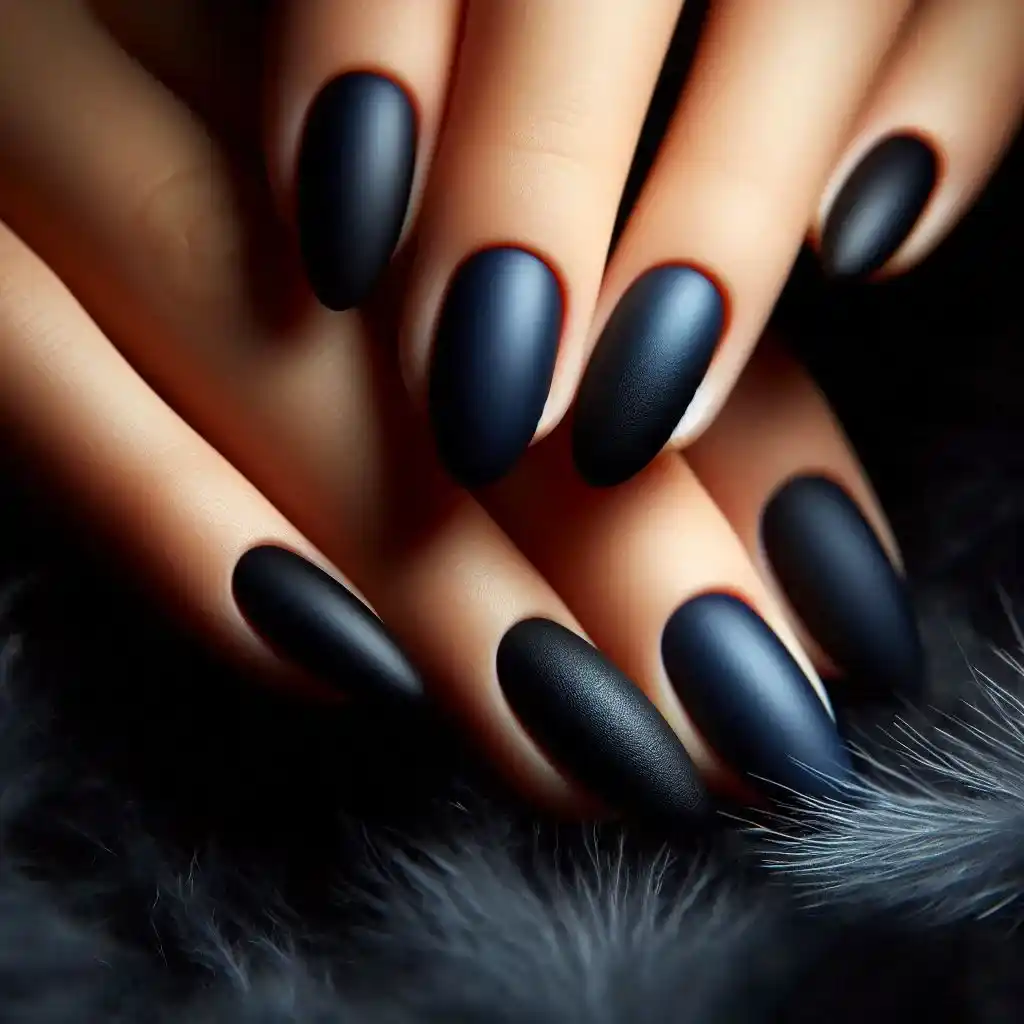
Nothing says winter chic like a deep, velvety matte finish. Midnight blue or deep black nails with a matte coat will bring a sophisticated, moody look that pairs perfectly with winter attire.
To make design:
- Start with a base coat.
- Paint your nails with a deep black or navy blue polish.
- Wait for the polish to dry completely, then apply a matte top coat to get that smooth, non-shiny finish.
4. Silver Frost Tips
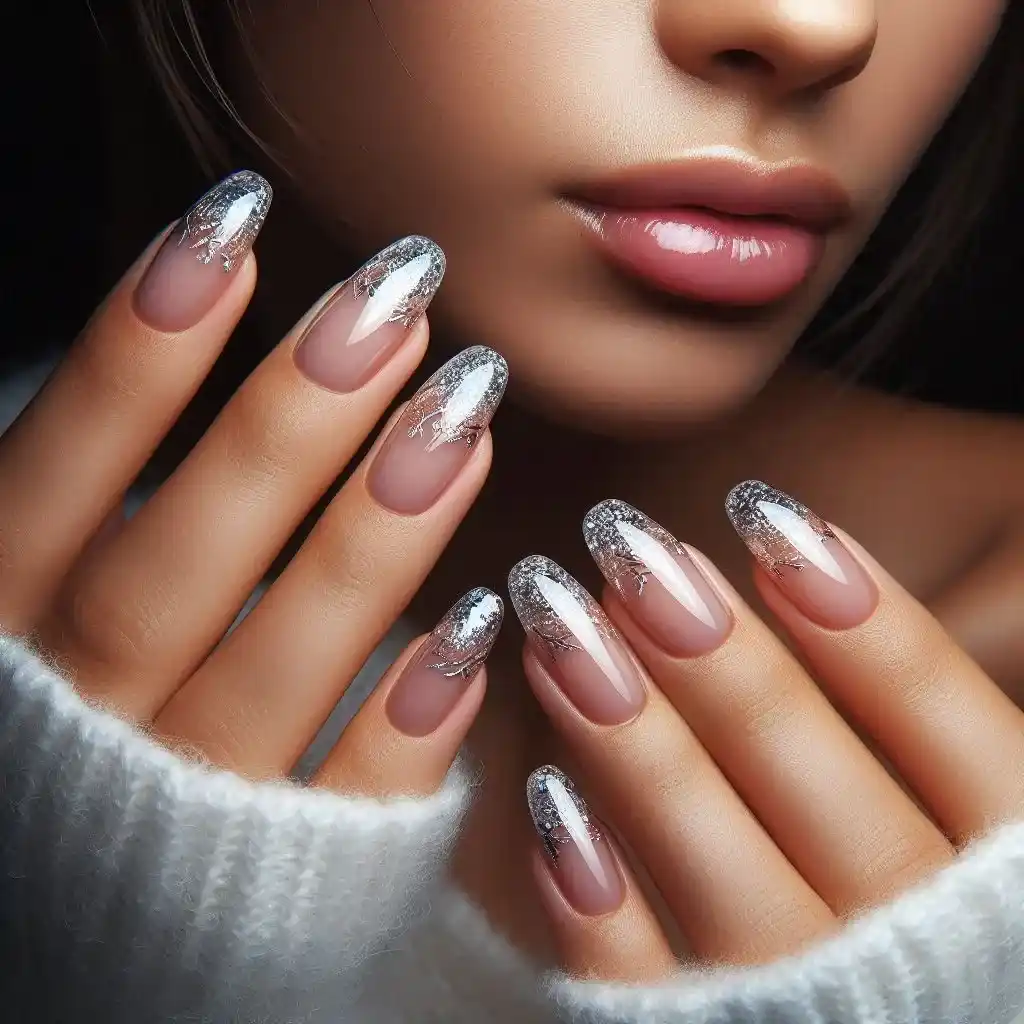
Take the classic French manicure up a notch by swapping the white tips for shimmering silver. This design is minimalistic yet glamorous, giving your nails a frosty, festive edge without being over the top.
To make design:
- Apply a clear base coat.
- Paint your nails with a nude or clear polish as the base color.
- Dip a fine nail brush in silver polish and paint just the tips.
- Add a glossy top coat to lock in the design.
5. Gingerbread Delight
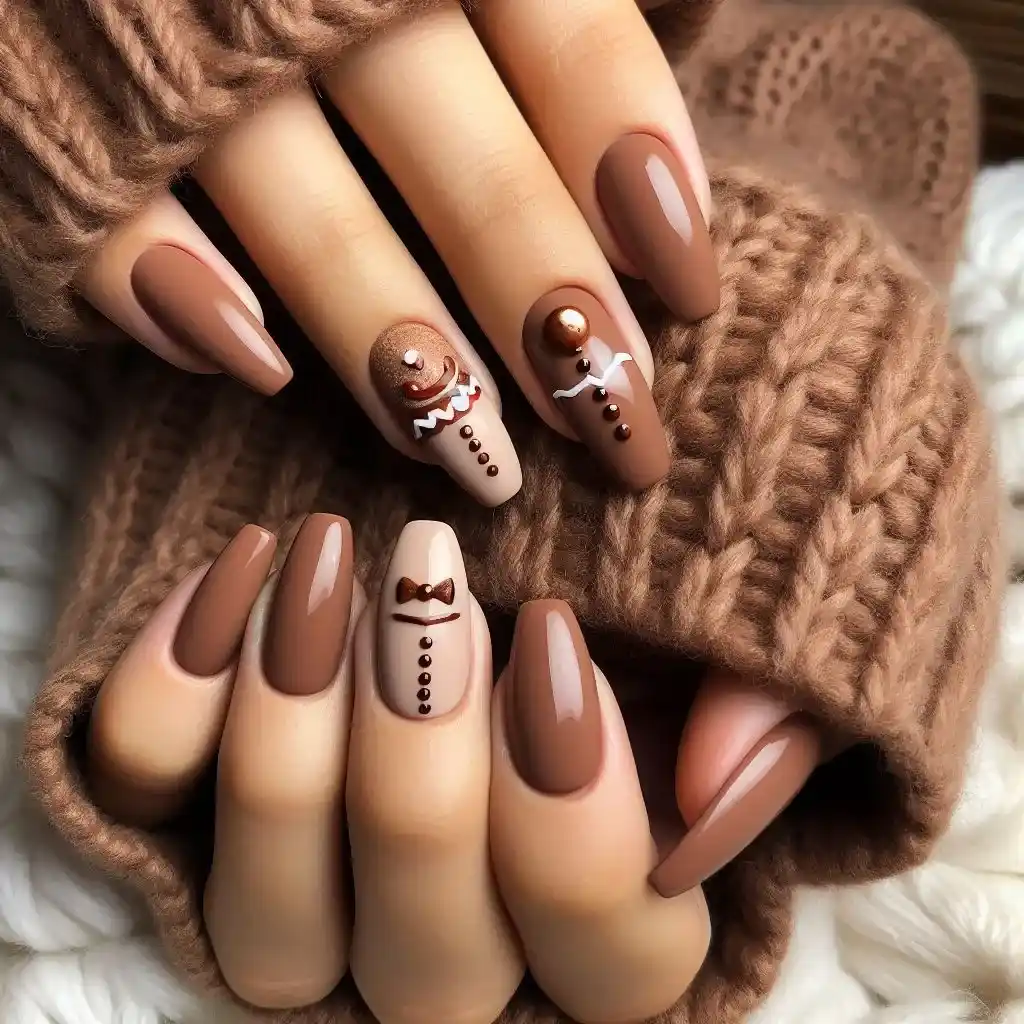
Warm browns and soft nude tones blend to create a cozy gingerbread-inspired manicure. Perfect for those who love neutral shades with a seasonal twist, this design feels like a warm hug on a chilly day.
To make design:
- Start with a base coat.
- Use a warm brown polish and apply two coats to your nails.
- Paint the tips or half-moons with a soft nude shade for a subtle contrast.
- Seal with a top coat to finish.
6. Candy Cane Stripes
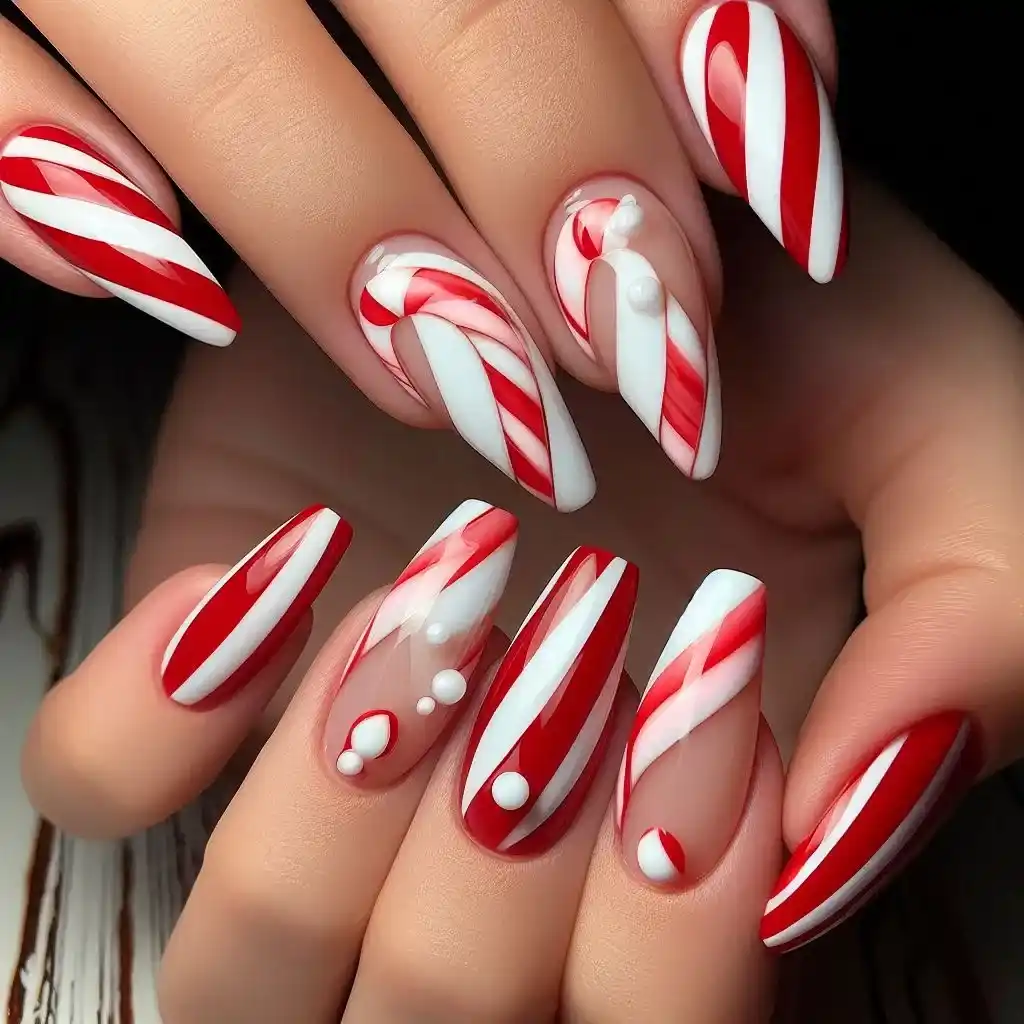
For a playful holiday vibe, candy cane stripes are an instant classic. Red and white stripes across each nail bring the festive cheer, while still keeping the design simple and fun.
To make design:
- Apply a clear base coat.
- Paint your nails with two coats of white polish.
- Use a thin striping brush dipped in red polish to create diagonal stripes across each nail.
- Finish with a glossy top coat.
7. Frozen Glitter Gradient
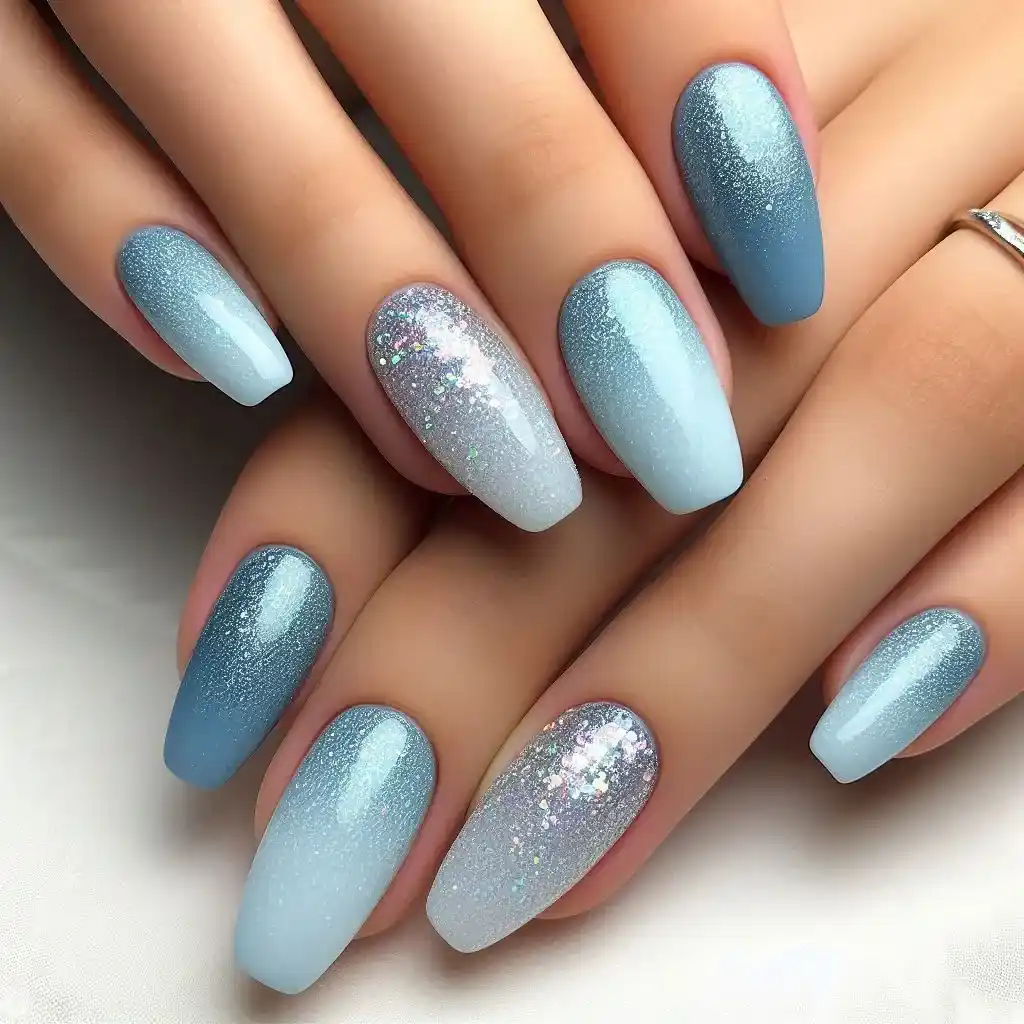
This design uses glitter to create a frozen effect on your nails, with heavy glitter at the base that lightens as it moves toward the tips. It mimics frosty windows and looks stunning in the winter light.
To make design:
- Apply a clear base coat.
- Paint your nails with a soft blue polish.
- Use a makeup sponge to dab silver glitter at the base of your nails, fading it toward the tip.
- Add a clear top coat to keep the glitter in place.
8. Glacier Glass
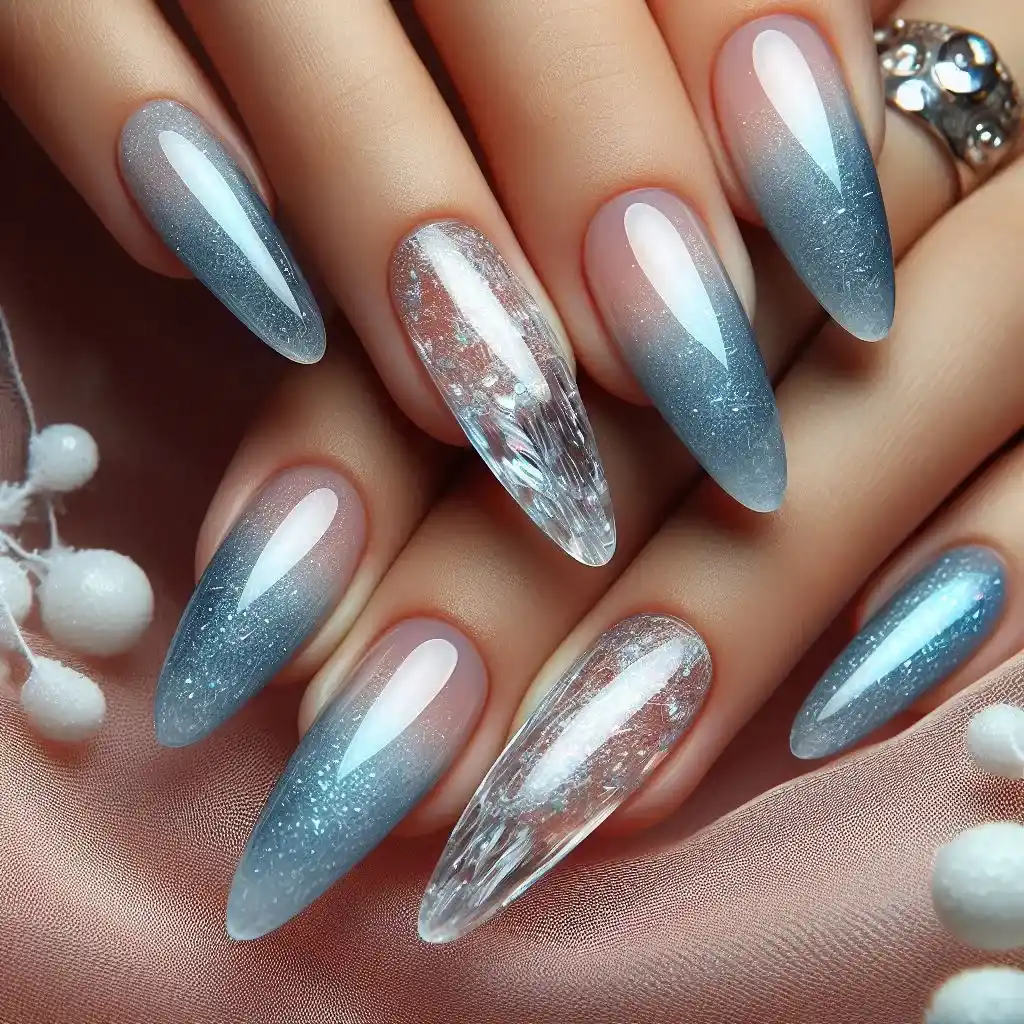
Glass nails with a cool, transparent finish and hints of blue or silver give a frosty, glacial vibe. This design is perfect for those who prefer a modern and sleek winter look.
To make design:
- Apply a clear base coat.
- Paint your nails with a sheer blue or clear polish for a glassy effect.
- Add subtle hints of silver or white polish at the tips for a glacial look.
- Finish with a clear top coat.
9. Arctic Nights
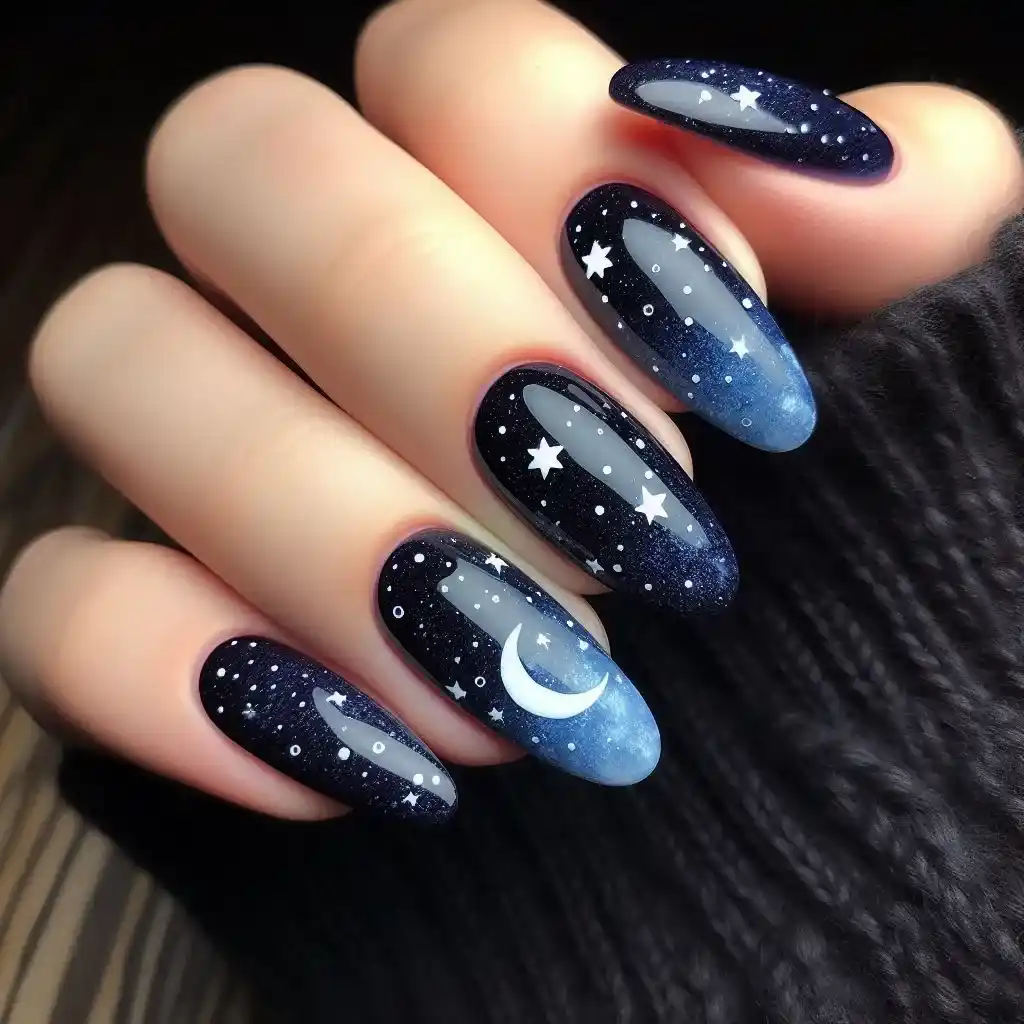
Deep navy blue nails with tiny white stars and moons create the illusion of a winter night sky. This look is bold, mysterious, and perfect for those who want something a little out of the ordinary.
To make design:
- Apply a base coat to protect your nails.
- Paint them with two coats of deep navy blue polish.
- Use a tiny nail art brush to paint white stars or dots across the nails.
- Finish with a shiny top coat for a night sky effect.
10. Frosted Mint
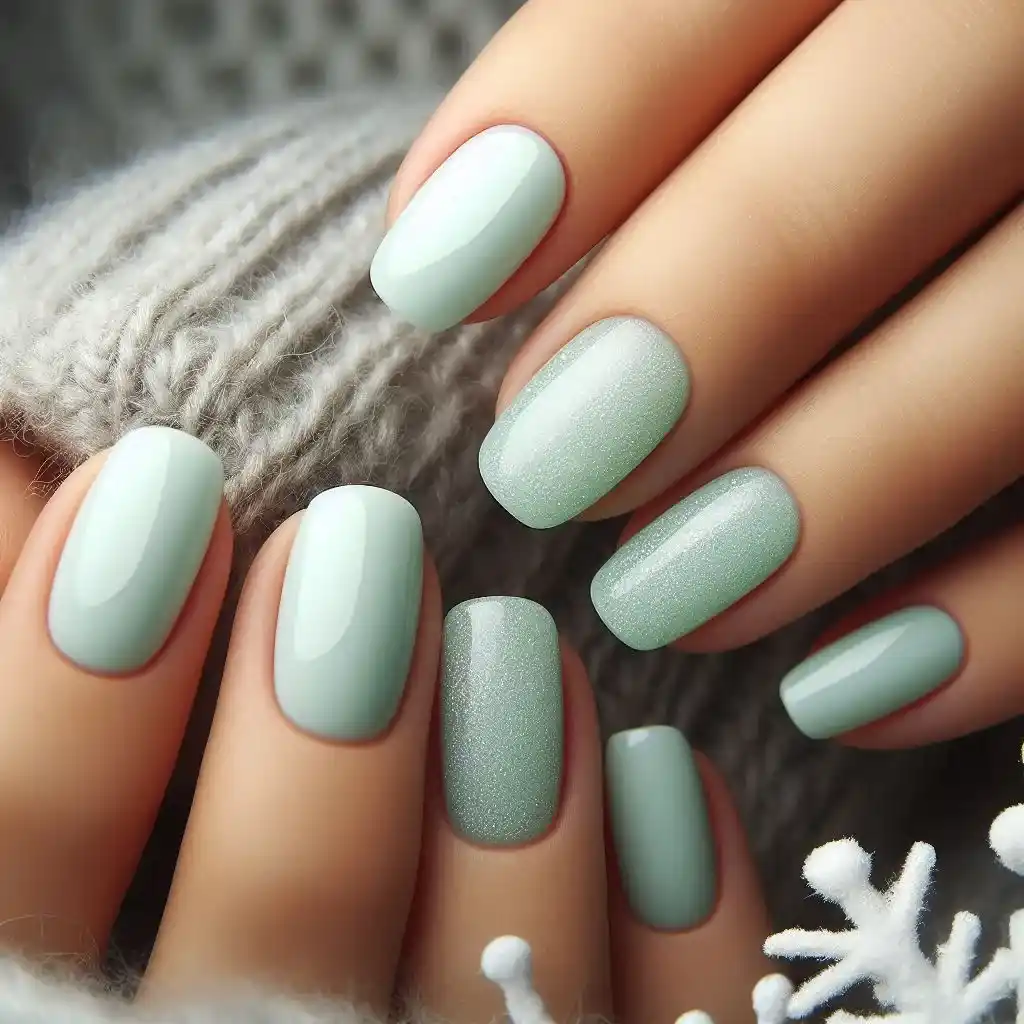
Soft mint green with a frosted finish is a refreshing alternative to traditional winter colors. It’s light and airy, yet the frosty effect adds a wintery touch that keeps it seasonally appropriate.
To make design:
- Apply a clear base coat.
- Paint your nails with a mint green polish.
- Add a frosted, shimmery top coat to give a soft wintery feel.
- Finish with a clear top coat to protect the design.
11. Polar Bear Hugs
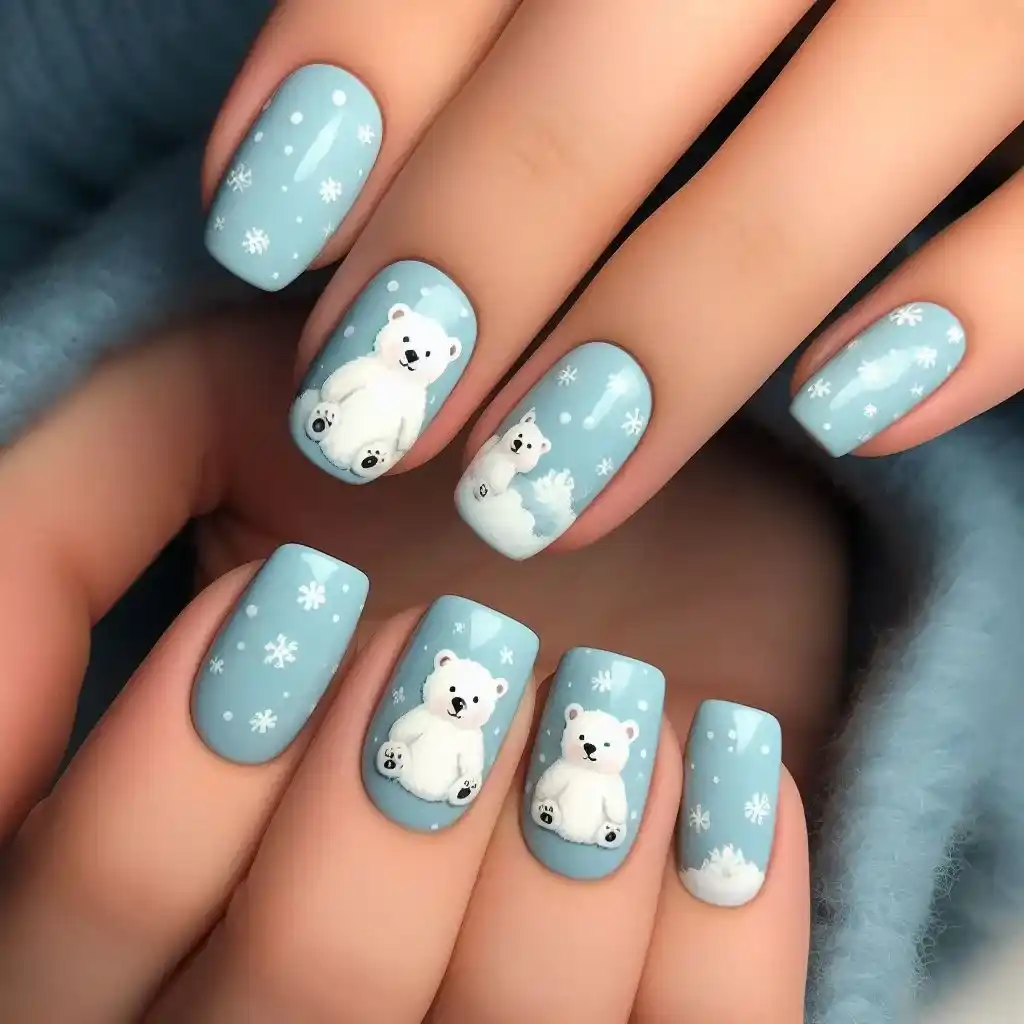
This cute and quirky design features tiny polar bears on an icy blue or white background. Perfect for those who love a whimsical, playful style while still staying cozy and winter-ready.
To make design:
- Apply a clear base coat.
- Paint your nails with a pale blue polish.
- Use a nail art brush to draw tiny polar bears in white polish.
- Finish with a top coat to seal your design.
12. Snowflake Sparkle
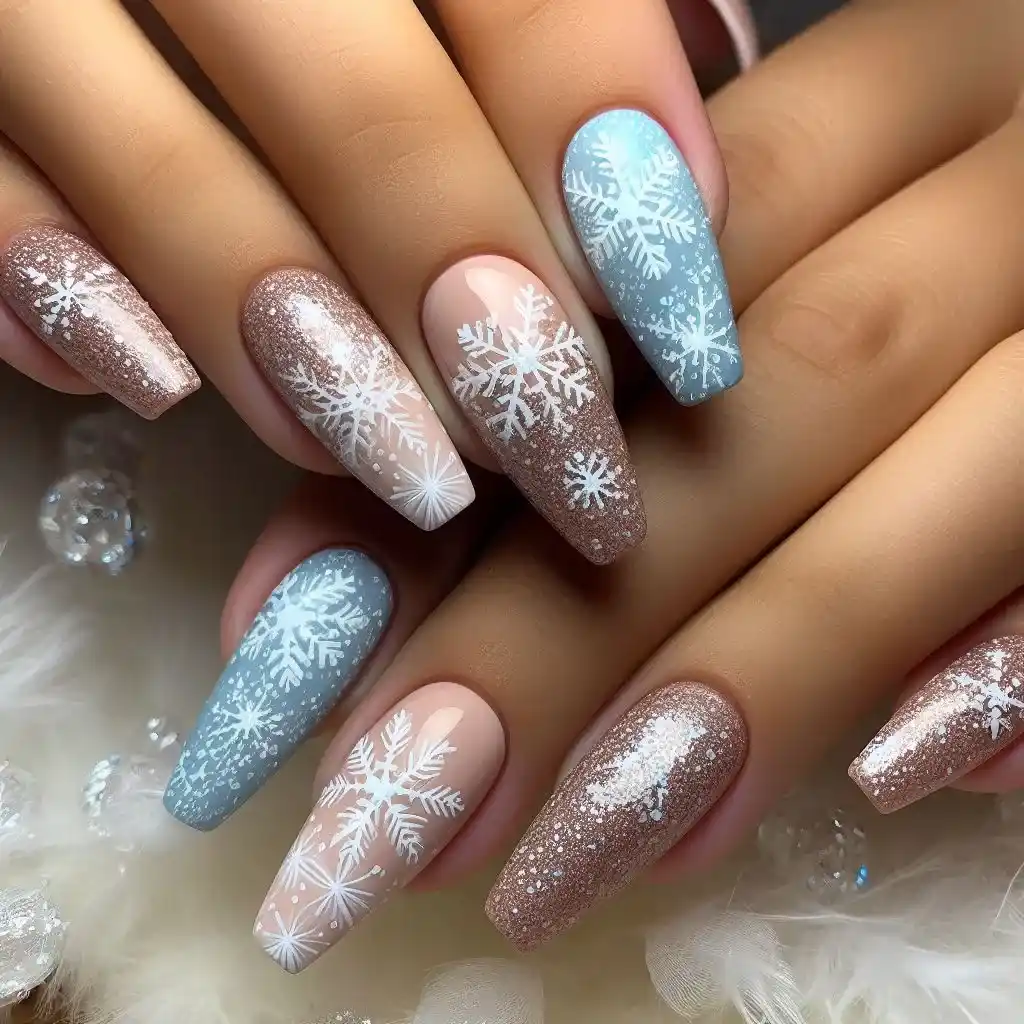
What’s winter without a few snowflakes? Snowflake nail art with a touch of glitter on a nude or light blue background brings the magic of a snowfall to your fingertips.
To make design:
- Apply a base coat to start.
- Paint your nails with a soft nude or light blue color.
- Use a fine nail brush or a nail sticker to create delicate snowflakes in white.
- Add a shimmery top coat to make the snowflakes sparkle.
13. Fireside Embers
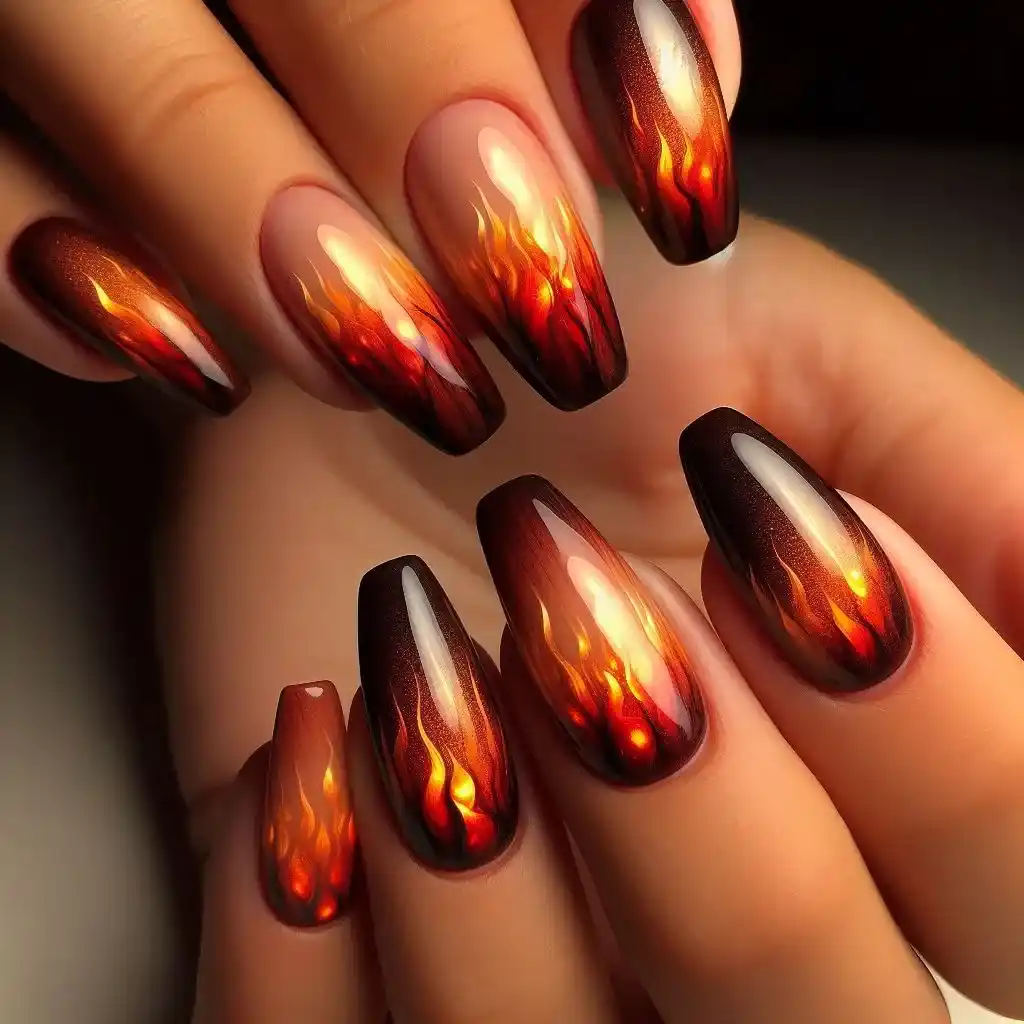
Warm orange, deep reds, and golden hues combine to create a look reminiscent of a cozy fireplace. This color palette brings warmth to your nails while still fitting the winter season perfectly.
To make design:
- Apply a base coat to protect your nails.
- Use warm colors like orange and red to paint your nails, blending them together with a sponge.
- Add golden glitter to the tips for a glowing ember effect.
- Finish with a clear top coat.
14. Velvet Finish
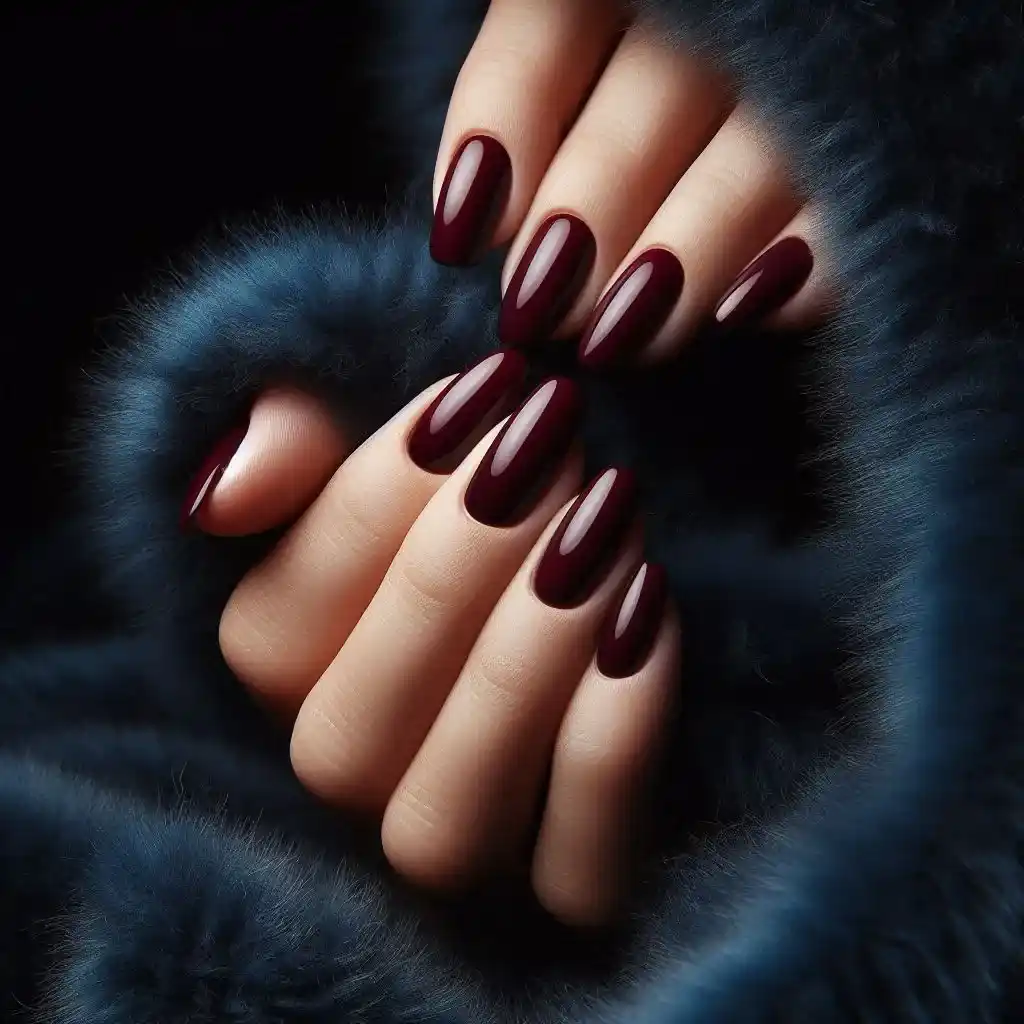
Nails with a velvet effect are becoming increasingly popular, especially for winter. This finish adds a luxurious, plush texture to your nails, making them look soft and rich, just like your favorite velvet dress.
To make design:
- Apply a base coat.
- Paint your nails with a rich, deep color like maroon or royal blue.
- Wait for the polish to dry completely, then add a velvet effect top coat for a soft, plush look.
15. Evergreen Elegance
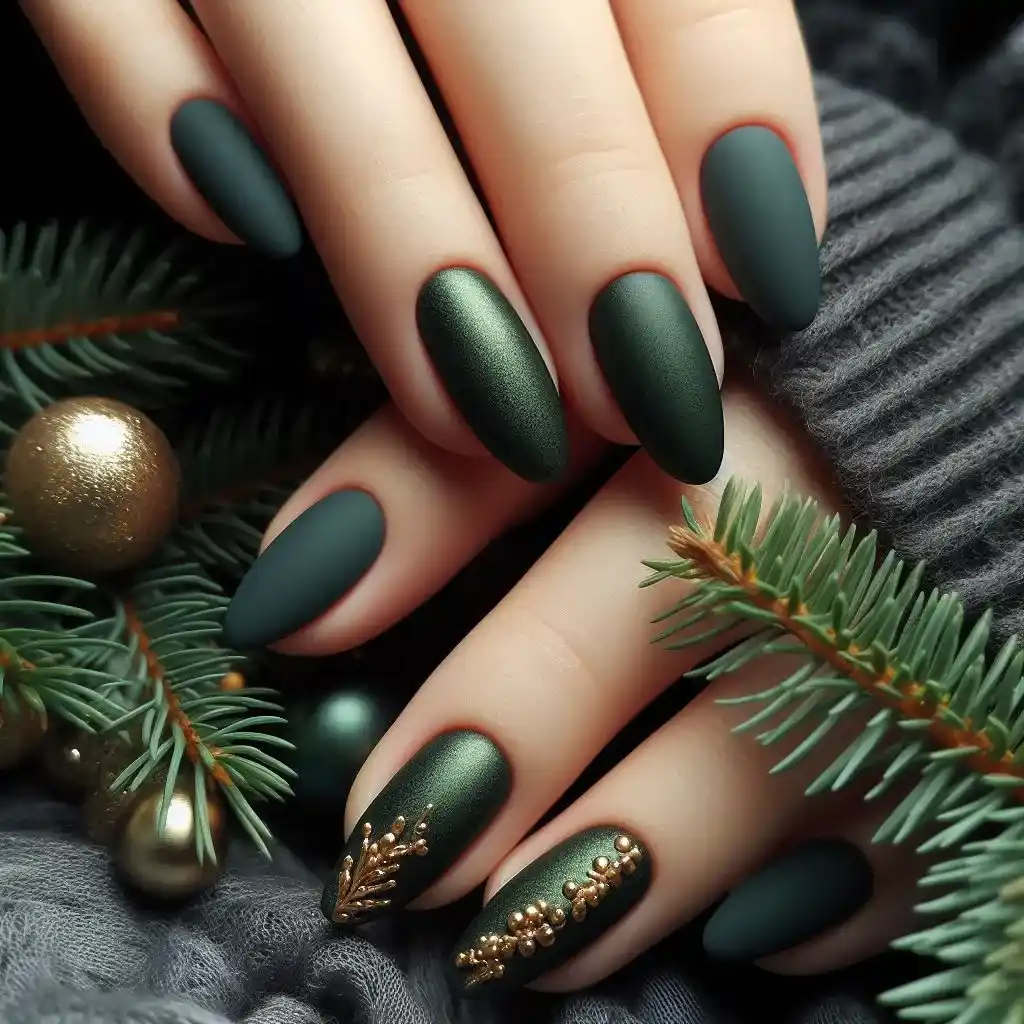
Inspired by pine trees, this design uses deep green tones and a matte finish for a sleek and polished winter look. Add tiny golden accents for a festive touch that remains elegant.
To make design:
- Apply a clear base coat.
- Paint your nails with a deep green polish.
- Add tiny gold dots or accents near the cuticle for a festive touch.
- Seal with a matte top coat for a sleek finish.
16. Crystal Clear
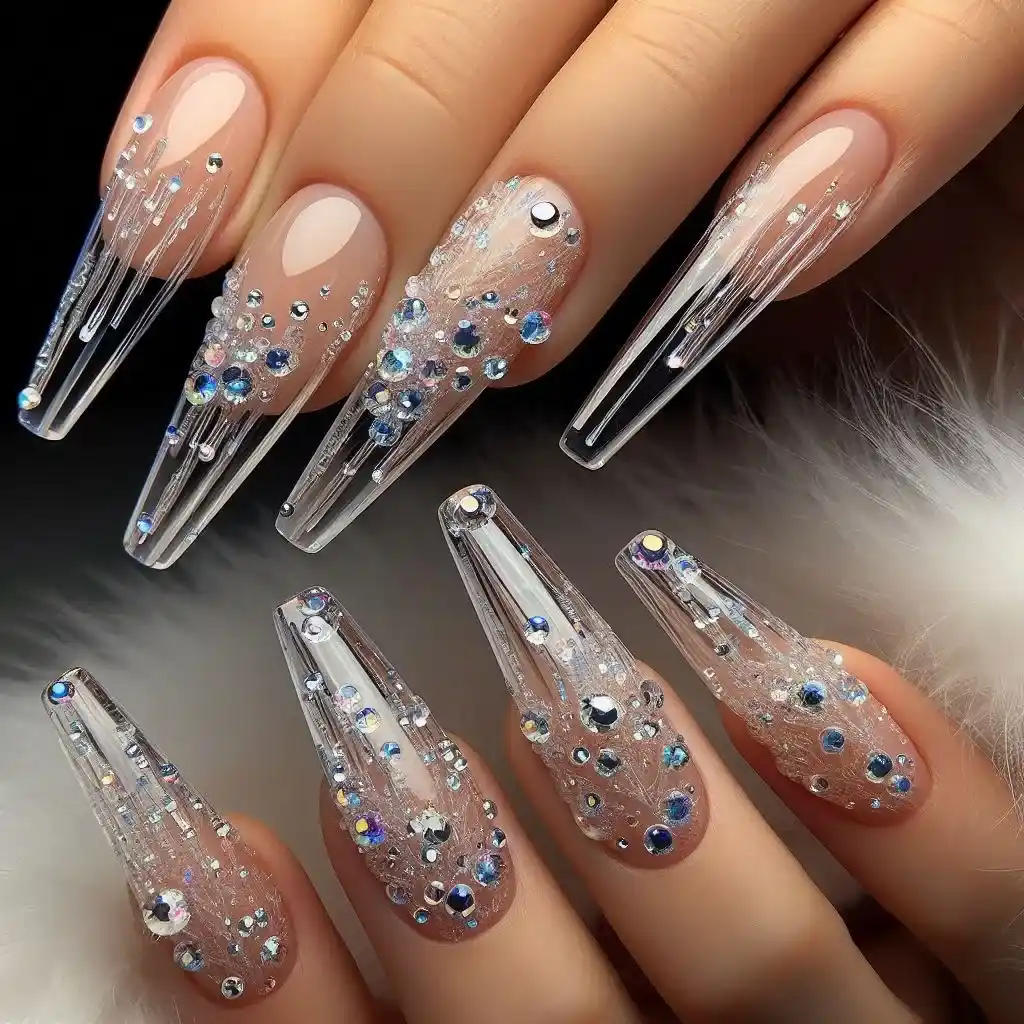
Clear nails with strategically placed crystals or rhinestones mimic the look of ice and icicles. This minimalist yet glamorous design is perfect for those who love a little sparkle without overdoing it.
To make design:
- Start with a clear base coat.
- Apply a sheer, nude polish for a clean base.
- Place tiny rhinestones or crystals on your nails using nail glue.
- Finish with a glossy top coat to hold everything in place.
17. Holiday Plaid
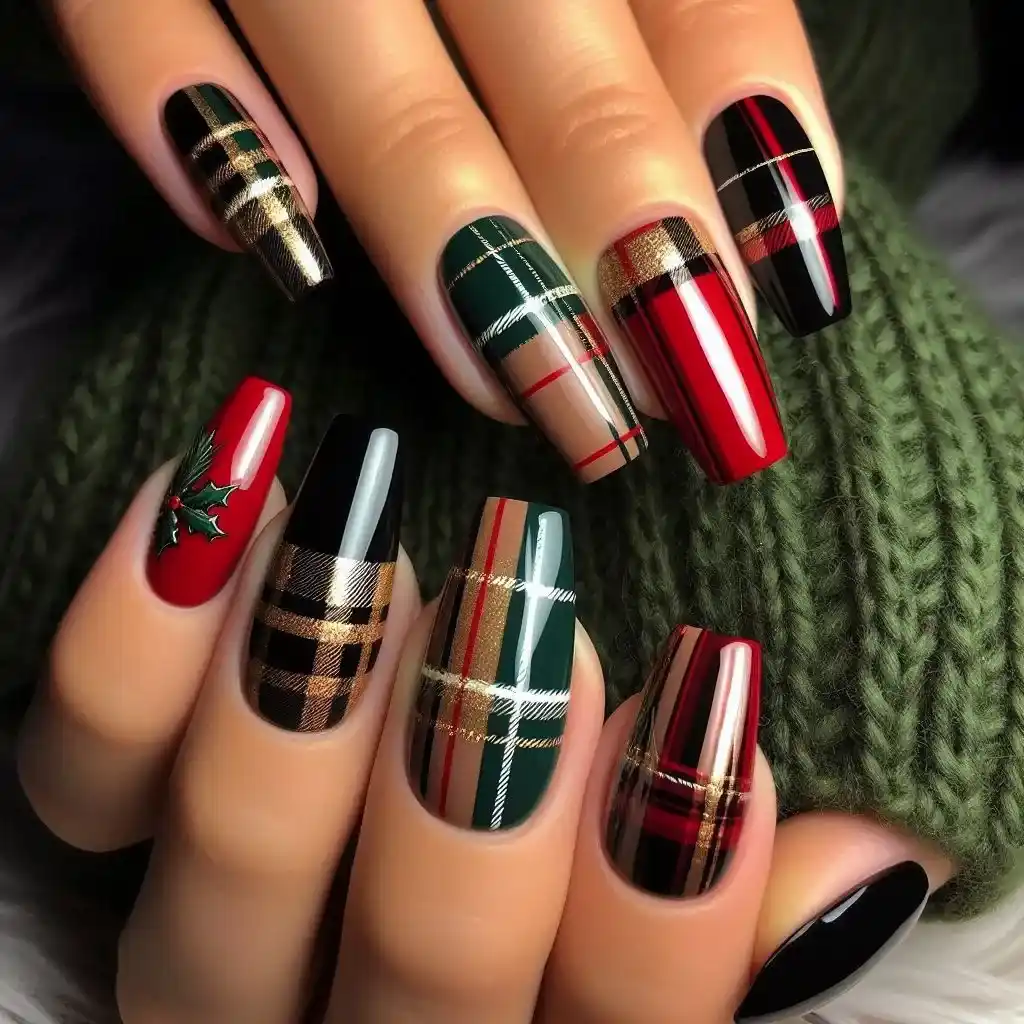
Plaid nails bring a cozy, holiday feel to your look. Red, green, and black stripes in a classic tartan pattern make for a fun and festive design that’s perfect for the season.
To make design:
- Apply a base coat to protect your nails.
- Paint your nails with a red or green base color.
- Use a striping brush to create plaid lines in black, white, and gold across each nail.
- Finish with a shiny top coat to smooth out the design.
18. Nude Frost
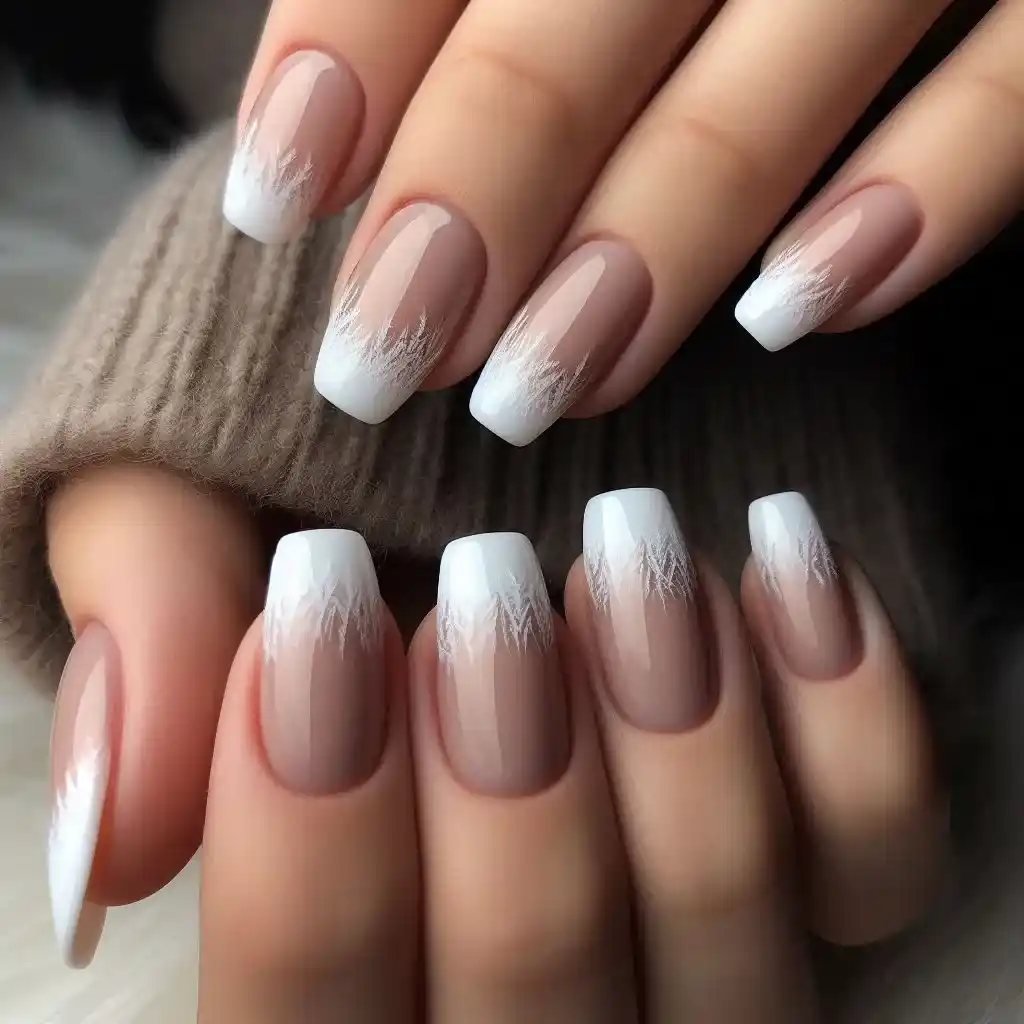
A nude base with frosty white tips creates a simple yet elegant winter manicure. It’s understated but still gives off the wintry vibe with its subtle frosted effect.
To make design:
- Apply a clear base coat.
- Paint your nails with a nude polish.
- Use white polish to paint frosty tips on each nail.
- Finish with a glossy top coat to complete the frosted look.
19. Starry Silver
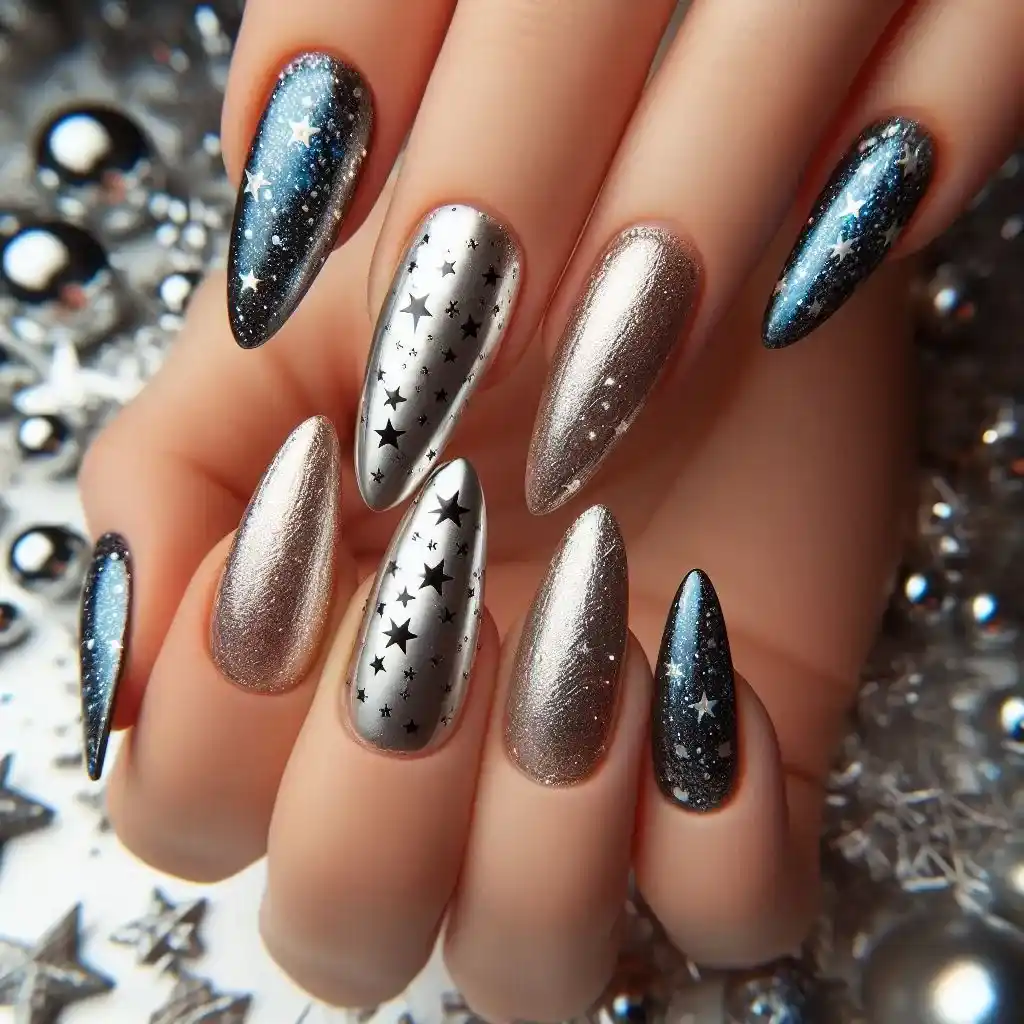
Silver foil or metallic nail polish with tiny stars scattered across gives your nails a celestial winter glow. It’s perfect for evening events or holiday parties when you want to shine.
To make design:
- Start with a clear base coat.
- Apply a silver metallic polish as your base color.
- Use a fine brush to paint tiny stars or dots in a darker color, like blue or black.
- Add a top coat to keep the design shiny and smooth.
20. Chill Blue Velvet
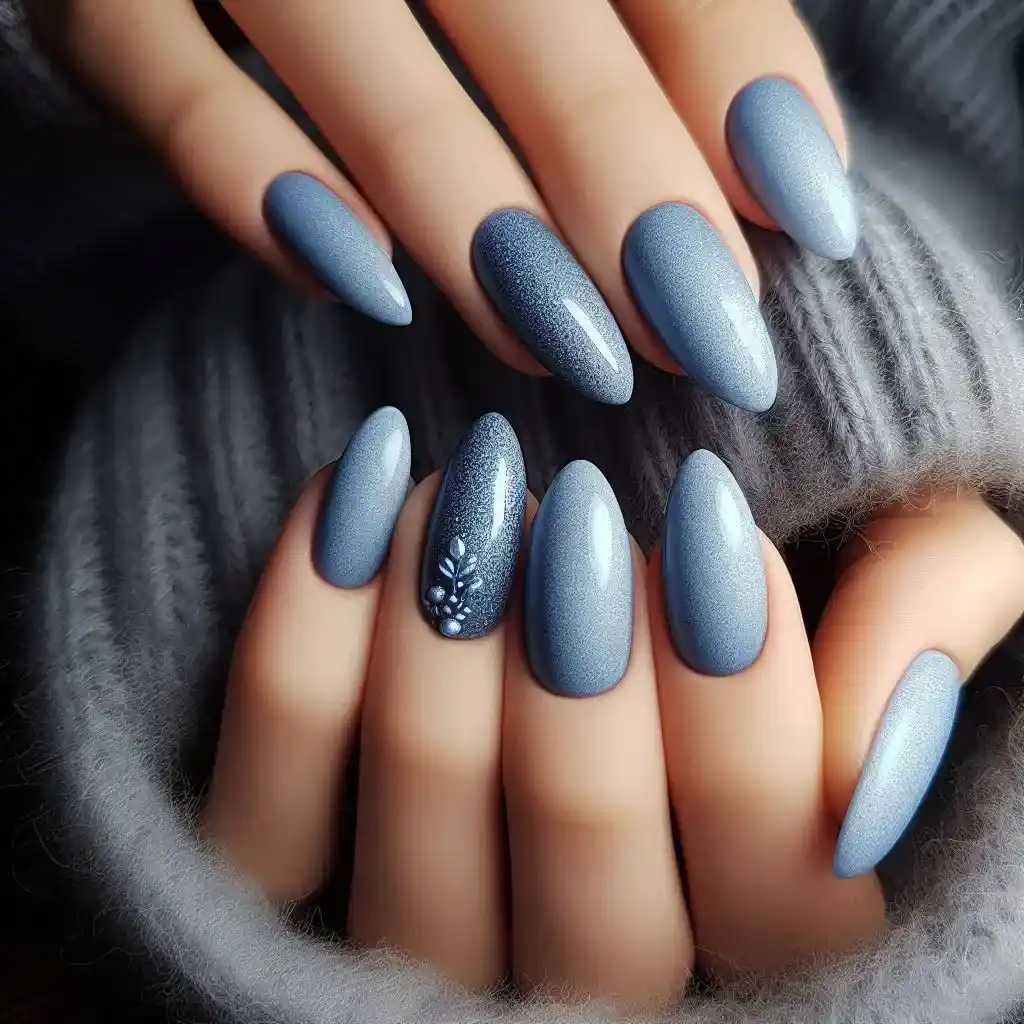
Velvety soft blue nails with a matte or velvet finish give off cool, calming winter vibes. It’s a perfect alternative to the usual dark winter shades, offering something unique yet seasonal.
To make design:
- Apply a clear base coat.
- Paint your nails with a soft blue polish.
- Add a velvet-effect top coat to create a plush, luxurious finish.
- Use a top coat to protect the velvet texture.
21. Twinkling Twilight
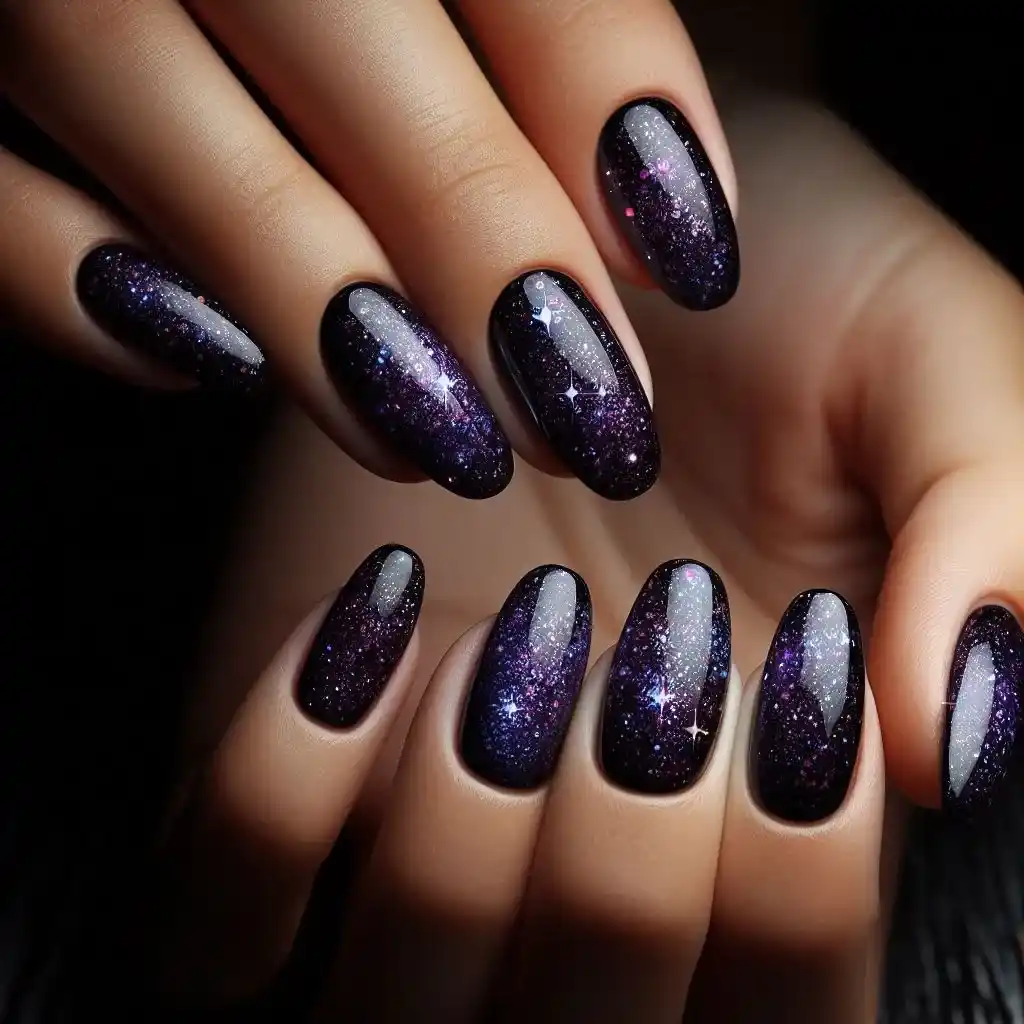
For a more dramatic, evening-ready look, choose a dark purple base with glitter accents to mimic the twilight sky. It’s bold, mysterious, and full of winter magic.
To make design:
- Start with a base coat.
- Paint your nails with a dark purple polish.
- Add a layer of glitter for a twinkling effect.
- Seal with a top coat for a smooth, polished look.
22. Candied Plum
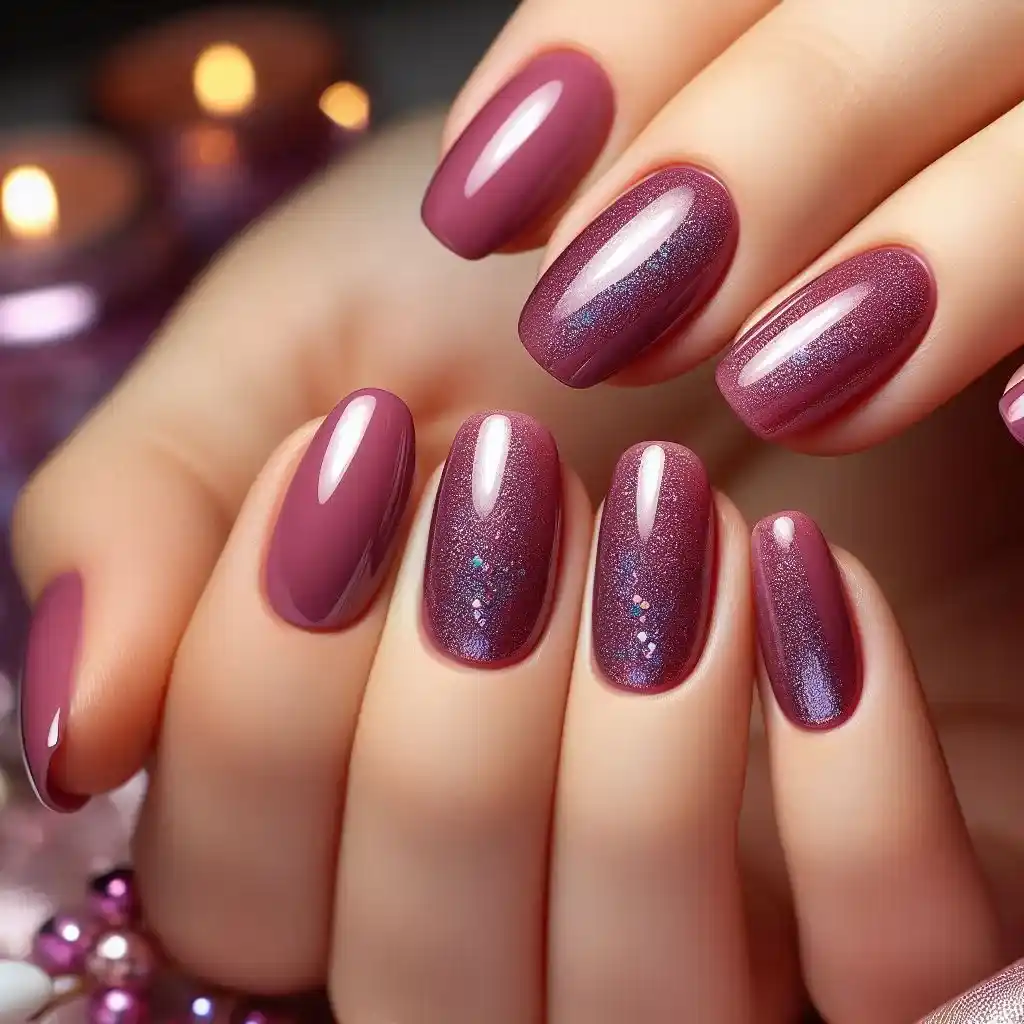
A glossy plum color with a subtle shimmer adds a sweet, festive touch to your nails, perfect for the holiday season.
To make design:
- Begin with a base coat.
- Paint your nails with a glossy plum polish.
- Add a touch of shimmer polish for a festive touch.
- Finish with a top coat to lock in the shine.
23. Blushing Ice
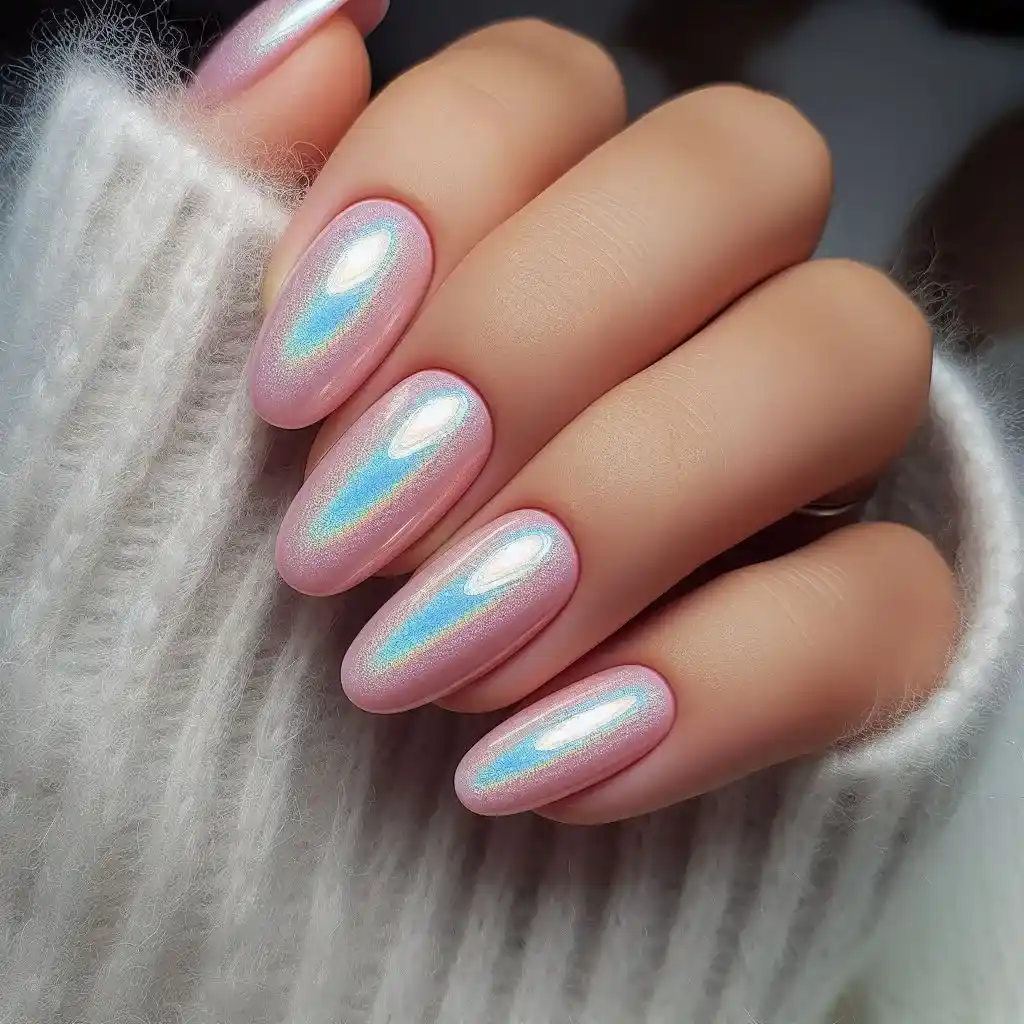
Soft pink with a frosty, iridescent sheen gives a delicate, icy look perfect for winter. It’s subtle but glamorous, adding a touch of warmth to the chill.
To make design:
- Apply a base coat to clean nails.
- Paint your nails with a soft pink polish.
- Once dry, add an iridescent top coat for an icy sheen.
24. Mistletoe Magic
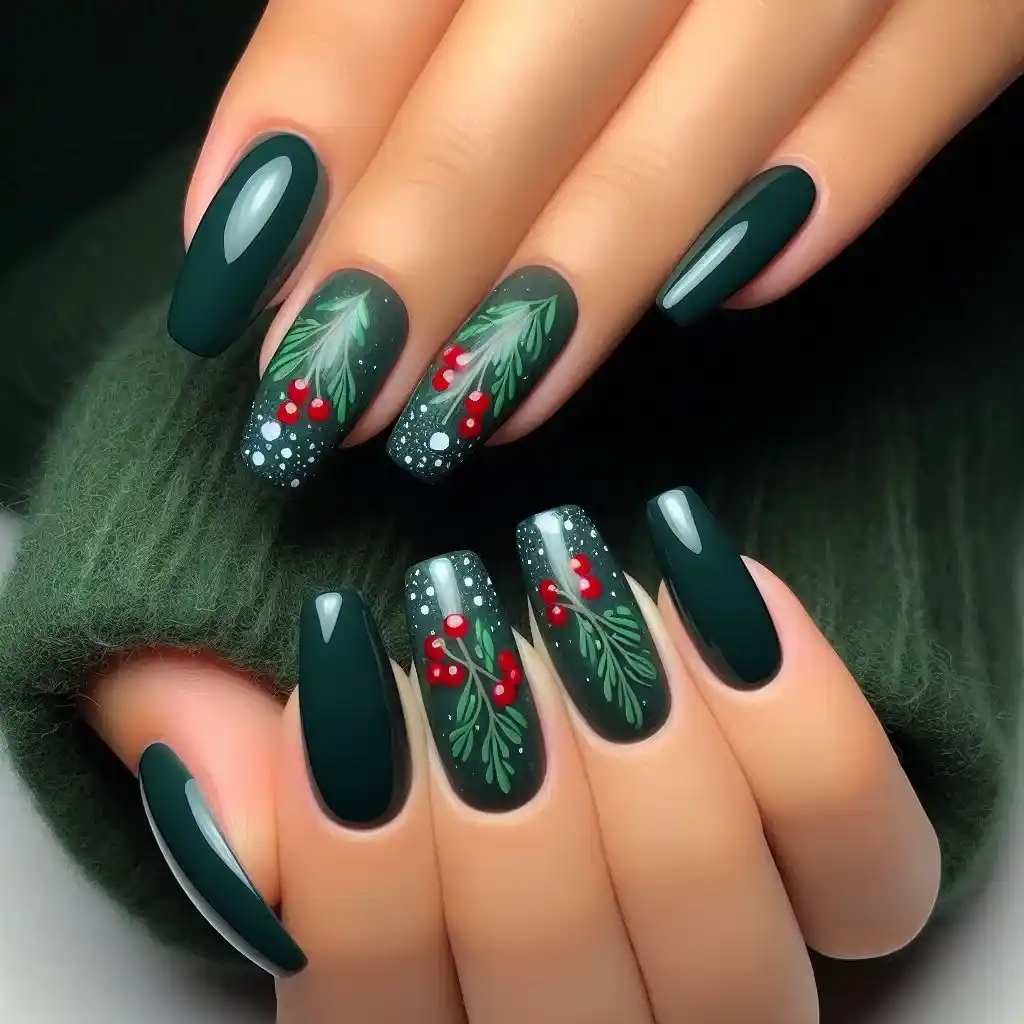
A deep, festive green with tiny mistletoe details is a perfect choice for holiday parties. It’s fun, festive, and adds just the right amount of holiday cheer to your nails.
To make design:
- Start with a base coat.
- Paint your nails with a deep green polish.
- Use a small brush to paint tiny white or red mistletoe berries near the tips.
- Add a glossy top coat to protect the design.
25. Winter Wonderland
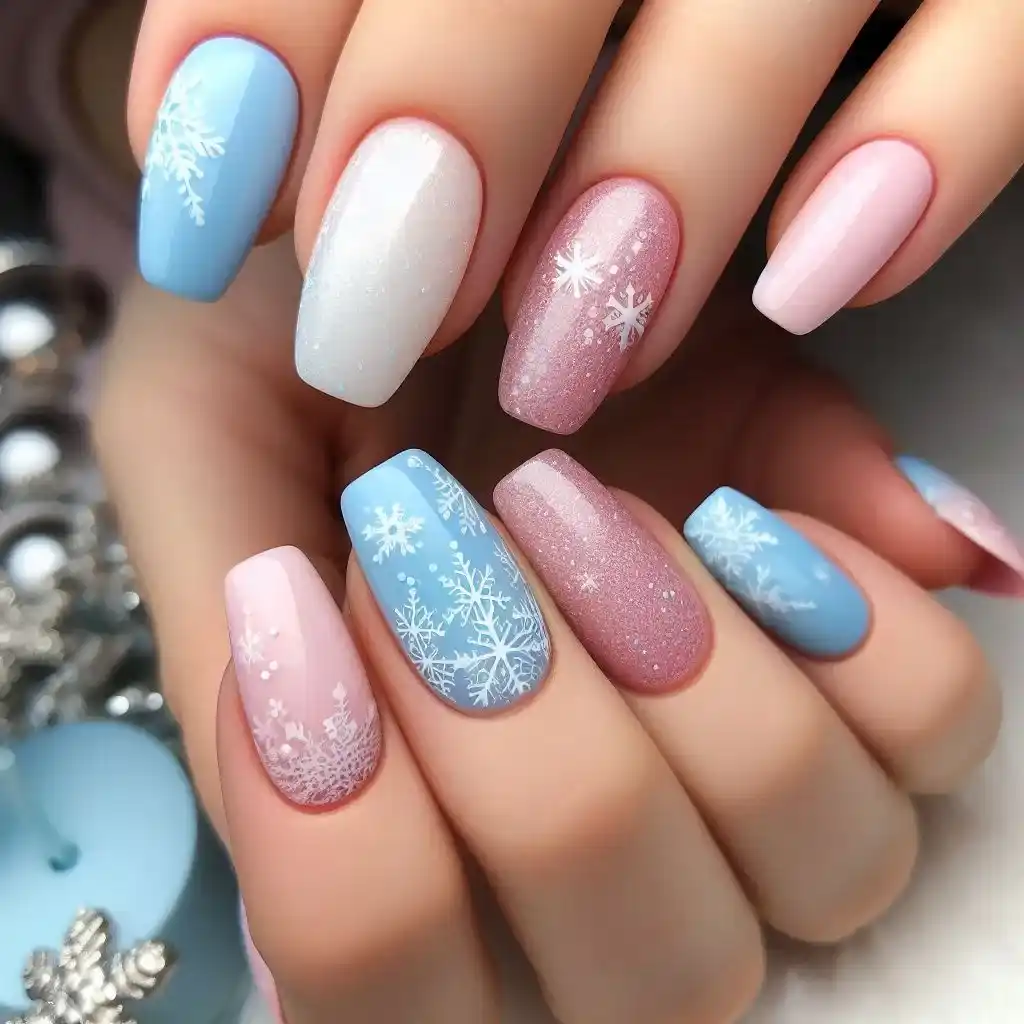
Soft pastel shades of blue, pink, and white come together with delicate snowflake details to create a dreamy winter wonderland effect on your nails. It’s light, airy, and perfect for those who want a softer winter look.
To make design:
- Apply a clear base coat.
- Paint your nails with soft pastel shades like blue, pink, or white.
- Use a thin brush to paint small snowflakes or dots for a snowy effect.
- Finish with a clear, shimmery top coat to enhance the winter wonderland vibe.
26. Frosty French Tips
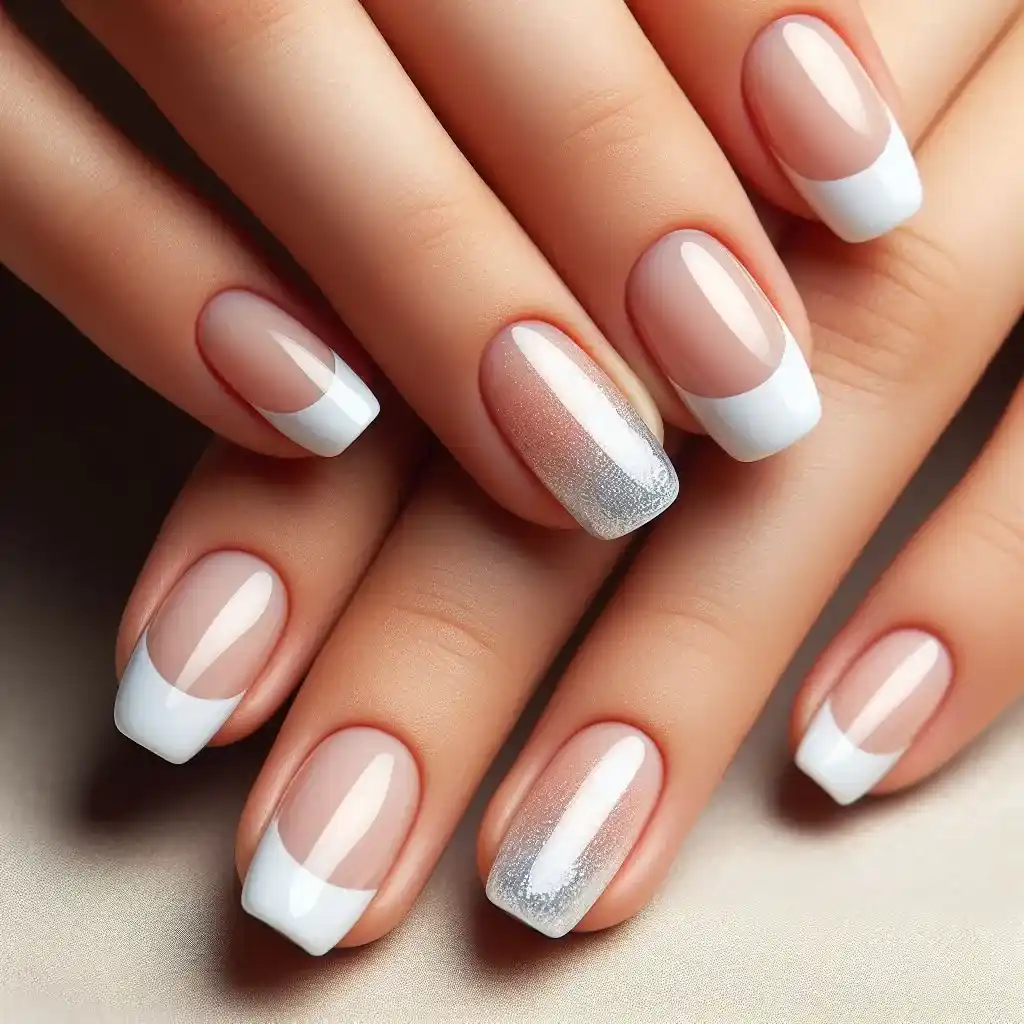
A winter twist on the classic French manicure—swap out the white tips for a frosty silver or pale blue. This look is perfect for anyone who loves a minimalist style with a touch of winter magic.
To make design:
- Start with clean nails and apply a base coat to protect them.
- Paint the entire nail with a clear or nude polish as your base color.
- Once dry, use silver or pale blue nail polish to carefully paint just the tips of your nails. You can use nail guides or tape for a straight edge.
- Let it dry completely, then finish with a top coat for a glossy look.
27. Cozy Knit Pattern
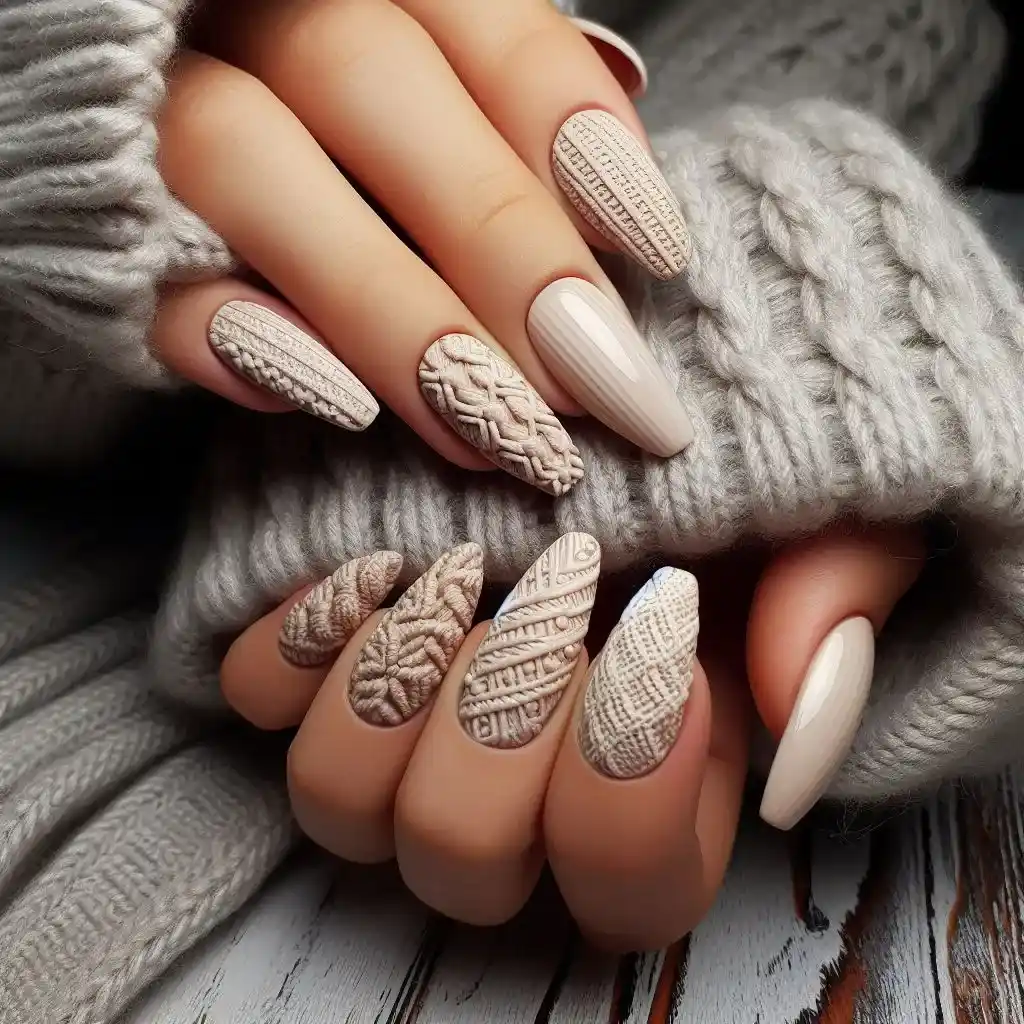
Mimic the texture of your favorite cozy sweater by incorporating soft, knitted patterns in shades like beige or light gray. This gives a chic and warm feel to your nails, perfect for the colder months.
To make design:
- Apply a base coat to clean nails.
- Paint your nails with a light beige or soft gray polish.
- Use a small brush or dotting tool to create raised knit-like patterns (lines, dots, or zigzags) on the nails. For the 3D effect, use a slightly thicker polish or a second layer of the same color.
- Let it dry and finish with a matte top coat for a cozy sweater look.
28. Peppermint Swirl
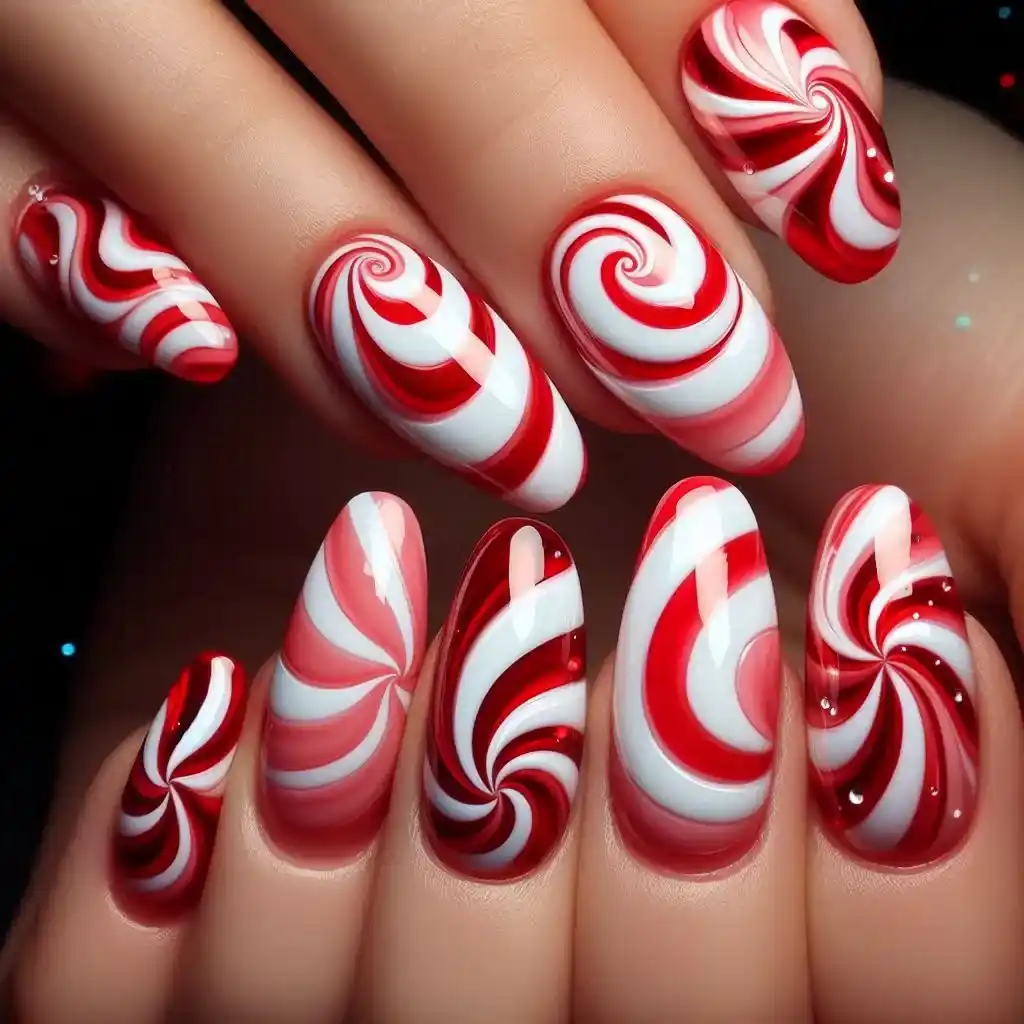
Inspired by festive peppermint candy, use red and white swirls for a fun and playful winter design. It’s perfect for adding a bit of holiday cheer to your nails.
To make design:
- Apply a base coat to start.
- Paint your nails with white nail polish as the base color.
- Use a thin nail brush or a toothpick to draw red swirls on the white base, mimicking the look of peppermint candy.
- Let the design dry, and seal with a glossy top coat.
29. Icy Lavender
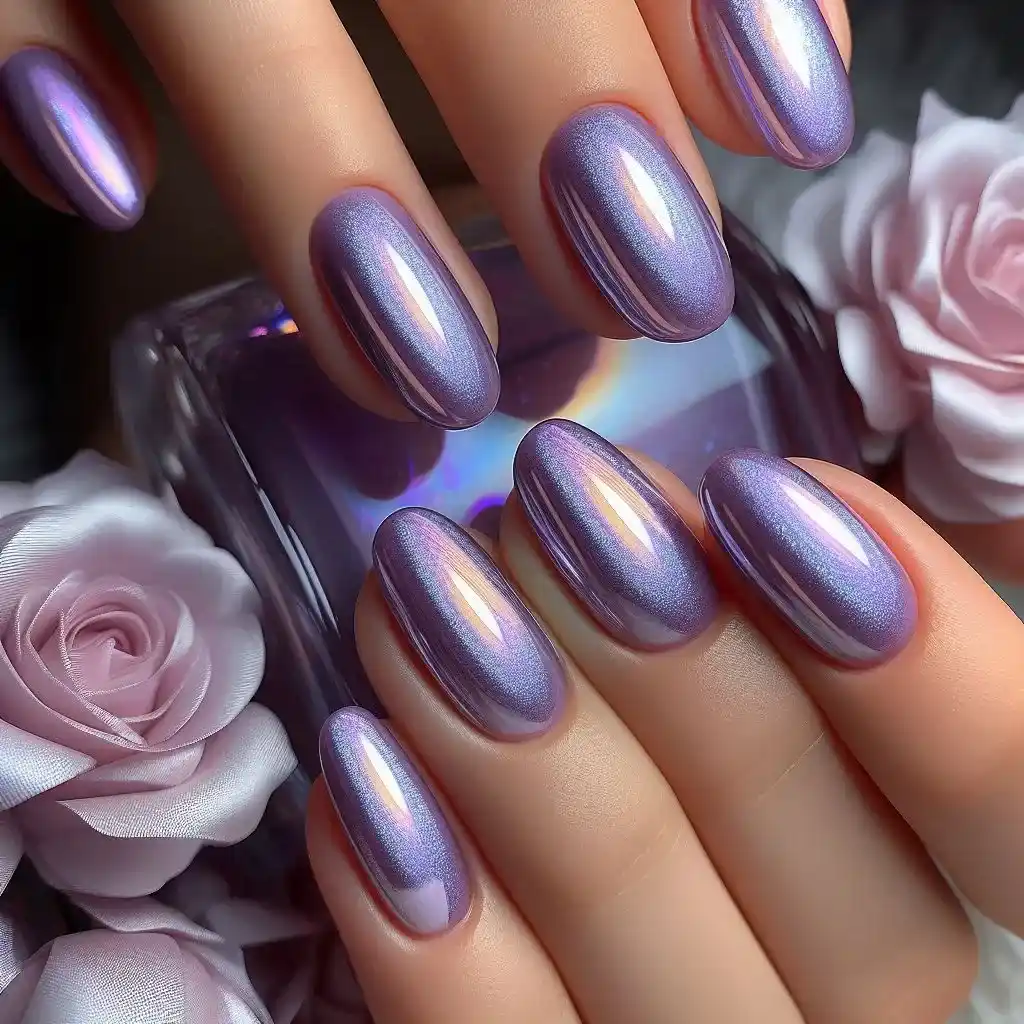
Soft lavender nails with a glossy finish bring a subtle hint of color that feels fresh and cool, like a winter sunrise. It’s delicate but chic enough to match any winter outfit.
To make design:
- Begin with a base coat.
- Paint your nails with a soft lavender color.
- Add a layer of iridescent glitter polish for a frosty, icy look.
- Once dry, finish with a clear top coat to lock in the shimmer.
30. Mulled Wine
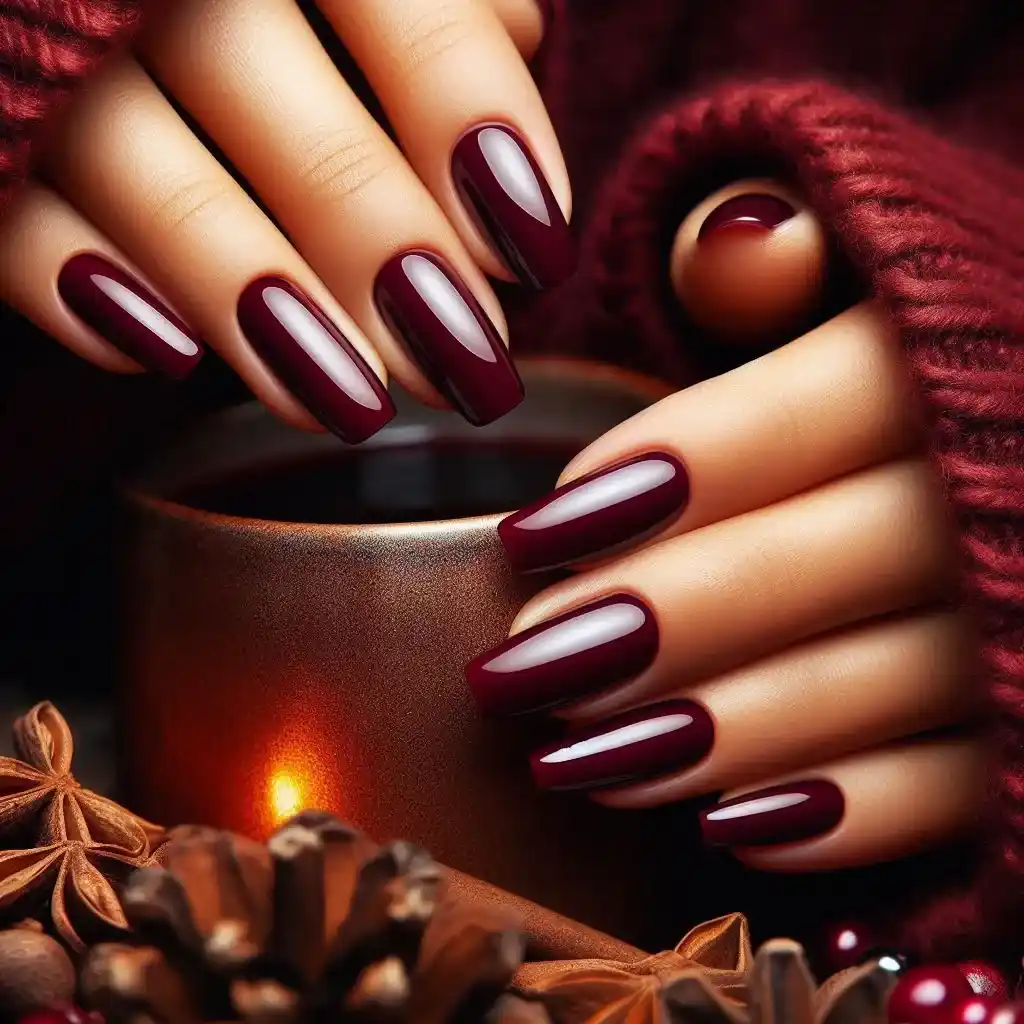
Deep, warm burgundy shades are perfect for winter. This nail idea offers a luxurious and sophisticated look, inspired by the warm tones of mulled wine.
To make design:
- Apply a base coat to clean nails.
- Paint your nails with a deep burgundy polish.
- Let the polish dry completely, then apply a shiny top coat for a luxurious finish.
31. Sleigh Ride Red
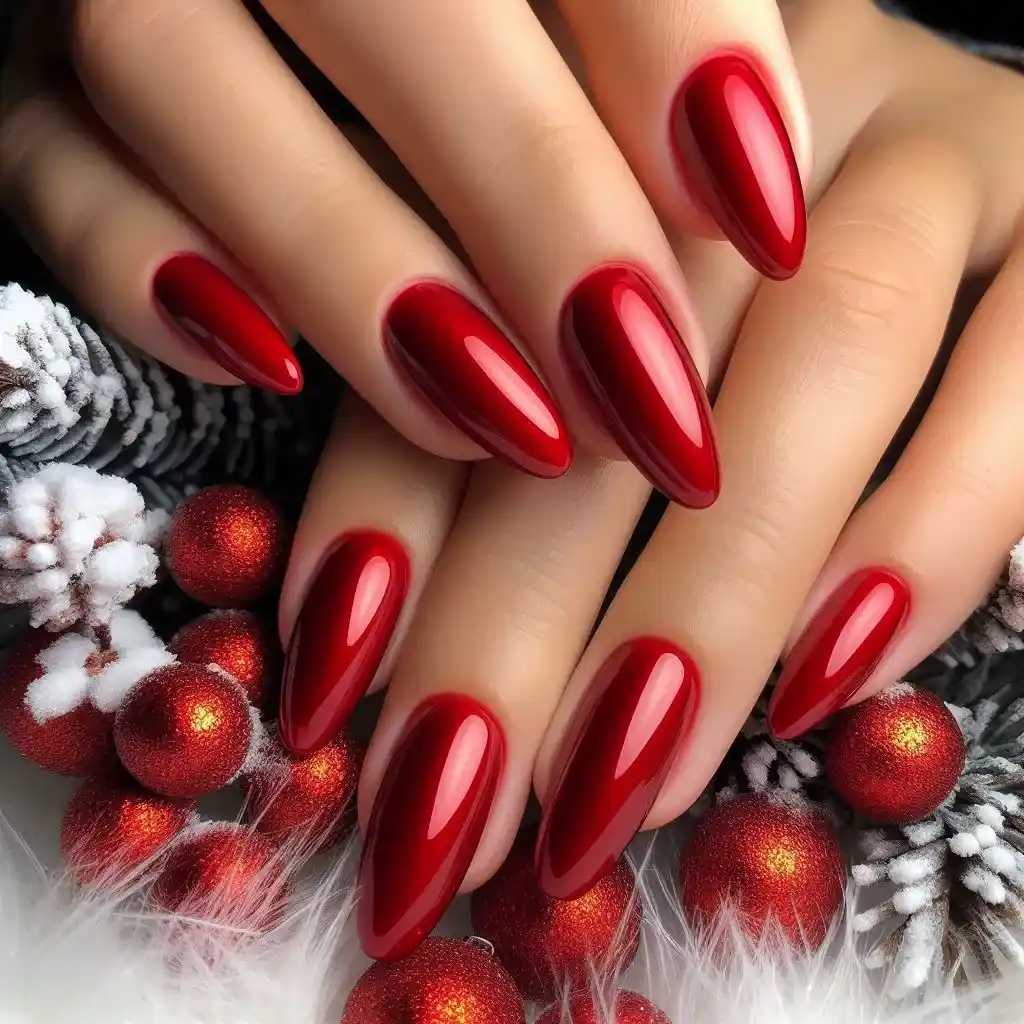
A bold, classic red will never go out of style in winter. Opt for a sleigh-ride red, a bright shade that brings festive vibes with a timeless elegance.
To make design:
- Apply a base coat first.
- Paint your nails with a bold, bright red polish.
- Let the red polish dry completely, then finish with a glossy top coat to keep the color vibrant.
32. Cocoa Cozy
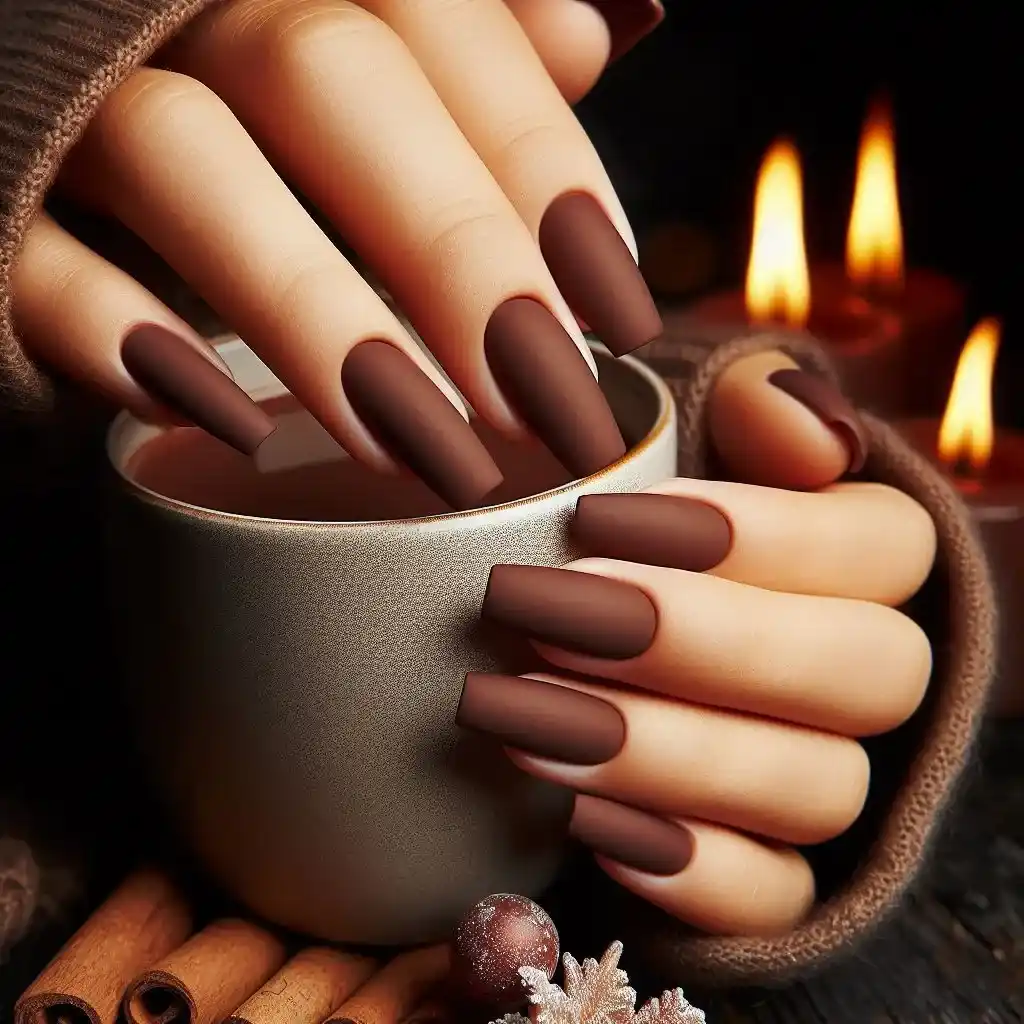
Earthy tones like chocolate brown give your nails a warm, cozy feel. Add a matte finish for extra softness, perfect for sipping hot cocoa by the fire.
To make design:
- Apply a base coat to protect your nails.
- Paint your nails with a rich chocolate brown polish.
- Once dry, apply a matte top coat to give a soft, cozy feel.
33. Glistening Pine
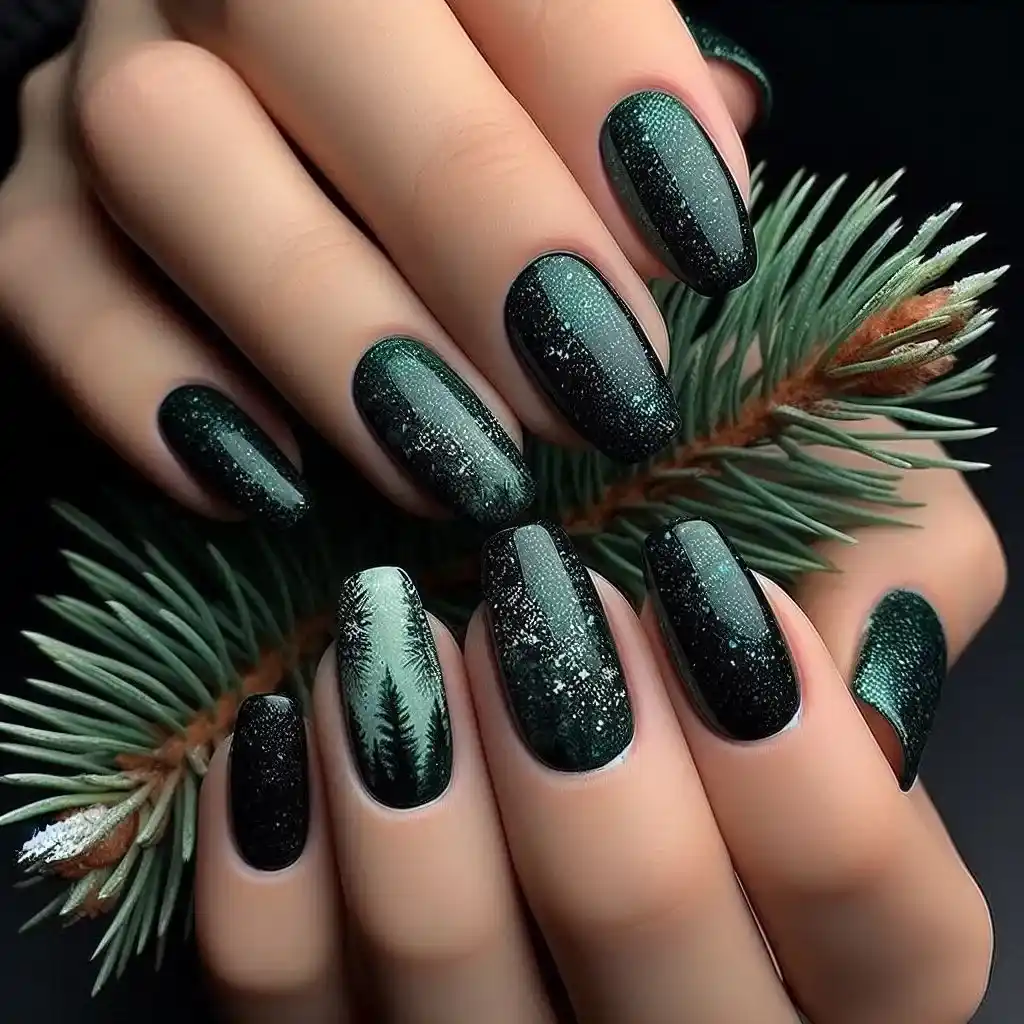
Dark green nails with a hint of shimmer or glitter evoke the rich greenery of pine trees during winter. It’s a nature-inspired look that feels fresh and festive.
To make design:
- Apply a base coat to begin.
- Paint your nails with a deep green polish.
- Add a thin layer of shimmer polish or small glitter particles on top for a glistening effect.
- Seal with a clear top coat.
34. Muted Mauve
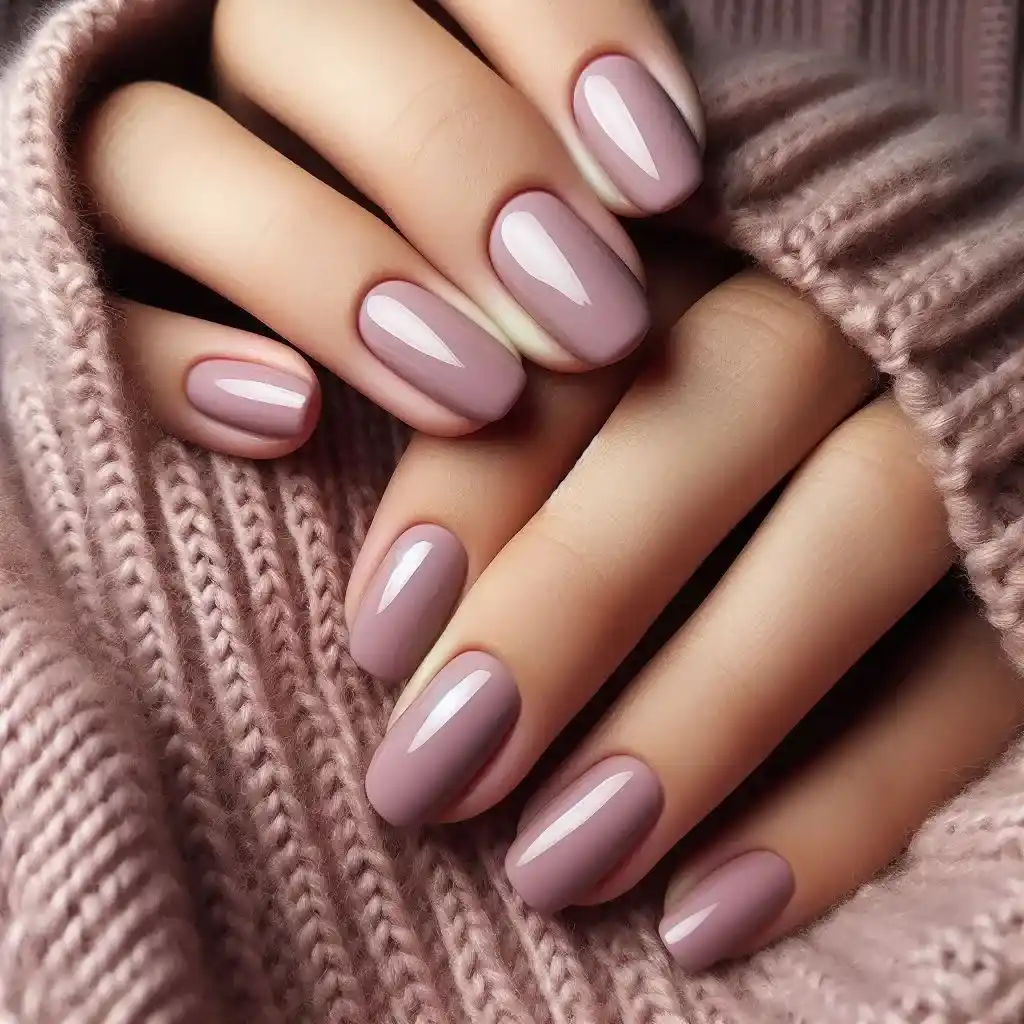
If you prefer something soft yet sophisticated, muted mauve tones are ideal. This understated color works for both casual and formal winter events.
To make design:
- Begin with a base coat.
- Paint your nails with a muted mauve or dusty rose color.
- Let it dry, then apply a shiny top coat for a polished look.
35. Fireside Orange

Burnt orange shade that reminds you of cozy evenings by the fire. This color pops against neutral winter wardrobes.
To make design:
- Start with a protective base coat.
- Paint your nails with a burnt orange polish.
- Add a matte top coat for a cozy, fireside-inspired finish.
Conclusion
Incorporating these 25 winter nail ideas into your seasonal look is a fun and creative way to express your personal style during the colder months. Whether you prefer cozy earth tones, sparkling glitters, or bold and dramatic colors, there’s a design here for every mood and occasion. These easy-to-follow steps ensure that anyone, regardless of skill level, can achieve beautiful, on-trend nails from the comfort of home. So, as you embrace the winter chill, let your nails shine and stand out with these trendy, stylish, and cozy designs.

