


Are you tired of the same boring nail designs every spring? Easter is the perfect time to refresh your look with something soft, cheerful, and on-trend. Pastel Easter Nails are a great way to bring seasonal charm to your fingertips. From delicate florals to playful patterns and candy-inspired hues, these designs let you celebrate the season in style. Whether you’re a nail art pro or just starting out, pastel shades are versatile and simple enough for anyone to try.
Table of Contents
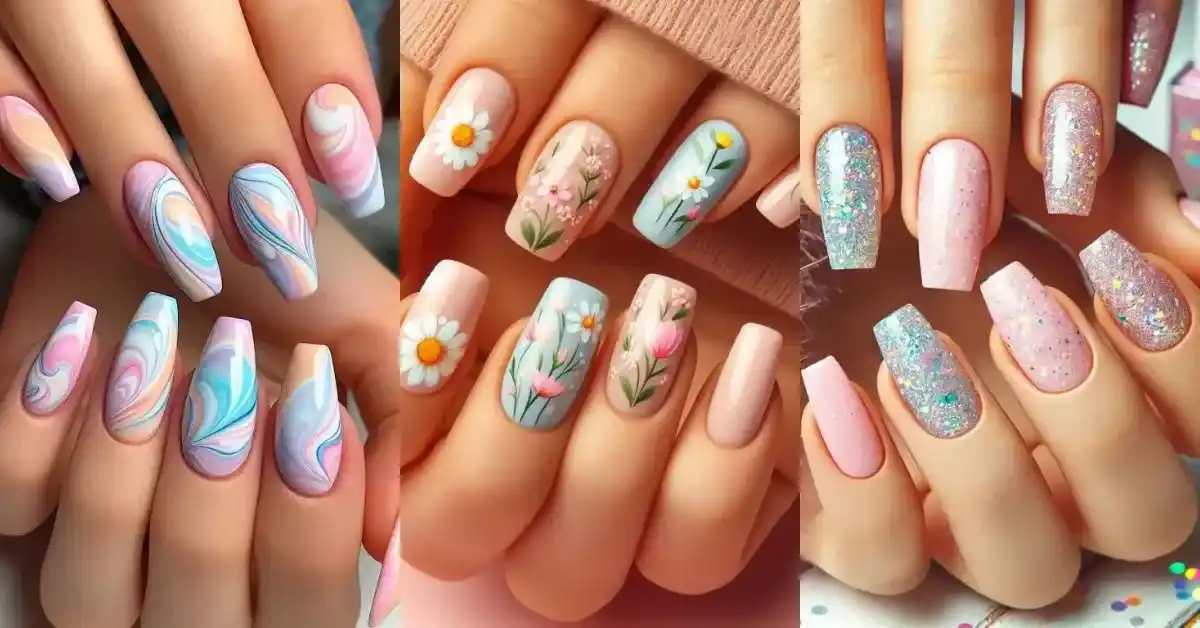
20 Cute Pastel Easter Nails Designs
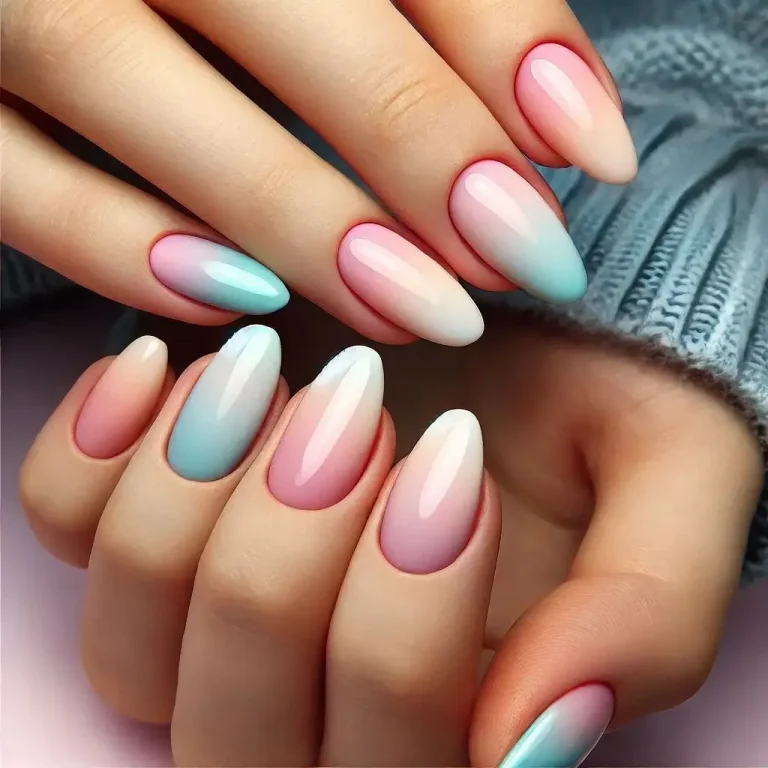
1. Ombre Pastel Nails

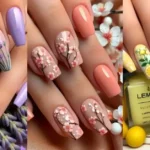
A seamless blend of soft pastel shades creates a dreamy ombre effect that’s perfect for spring and Easter celebrations. This look is versatile and works with any nail length.
To make nail design:
- Start by applying a clear base coat to protect your nails.
- Pick two or three pastel shades you love.
- Paint the lightest color on your entire nail and let it dry.
- Use a makeup sponge to dab two colors side by side, blending where they meet.
- Gently press the sponge onto your nails, repeating until the colors blend smoothly.
- Clean the skin around your nails with a cotton swab dipped in nail polish remover.
- Finish with a top coat for a glossy look.
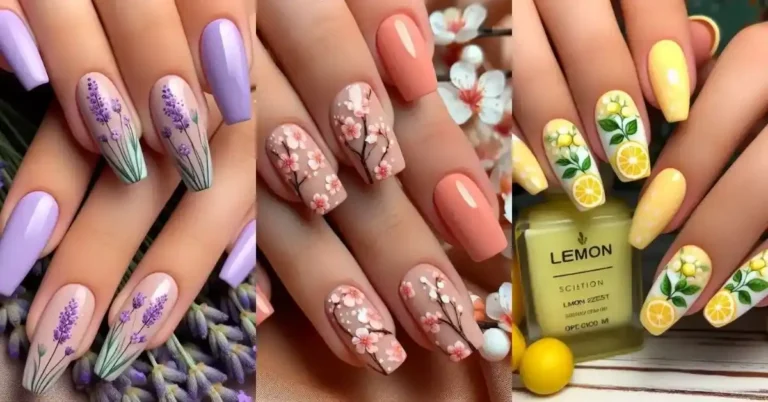
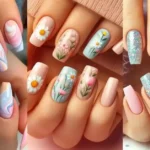
2. Floral Pastel Nails
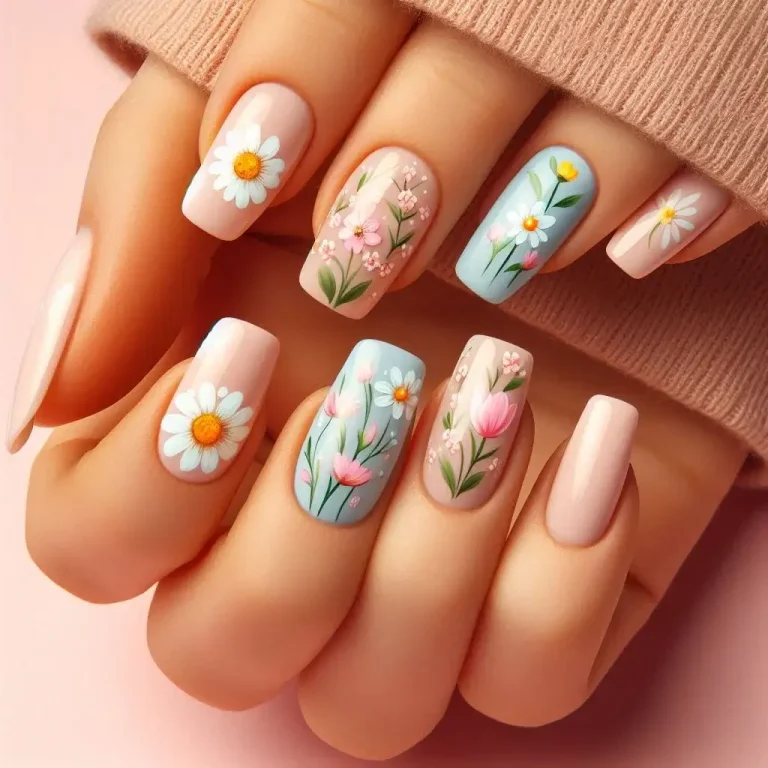
Delicate floral designs on a pastel base bring a fresh and feminine vibe to your Easter manicure. Ideal for those who love nature-inspired looks.
To make nail design:
- Apply a pastel base color and let it dry completely.
- Dip a small dotting tool or the tip of a bobby pin into a pastel shade.
- Make five small dots in a circular pattern to form flower petals.
- Use a different shade for the center dot of the flower.
- Repeat on all nails or just one for an accent nail.
- Let the design dry and seal it with a top coat.
3. Pastel Polka Dots
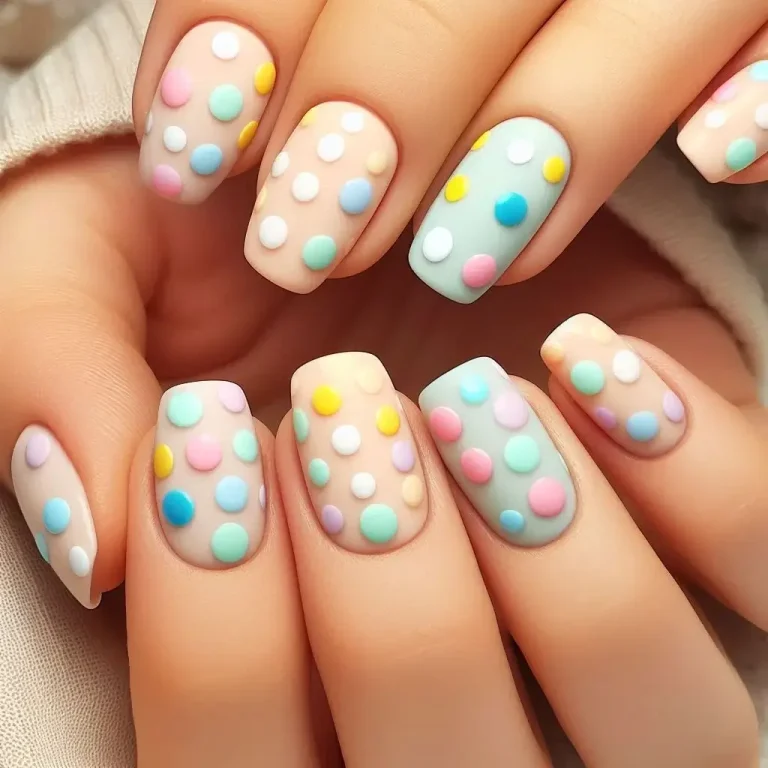
Simple yet playful, pastel polka dots on a neutral or pastel base give your nails a fun, retro-inspired Easter vibe.
To make nail design:
- Start with a pastel-colored base coat and let it dry.
- Use a toothpick or dotting tool to dip into various pastel shades.
- Carefully dot the colors randomly across each nail.
- Space the dots evenly for a neat look.
- Allow the dots to dry and finish with a shiny top coat.
4. Easter Bunny Nails
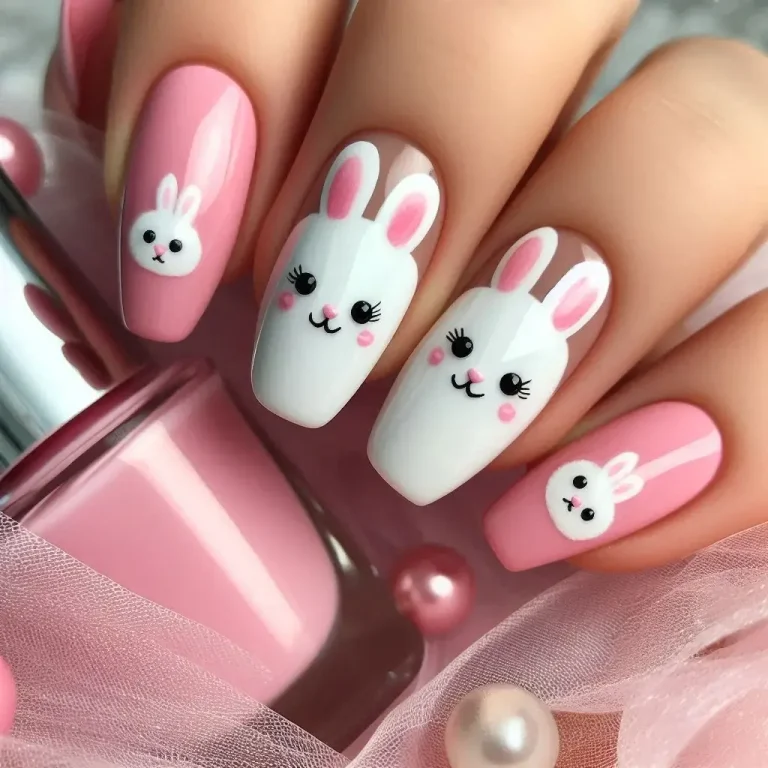
Cute bunny illustrations paired with pastel shades make this design a cheerful choice for Easter. Ideal for adding a whimsical touch to your nails.
To make nail design:
- Paint your nails with a pastel base color.
- Using a fine brush or toothpick, draw a white circle near the tip of your nail for the bunny’s face.
- Add two long white lines for the ears.
- Fill in the inside of the ears with pink polish.
- Dot two black eyes and a small pink nose.
- Let the design dry and apply a clear top coat.
5. Pastel Swirl Nails
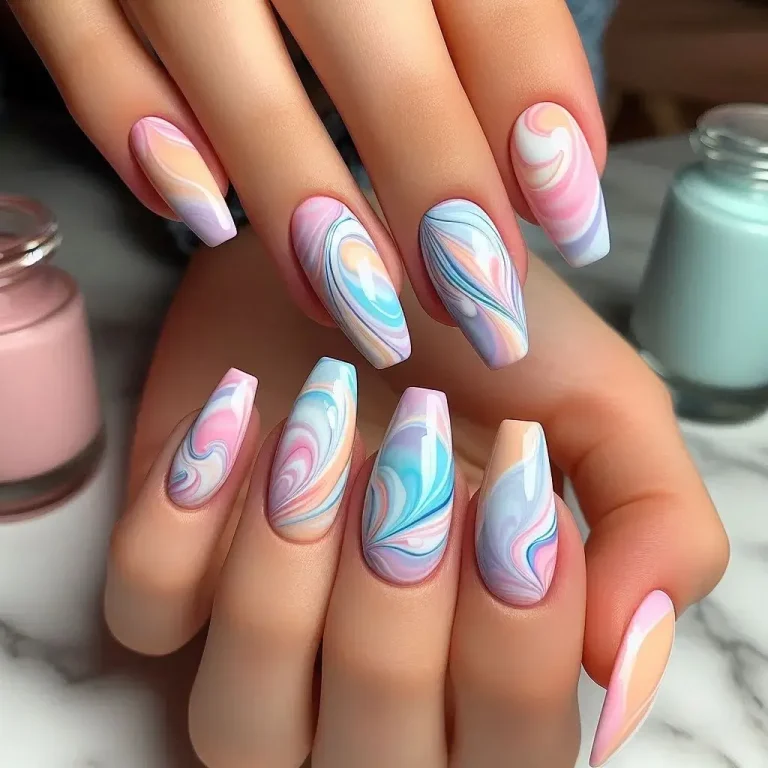
Swirling pastel patterns create a mesmerizing effect that captures the spirit of spring. This design is trendy and perfect for nail art lovers.
To make nail design:
- Apply a pastel base color and let it dry.
- Dip a fine brush into a different pastel shade.
- Carefully draw wavy lines across the nail.
- Use multiple colors for a more vibrant effect.
- Let the swirls dry completely and seal with a top coat.
6. Matte Pastel Nails
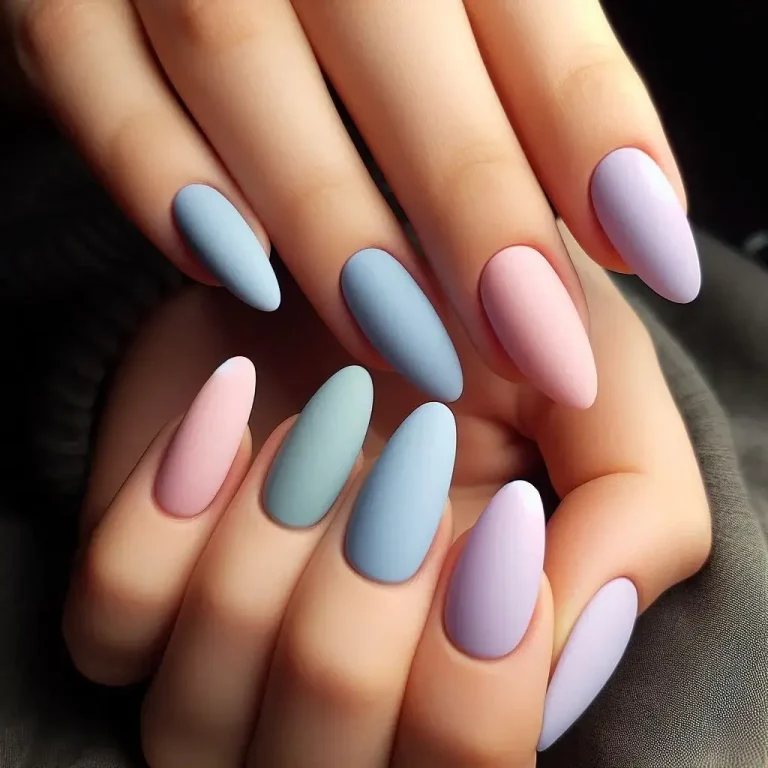
A modern twist on pastel nails, the matte finish gives a sophisticated and elegant look to classic Easter shades.
- Apply a pastel nail polish of your choice.
- Let it dry completely.
- Apply a matte top coat to remove the shine and give a smooth finish.
- Allow it to dry, and you’re done with this modern look.
7. Chick Nail Art
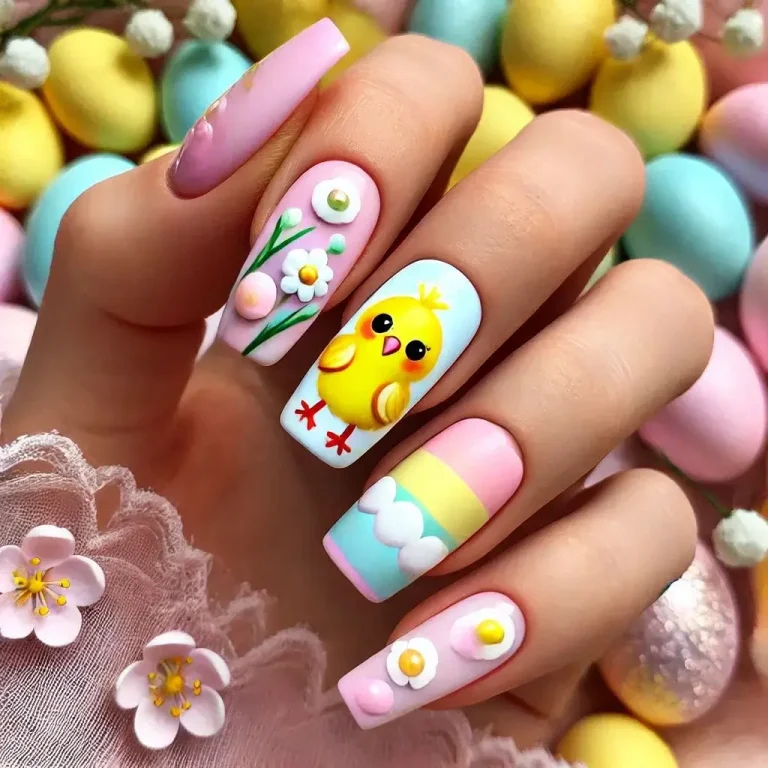
Adorable baby chick designs on pastel backgrounds bring a playful charm to your nails. Perfect for adding a fun touch to your Easter style.
To make nail design:
- Paint your nails with a pastel yellow base.
- Use a small dotting tool to add two black eyes near the tip of each nail.
- Draw a tiny orange triangle below the eyes for the beak.
- Add white dots inside the eyes for a cute effect.
- Let everything dry and finish with a top coat.
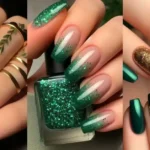
8. Pastel Glitter Nails

Add a touch of sparkle to your Easter look with pastel glitter nails. This design combines softness with a dazzling finish.
To make nail design:
- Start by applying a pastel base color.
- While the polish is still wet, sprinkle fine glitter onto your nails.
- Gently tap your nails to remove excess glitter.
- Let the polish and glitter set, then apply a clear top coat to seal it.
9. Pastel Color Blocking
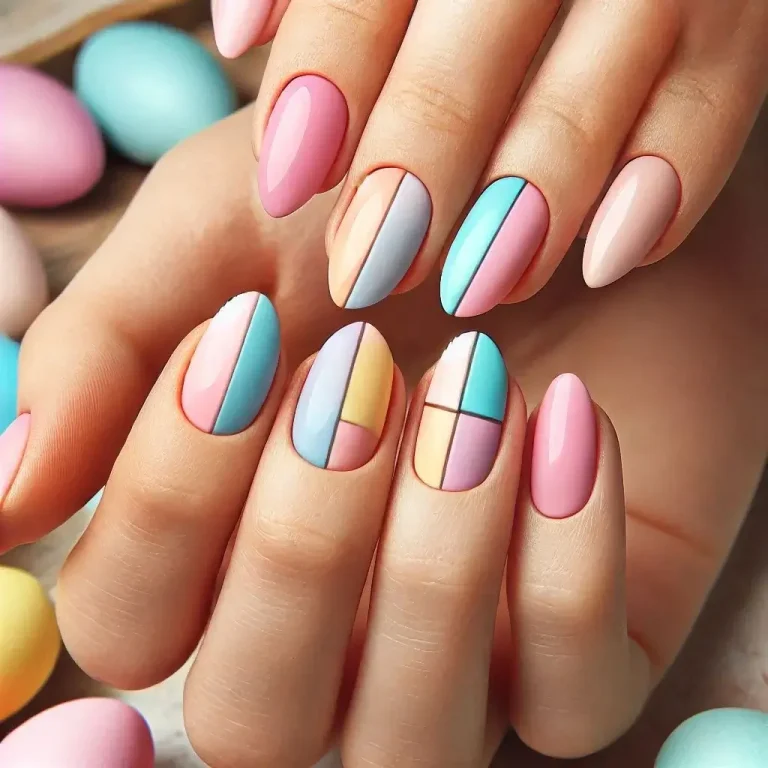
Bold yet elegant, pastel color-blocked nails create a trendy, geometric look. Mix and match shades for a creative twist.
To make nail design:
- Paint your entire nail with a light pastel base and let it dry.
- Use tape to section off different parts of the nail.
- Paint each section with a different pastel color.
- Carefully remove the tape while the polish is still wet.
- Allow it to dry completely and apply a top coat.
10. Gingham Pastel Nails
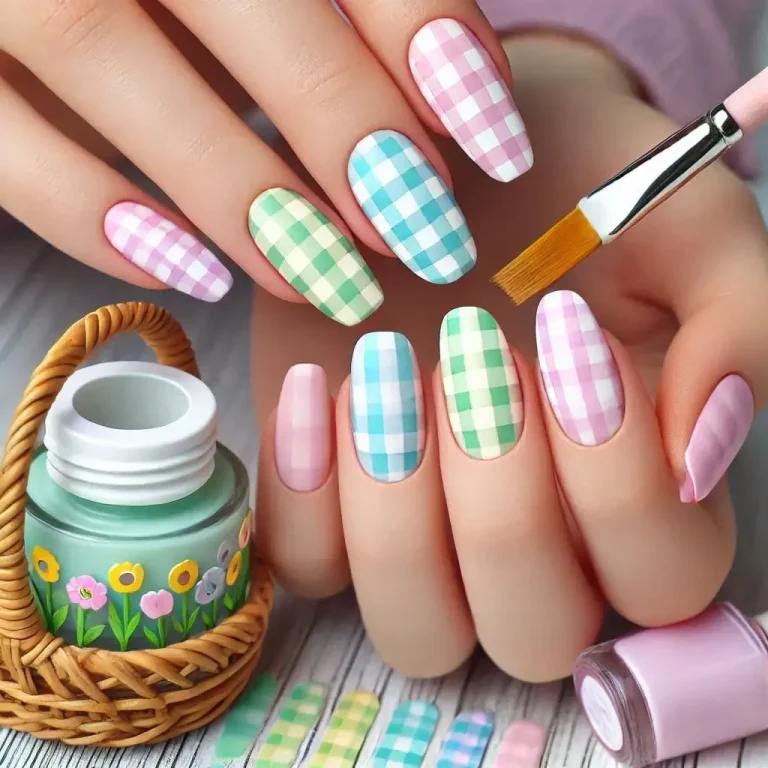
Inspired by classic picnic patterns, gingham pastel nails exude a charming and vintage spring vibe.
To make nail design:
- Paint your nails with a pastel base and let it dry.
- Use a thin brush to draw horizontal and vertical lines in a darker pastel shade.
- Keep the lines evenly spaced to form a gingham pattern.
- Let the design dry and apply a clear top coat.
11. Candy Stripe Nails
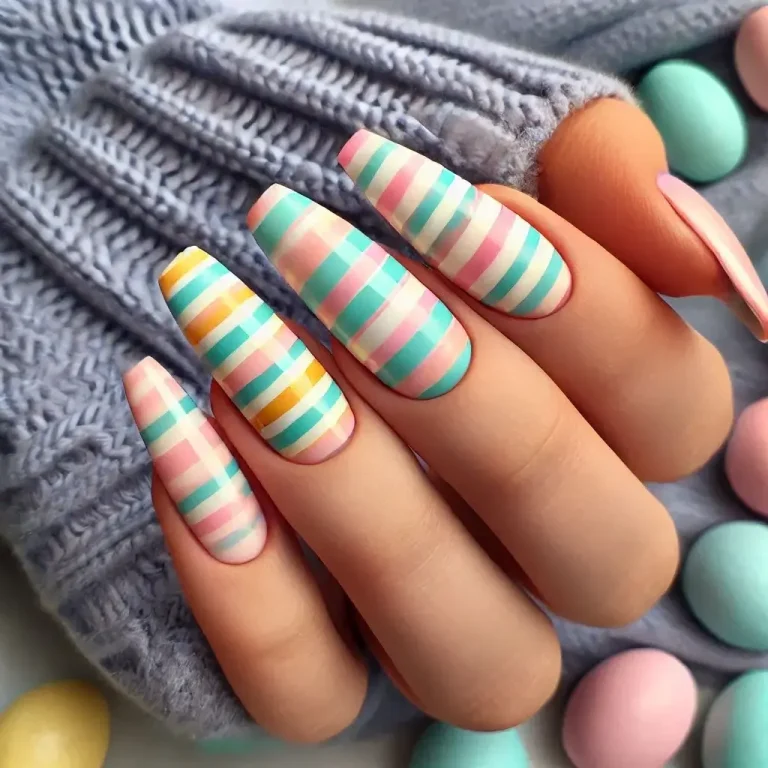
Sweet and stylish, candy stripe patterns in pastel shades give your nails a playful Easter candy-inspired look.
To make nail design:
- Start by applying a pastel base color.
- Let it dry completely.
- Use a striping brush to create diagonal lines in various pastel shades.
- Keep the lines thin for a neat look.
- Let the design dry and seal it with a top coat.
12. Pastel Marble Nails
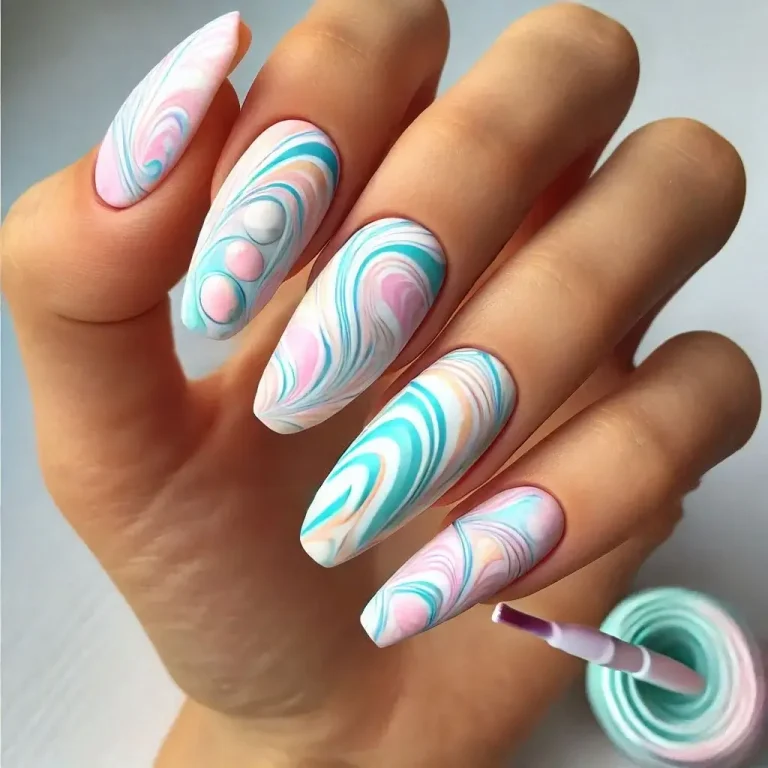
Marble designs in pastel hues create a sophisticated and artistic nail look, perfect for those who appreciate chic details.
To make nail design:
- Apply a white base color and let it dry.
- Drop small dots of pastel shades onto the nail.
- Use a fine brush to swirl the colors together gently.
- Let the design dry and apply a top coat for a smooth finish.
13. Eggshell Break Design
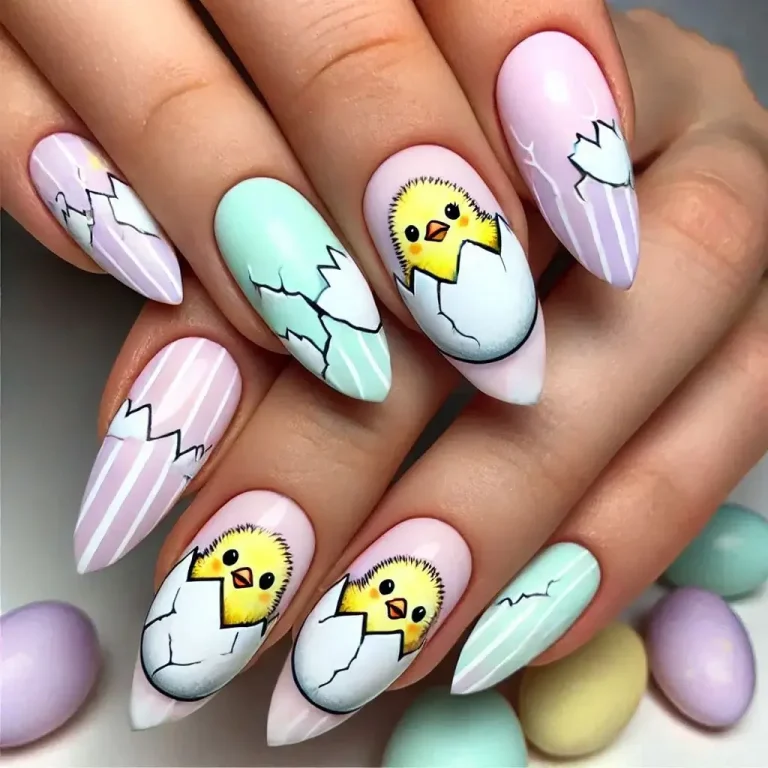
Mimicking the look of cracked eggshells, this design is a creative and subtle nod to Easter festivities.
To make nail design:
- Paint your nails with a pastel base and let it dry.
- Use a thin brush dipped in a darker shade to draw cracked lines randomly across the nail.
- Make the cracks uneven for a realistic look.
- Let it dry and apply a top coat to seal the design.
14. Pastel Chrome Nails

Add a futuristic twist to Easter nails with pastel chrome finishes that give a shiny, metallic glow.
To make nail design:
- Apply a pastel base coat and let it dry.
- Use a chrome powder and a sponge applicator to rub it over your nails.
- Buff until shiny and smooth.
- Seal with a clear top coat for a dazzling finish.
15. Pastel Cloud Nails
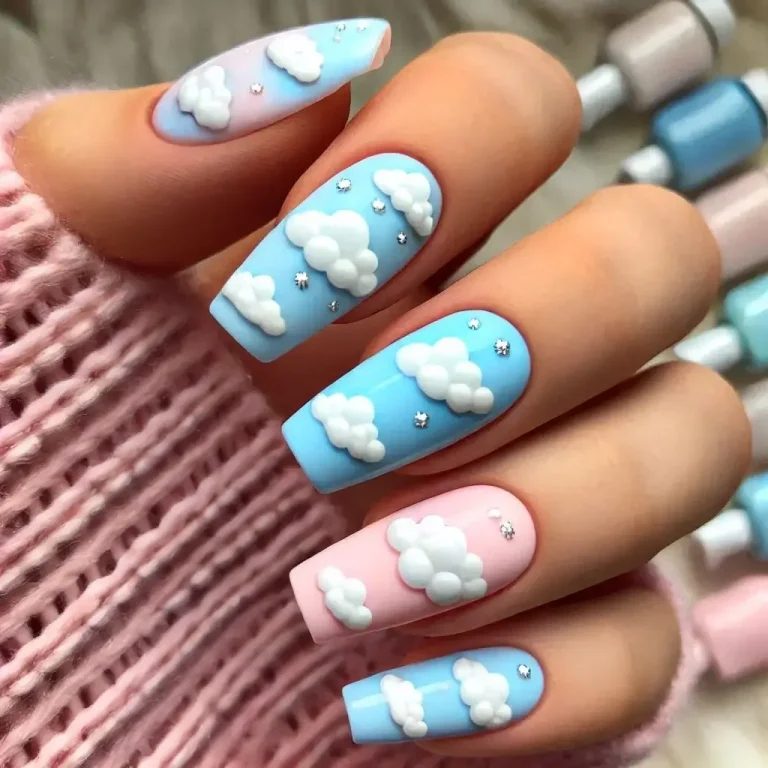
Soft, dreamy clouds painted over pastel backgrounds create a serene and ethereal look for Easter.
To make nail design:
- Paint your nails with a pastel blue base.
- Use a small brush to dab white polish in cloud-like shapes.
- Layer the clouds for a fluffy effect.
- Let the design dry and apply a clear top coat.
16. Carrot Accent Nails
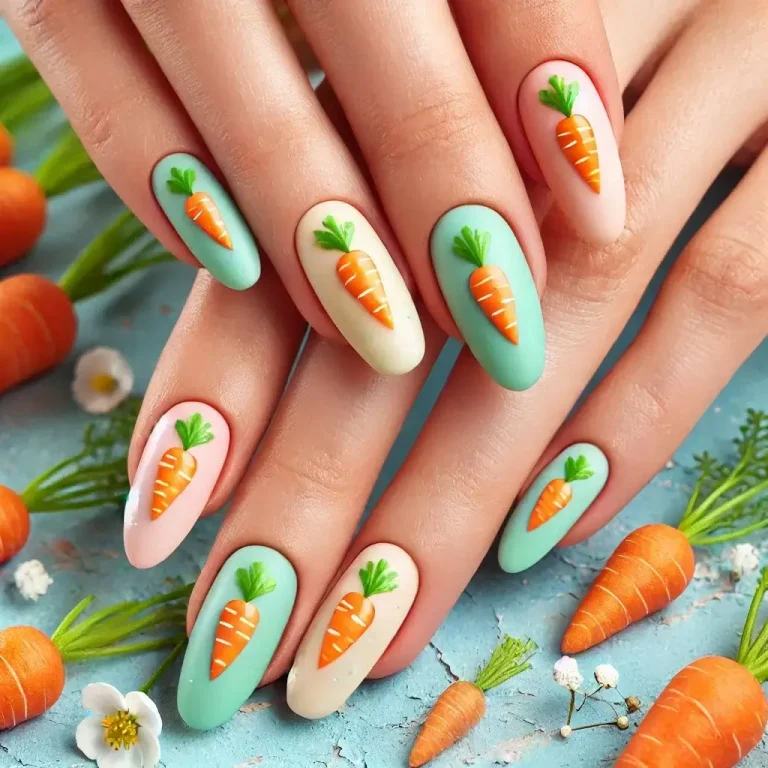
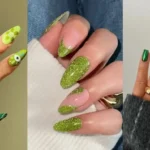
A fun and festive choice, carrot-inspired nail art paired with pastel tones brings a quirky Easter touch.
To make nail design:
- Paint all nails in a pastel green base except for one accent nail.
- On the accent nail, draw a small orange triangle for the carrot.
- Add green lines at the top for the leaves.
- Let it dry and finish with a top coat.
17. Pastel Gradient Tips
A subtle yet stylish choice, pastel gradient tips provide a fresh and modern take on the classic French manicure.
To make nail design:
- Apply a clear or pastel base and let it dry.
- Use a makeup sponge to dab pastel colors from the tips downward, blending gently.
- Repeat until the gradient looks smooth.
- Seal with a glossy top coat.
18. Pastel Puzzle Nails
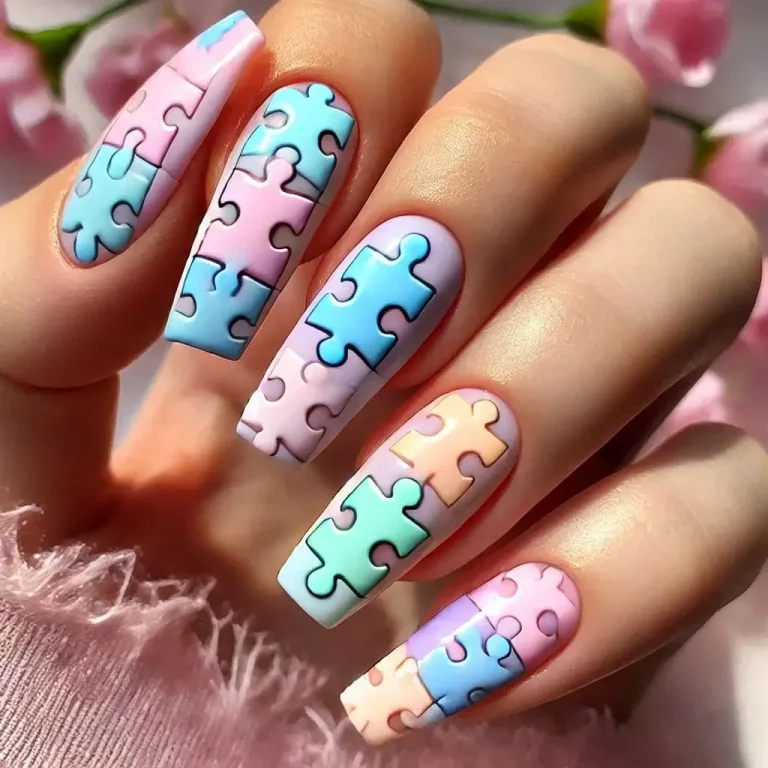
Colorful pastel puzzle pieces create a playful and unique nail design that’s perfect for Easter gatherings.
To make nail design:
- Paint your nails with a pastel base and let it dry.
- Use a thin brush to draw puzzle piece shapes in various pastel shades.
- Outline each piece for definition.
- Let it dry completely and apply a top coat.
19. Baby Chick and Bunny Duo
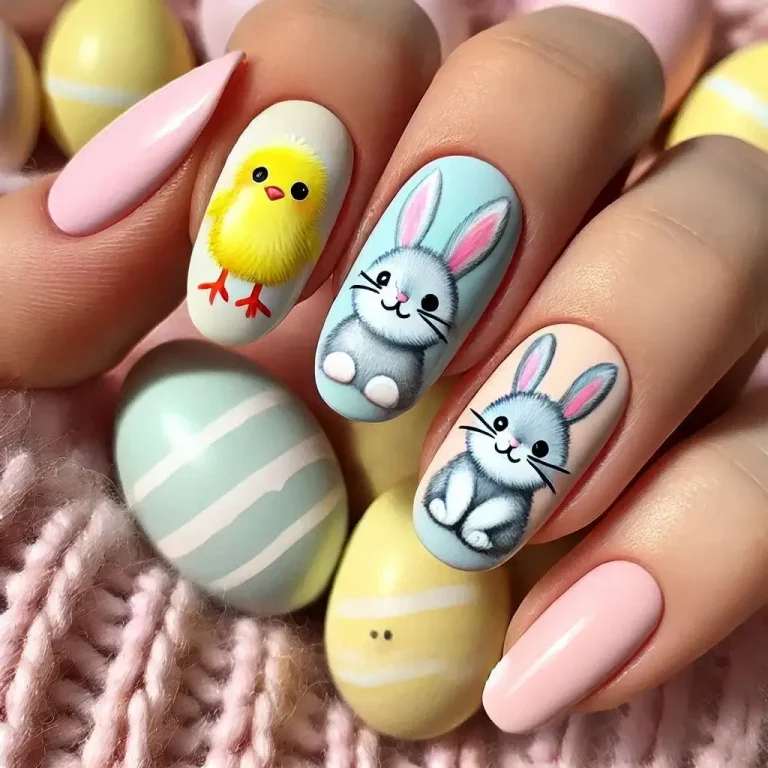
Combine cute baby chick and bunny designs for an irresistible Easter nail look. A delightful choice for themed nail art lovers.
To make nail design:
- Paint some nails pastel yellow for chicks and others pastel pink for bunnies.
- For chicks, add black eyes and an orange beak.
- For bunnies, draw long white ears with pink centers and black eyes.
- Let it dry and seal with a top coat.
20. Pastel Confetti Nails
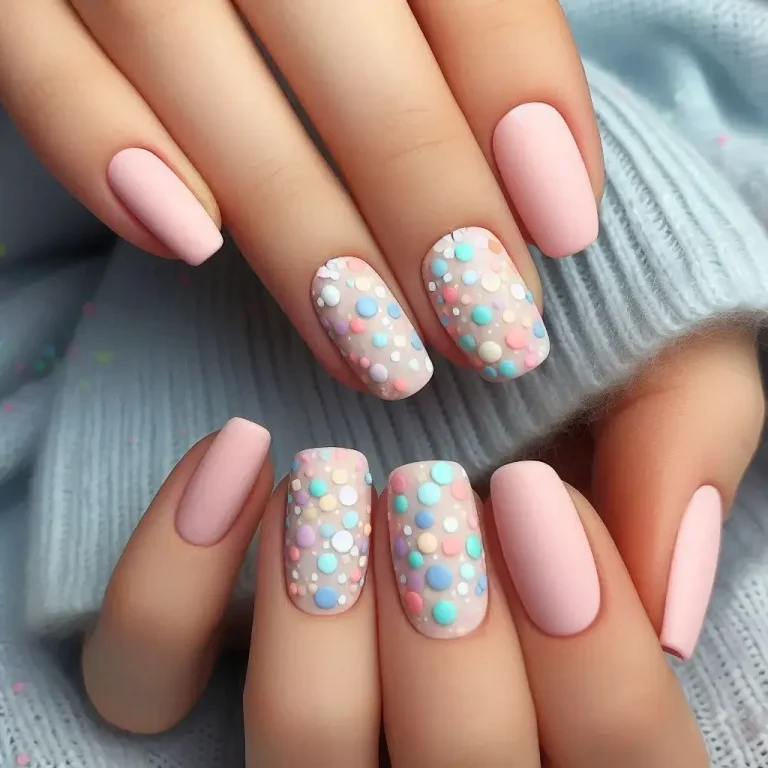
Celebrate the joy of Easter with pastel confetti-inspired nails. This vibrant and cheerful design brings festive energy to your manicure.
To make nail design:
- Start with a pastel base color and let it dry.
- Use a dotting tool to add random pastel-colored dots across the nail.
- Layer the dots for a confetti effect.
- Let the design dry and finish with a shiny top coat.
Final Words
Pastel Easter Nails are the perfect way to add a playful yet elegant touch to your look this spring. With their soft hues and fun designs, they capture the joy of the season beautifully. Whether you go for simple gradients or intricate patterns, there’s a style for everyone. Ready to bring some pastel magic to your nails? Get creative and let your nails be your Easter statement piece!