Introduction
Struggling to find the perfect nail design for the holiday season? With so many options out there, it’s easy to feel overwhelmed when trying to choose a style that stands out for your December festivities. Whether you’re attending holiday parties, family gatherings, or just want to add a bit of sparkle to your daily routine, your nails should reflect the magic of the season. Worry no more! Here’s a list of 25 trendy December nails designs that will make you feel festive and fabulous throughout the entire holiday season.
Table of Contents
30 Trendy & Cute December Nails Designs
1. Frosted Snowflakes
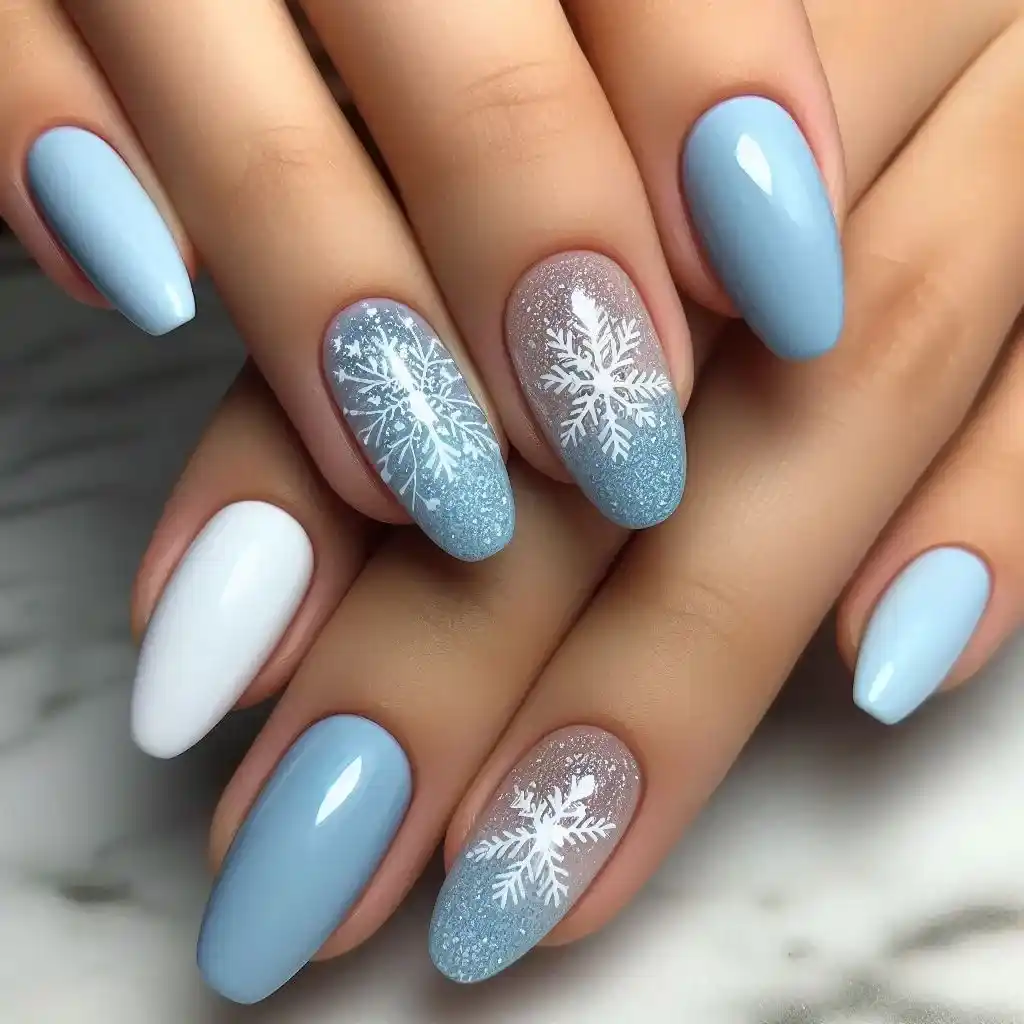
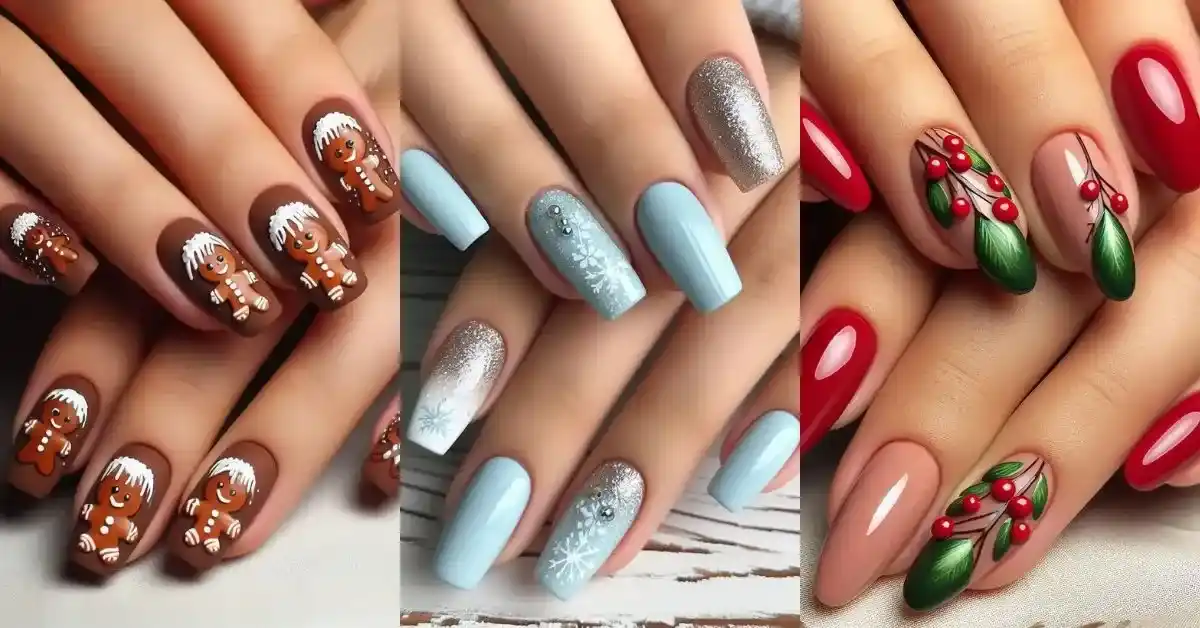
Inspired by the first snowfall, this design features delicate white snowflakes against a soft, frosted blue base. It’s the perfect blend of winter elegance and holiday spirit.
To make design:
- Paint all nails with a light blue or frosty white color as the base.
- Let them dry completely.
- Use a thin nail brush or a toothpick to draw small white snowflakes on each nail.
- Add a tiny dot of glitter polish in the center of each snowflake for sparkle.
- Apply a clear top coat to seal the design.
2. Gift Wrap Glam
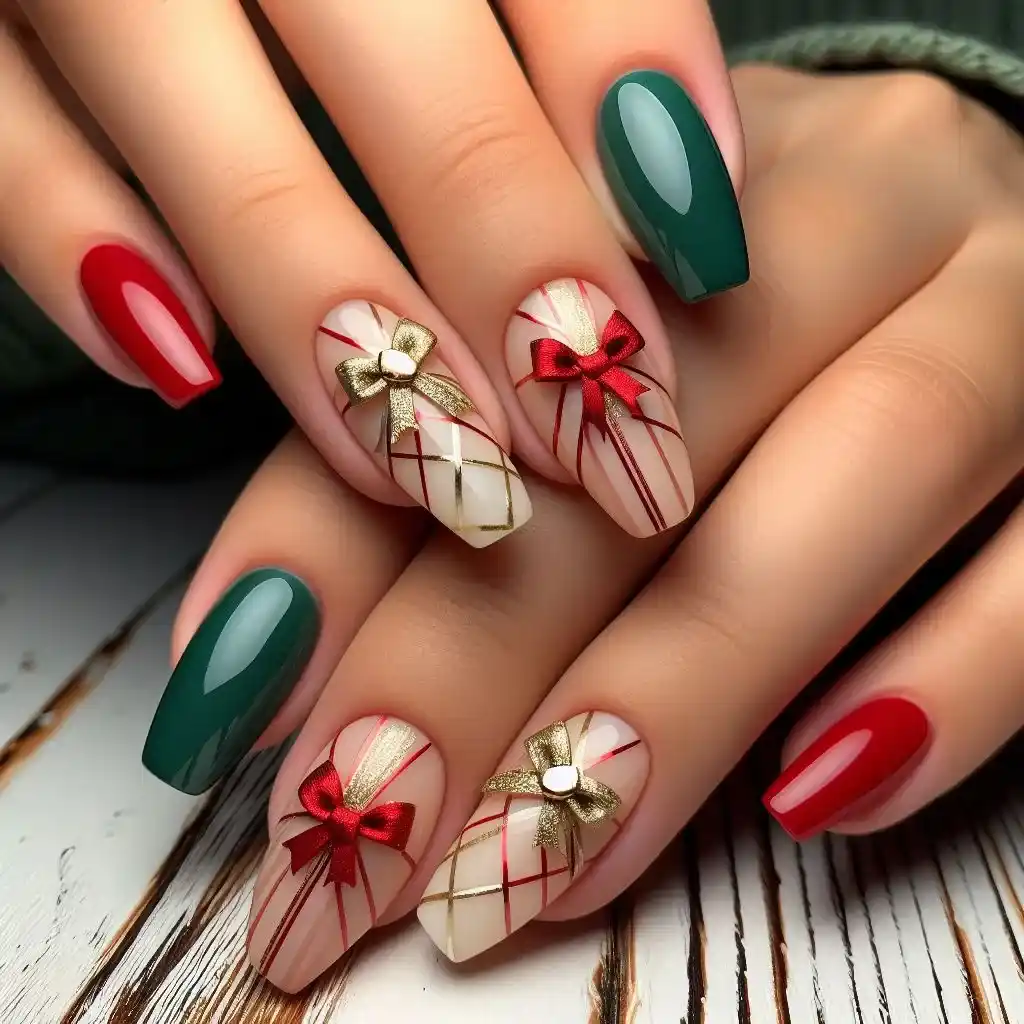
Turn your nails into little presents with a bold red base and white ribbon or bow accents. This playful design will have your nails looking as festive as the gifts under the tree, adding a touch of fun to your holiday style.
To make design:
- Paint your nails with a bold red or green polish as the base color to mimic holiday gift wrapping.
- Once the base is dry, use a thin white or gold striping tape to create a criss-cross pattern, like ribbon on a gift.
- Add a tiny bow decal or paint a bow on the center of one nail to complete the wrapped look.
- Finish with a glossy top coat to give it that perfect holiday shine.
3. Glittering Christmas Lights
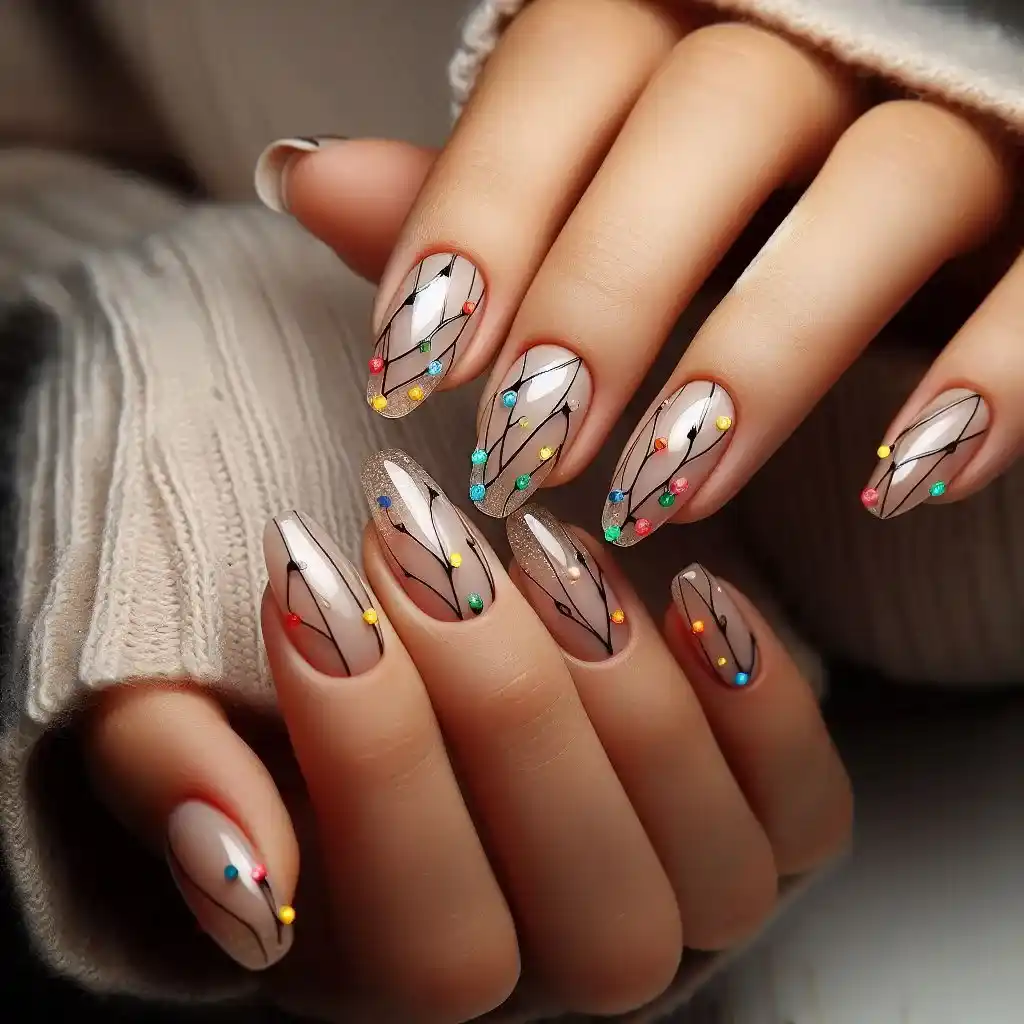
These nails bring a twinkling effect, mimicking colorful Christmas lights. Perfect for those who want to add some sparkle and fun to their holiday look.
To make design:
- Start with a clear or light-colored base coat.
- Use a thin nail brush to paint black or dark lines across each nail to represent the wire.
- Once dry, dot colorful glitter polish (green, red, yellow, blue) along the lines to mimic tiny Christmas lights.
- Add a clear top coat to protect the design.
4. Plaid Perfection
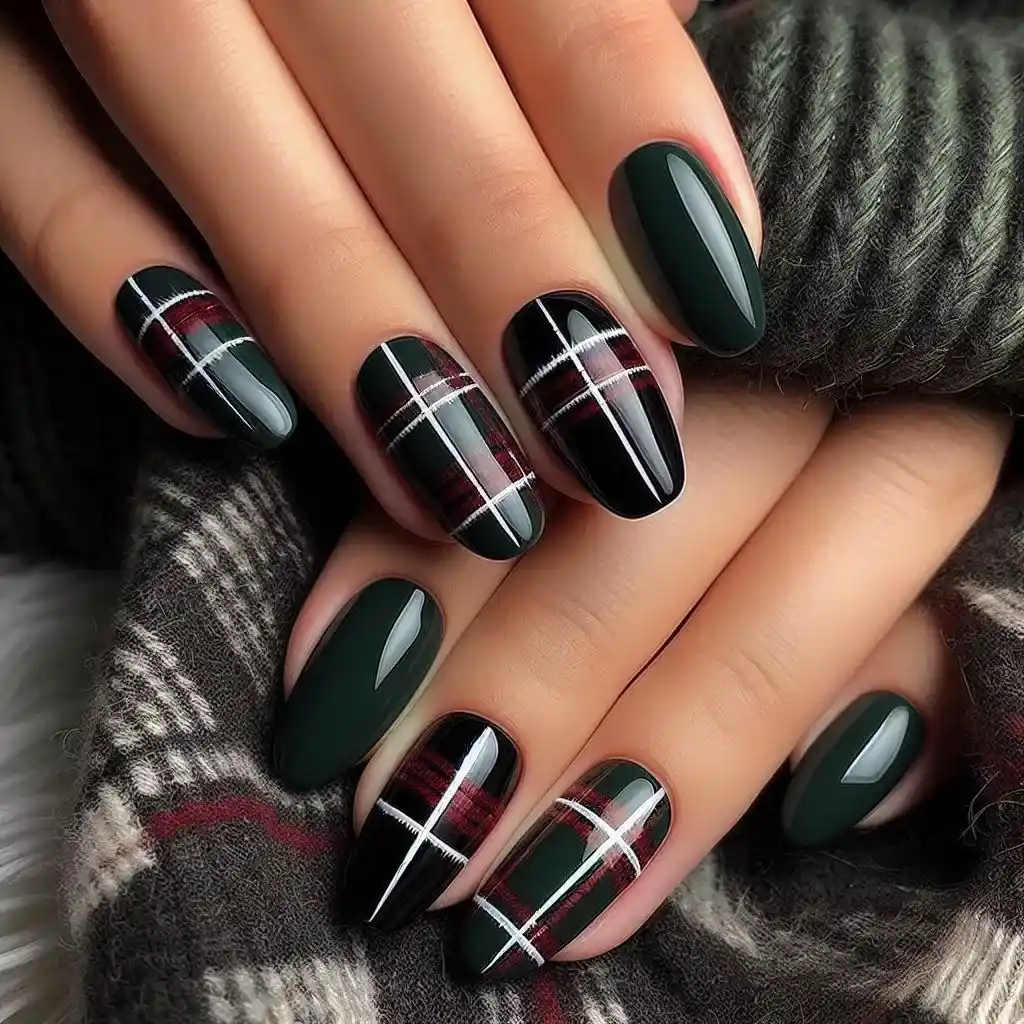
A classic red-and-green plaid pattern brings a cozy, cabin-like feel to your nails. It’s an ideal choice for anyone looking to channel a traditional winter vibe.
To make design:
- Apply a dark green or red polish as the base color.
- Use a striping brush or tape to create thin white and black lines crisscrossing each nail to form a plaid pattern.
- Carefully paint thinner lines of red or green within the pattern for a cozy look.
- Finish with a glossy top coat.
5. Snow Globe Nails
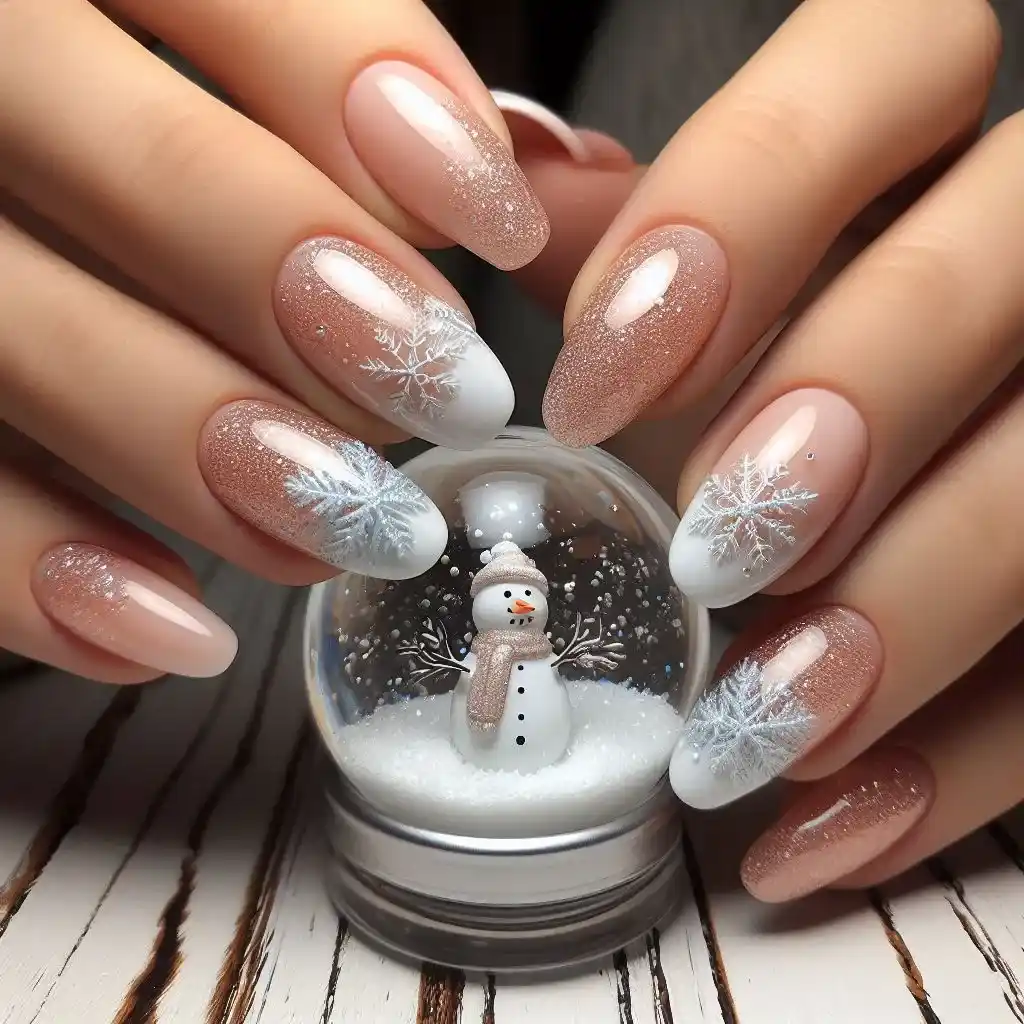
This design uses clear and white polish with tiny snowflake accents to create the illusion of a winter wonderland. It’s like having a snow globe on your nails!
To make design:
- Paint your nails with a light or clear polish.
- Use white polish to paint snowflakes and dots on the tips to resemble falling snow.
- Add a tiny snowman or tree decal at the base of the nail to look like the inside of a snow globe.
- Apply a clear glitter top coat for a frosty finish.
6. Golden Garland
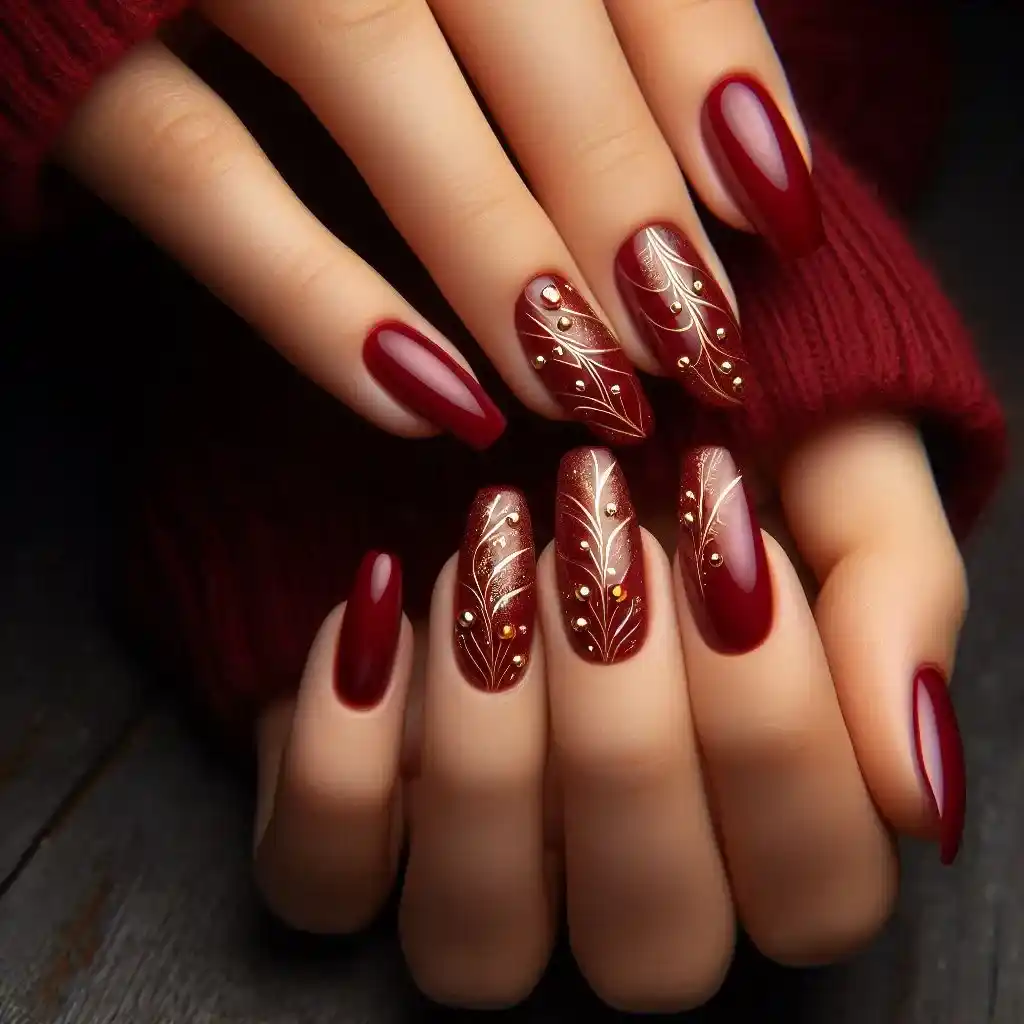
For a more sophisticated look, opt for a subtle gold garland design on a deep red base. It’s chic, festive, and perfect for any formal event.
To make design:
- Apply a deep red polish as the base coat.
- Once dry, use a thin gold polish to draw garland-like swoops across the nails.
- Dot small green or red jewels along the garland for decoration.
- Seal with a glossy top coat to lock in the sparkle.
7. Festive French Tips
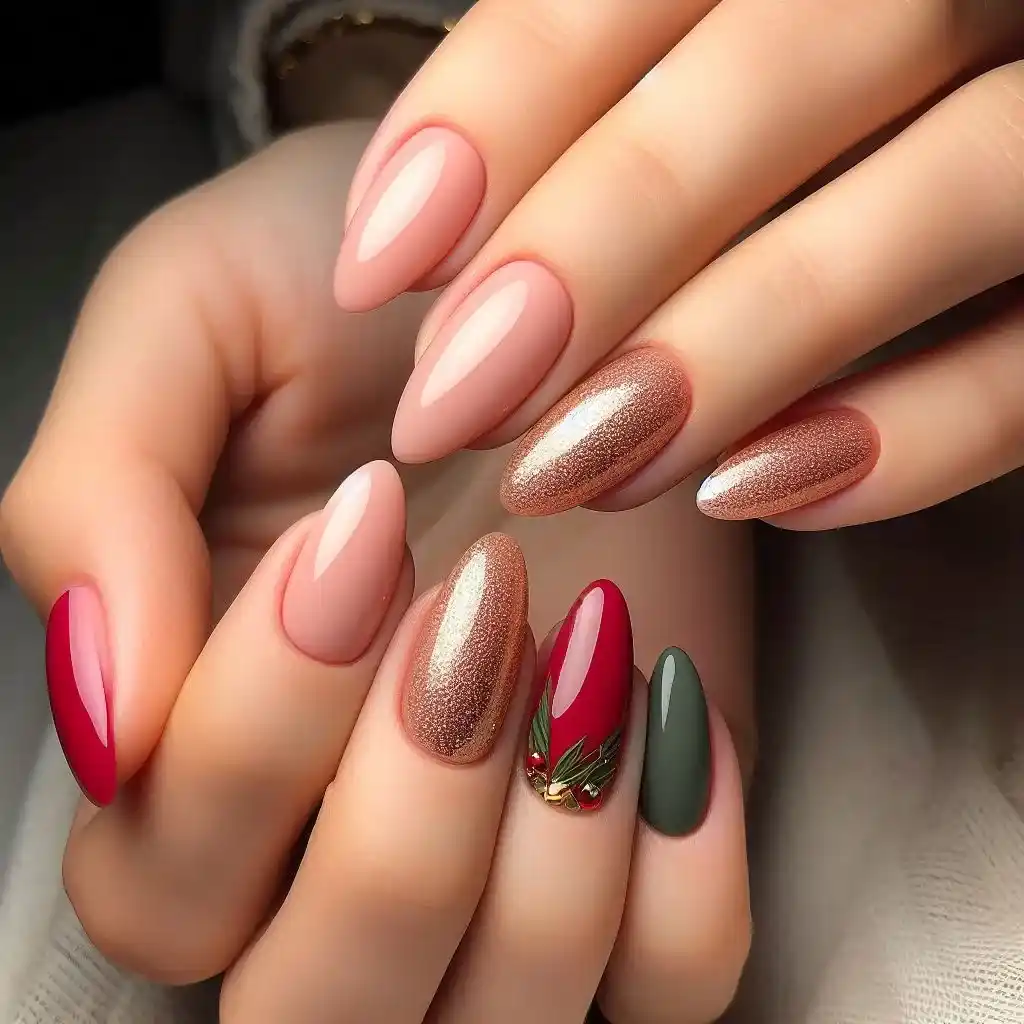
Upgrade the classic French manicure by swapping out white tips for glittering red or green polish. It’s a subtle but stylish way to embrace the holiday spirit.
To make design:
- Start with a nude or light pink polish as the base.
- Once dry, use red or green polish to paint the tips of your nails like a French manicure.
- Add a thin line of gold glitter polish just below the colored tip for extra festivity.
- Finish with a shiny top coat.
8. Winter Wonderland
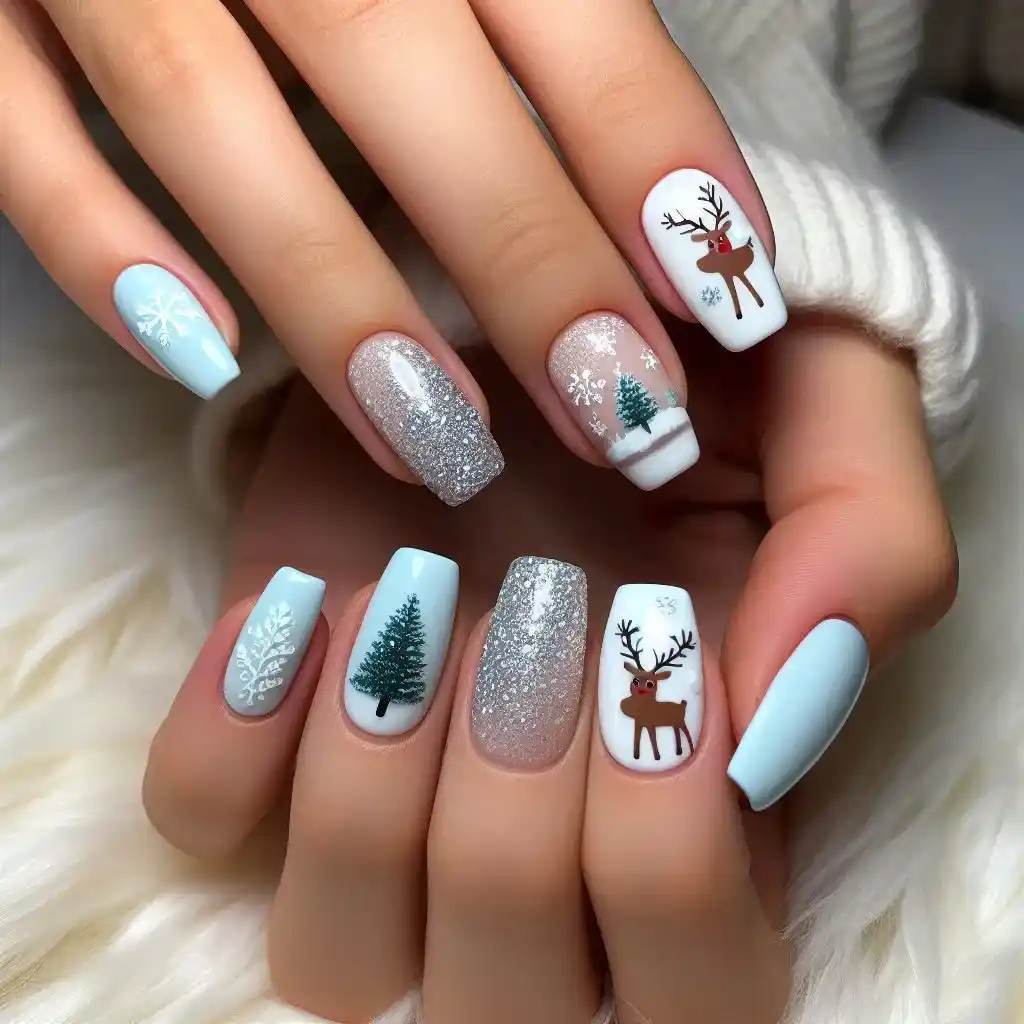
This nail design features intricate trees, snowflakes, and reindeer on a crisp, white background. It’s a scenic and festive tribute to the winter season.
To make design:
- Apply a white or soft blue polish to your nails as the base.
- Use a thin brush to paint small winter trees, reindeer, or snowflakes with white polish.
- Add a bit of silver glitter near the tips to represent snow.
- Seal the design with a clear top coat.
9. Holly Berry Nails
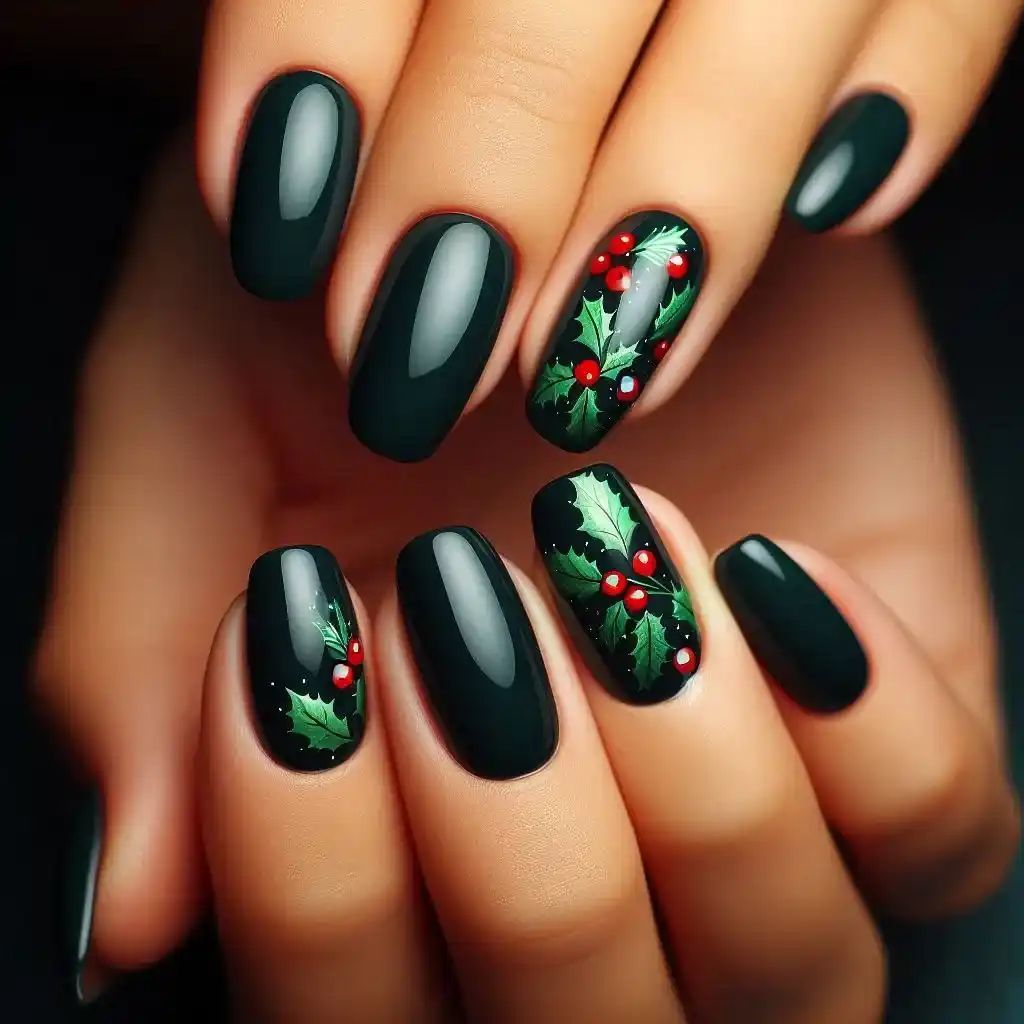
A deep green base with tiny red holly berries painted on creates a timeless holiday look that’s both elegant and cheerful.
To make design:
- Paint your nails with a deep green polish for the base.
- Use a dotting tool to add small red dots for holly berries on each nail.
- Add a few small green leaf details around the berries with a fine brush.
- Finish with a glossy top coat to make the design pop.
10. Gingerbread Man Accents
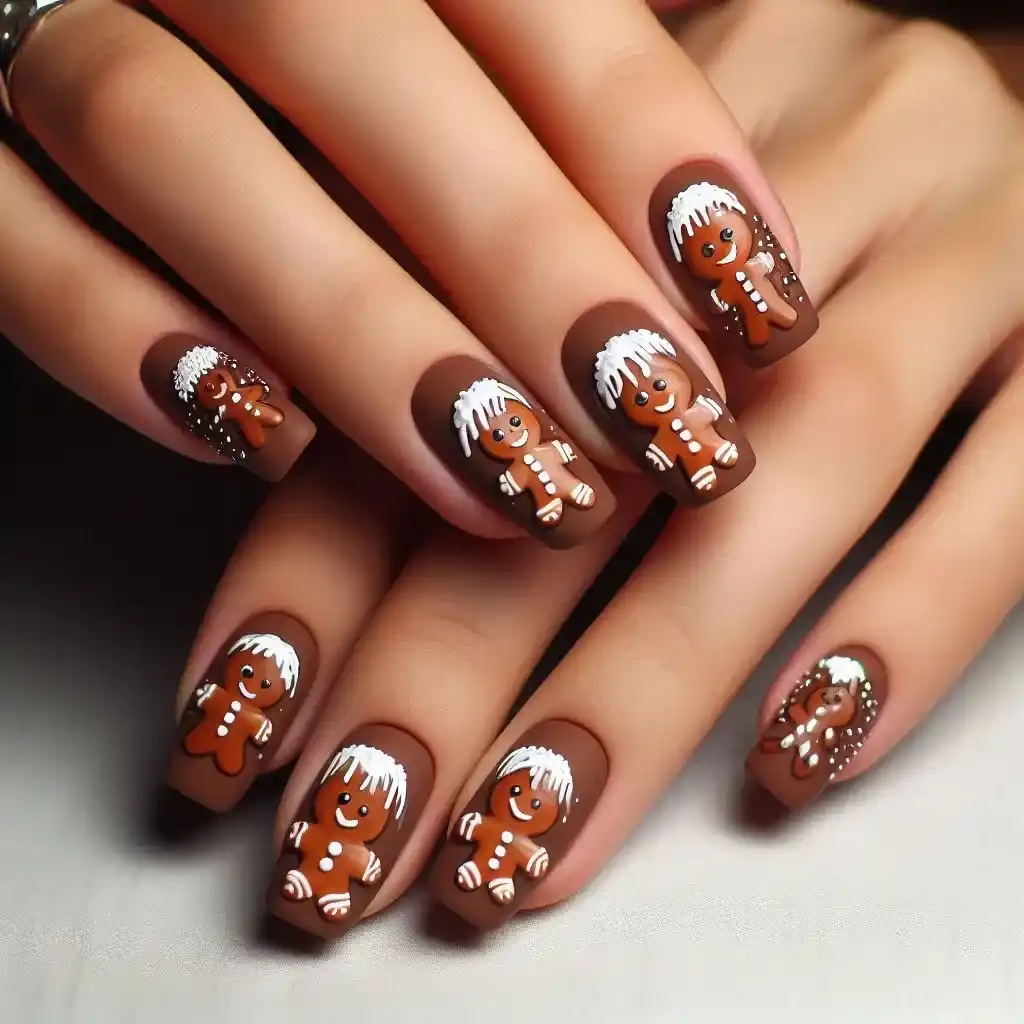
Bring some sweet fun to your nails with gingerbread man accents on a warm brown or nude base. These playful designs are perfect for December baking days!
To make design:
- Start with a warm brown or nude polish as the base.
- Paint a tiny gingerbread man on one or two nails using white, brown, and red polish.
- Add small candy details like dots for buttons using a dotting tool.
- Apply a top coat to protect the cute design.
11. Shimmering Silver Bells
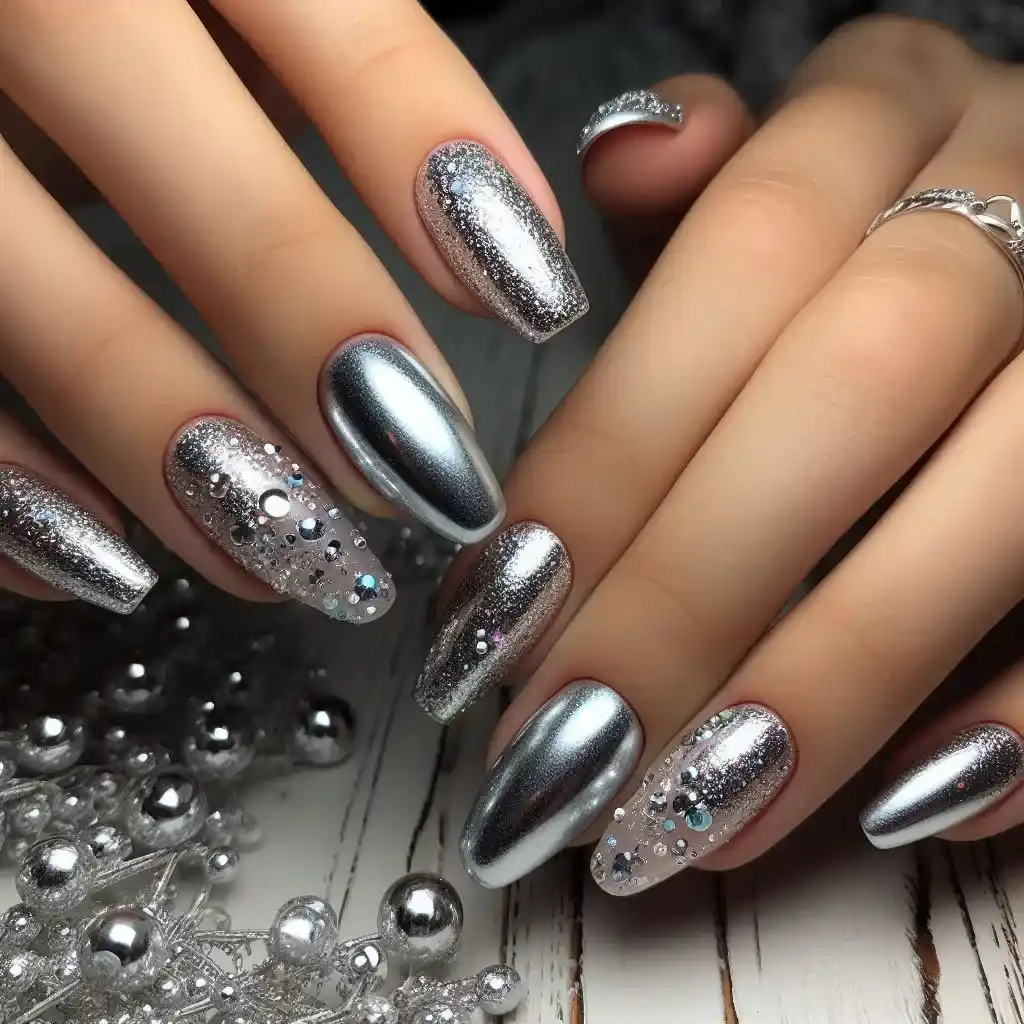
Silver nail polish with subtle bell accents adds a graceful touch to your holiday look. It’s simple, elegant, and ideal for those who want a minimalist style with a festive twist.
To make design:
- Apply a silver or grey polish to all nails.
- Let the base dry completely.
- Use a small brush to paint tiny bell shapes on each nail with silver polish.
- Add a bit of shimmer with a glitter top coat to make the bells twinkle.
12. Red Velvet Glitter
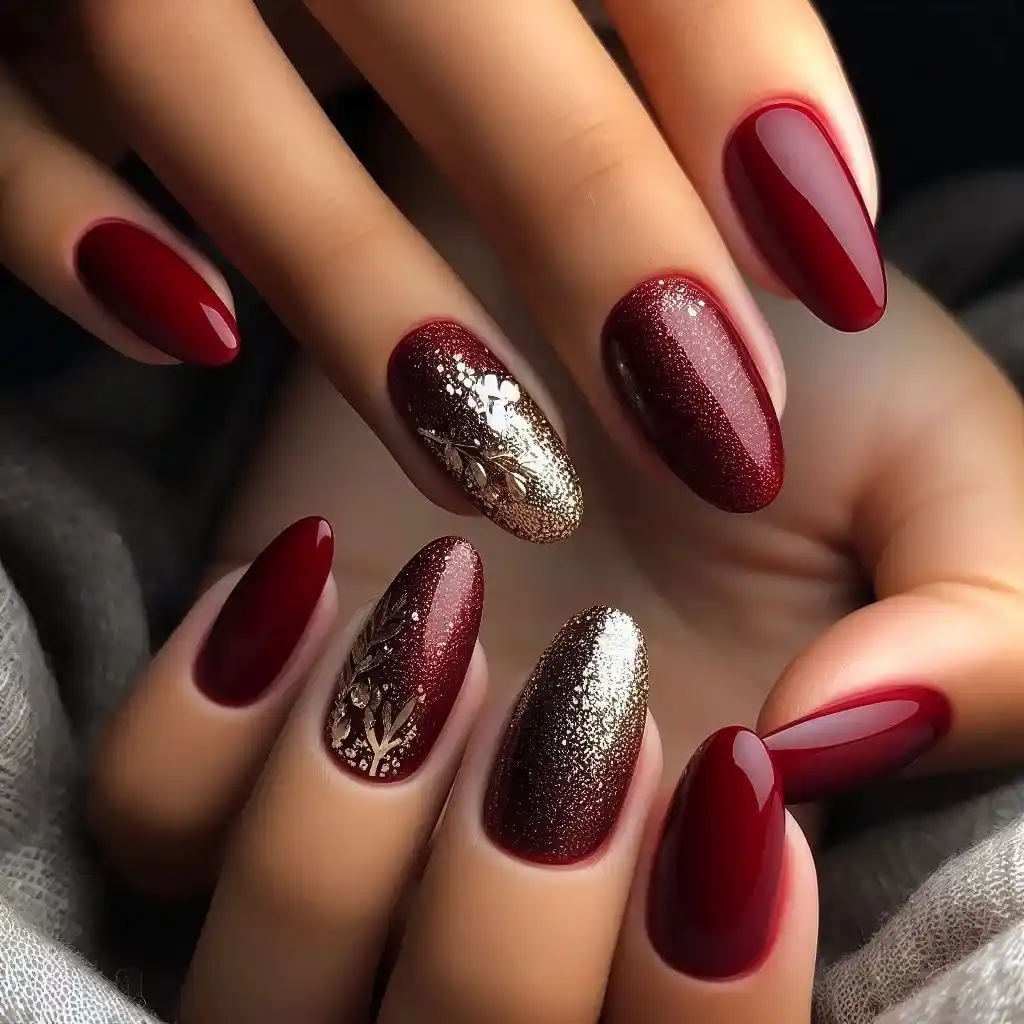
A rich, velvety red base combined with fine gold or silver glitter creates a luxurious, festive look. It’s the perfect combination of classic holiday colors with a glamorous twist for your December celebrations.
To make design:
- Start with a deep, rich red polish for a luxurious velvet-like base.
- Once dry, use a fine glitter polish in gold or silver to gently dust the tips or create a subtle gradient effect from the base upwards.
- Keep the glitter light and focused to maintain the soft, elegant look.
- Finish with a clear top coat to lock in the sparkle and give it a velvety glow.
13. Winter Neutrals
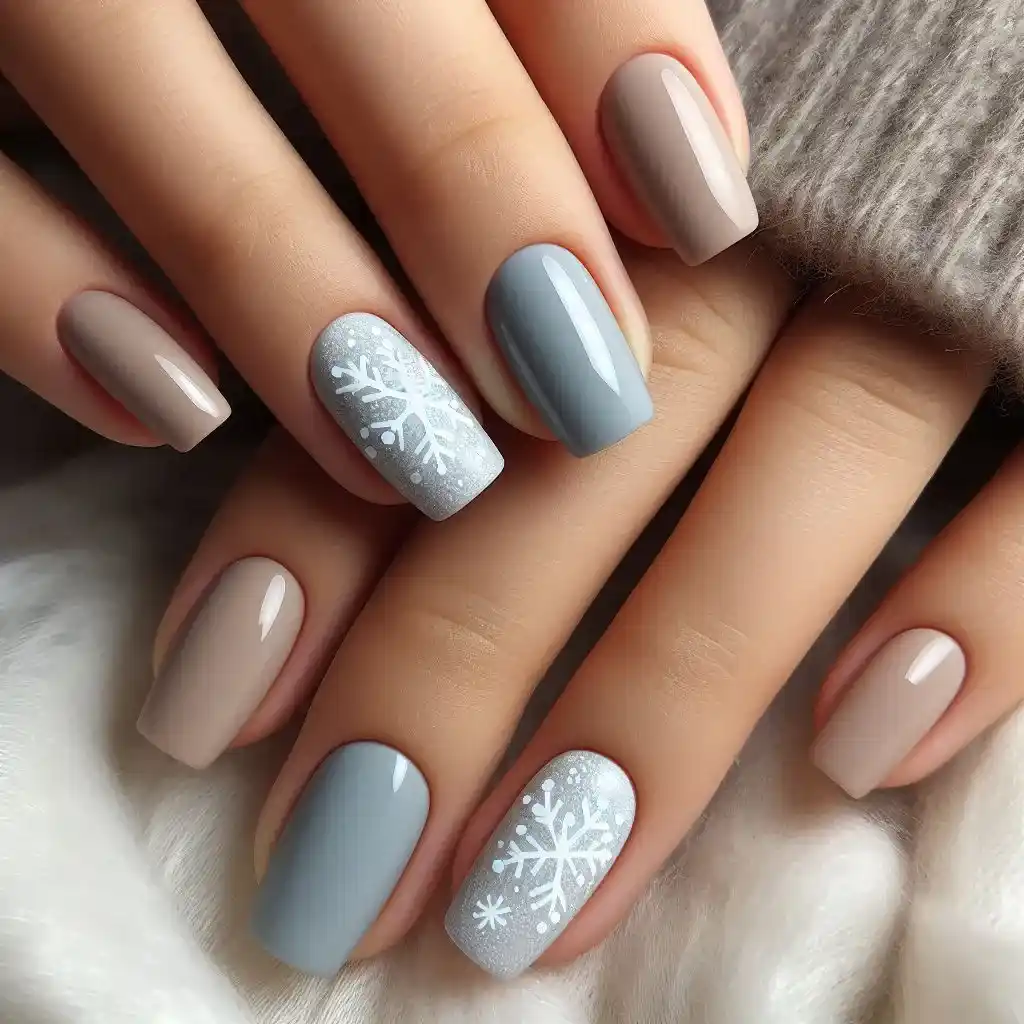
If you’re not into bold colors, try soft neutral tones like beige or pale grey with delicate snowflake details. It’s understated but still very seasonal.
To make design:
- Choose a soft beige or pale grey polish for the base.
- Paint each nail with the chosen neutral shade.
- Use white polish to draw small snowflakes or dots for a simple, wintery look.
- Add a top coat to seal the minimalist design.
14. Festive Confetti
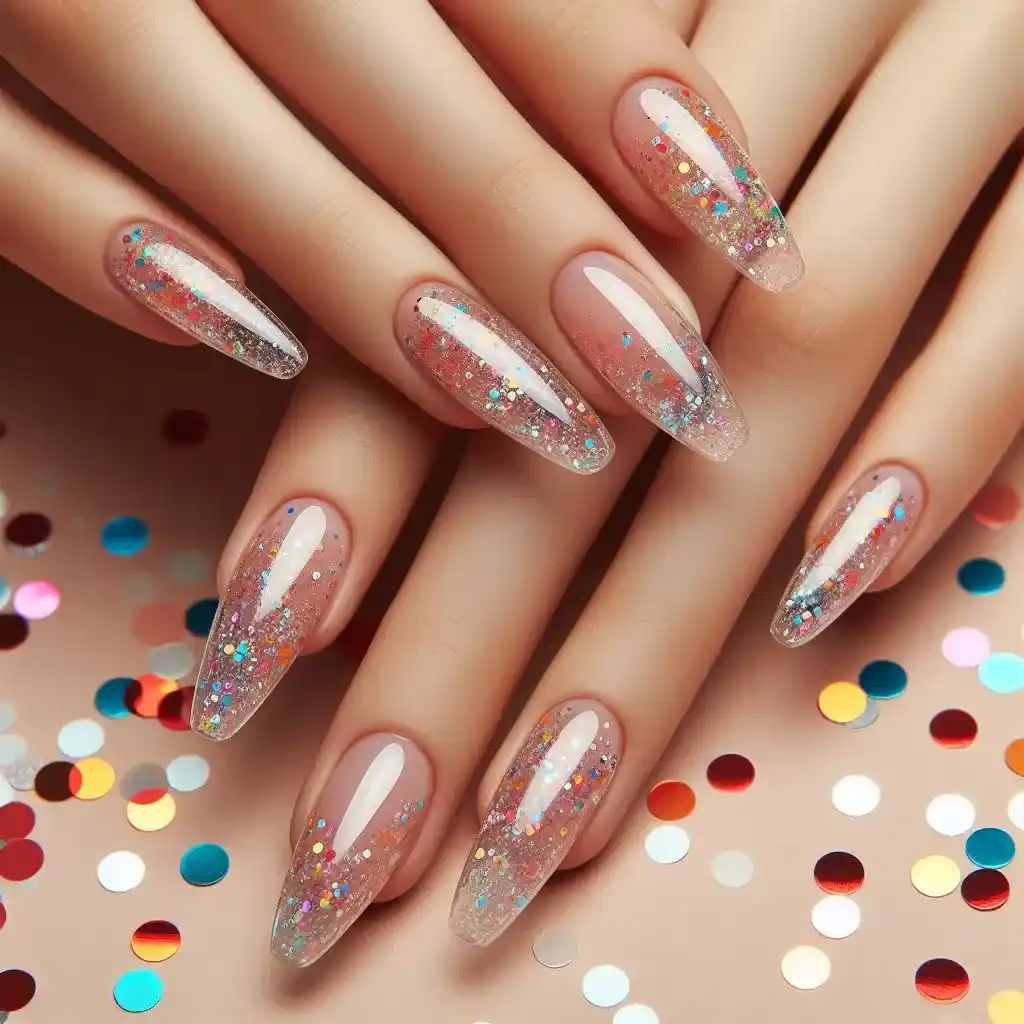
A fun, party-ready design featuring multicolored glitter confetti on a neutral or sheer base. These nails will make you the life of any holiday celebration.
To make design:
- Start with a clear or sheer pink base coat.
- After it dries, apply small dots of multicolored glitter polish randomly on each nail to resemble confetti.
- Concentrate the glitter towards the tips for a gradient effect.
- Finish with a glossy top coat to smooth out the texture.
15. Holiday Sweater Nails
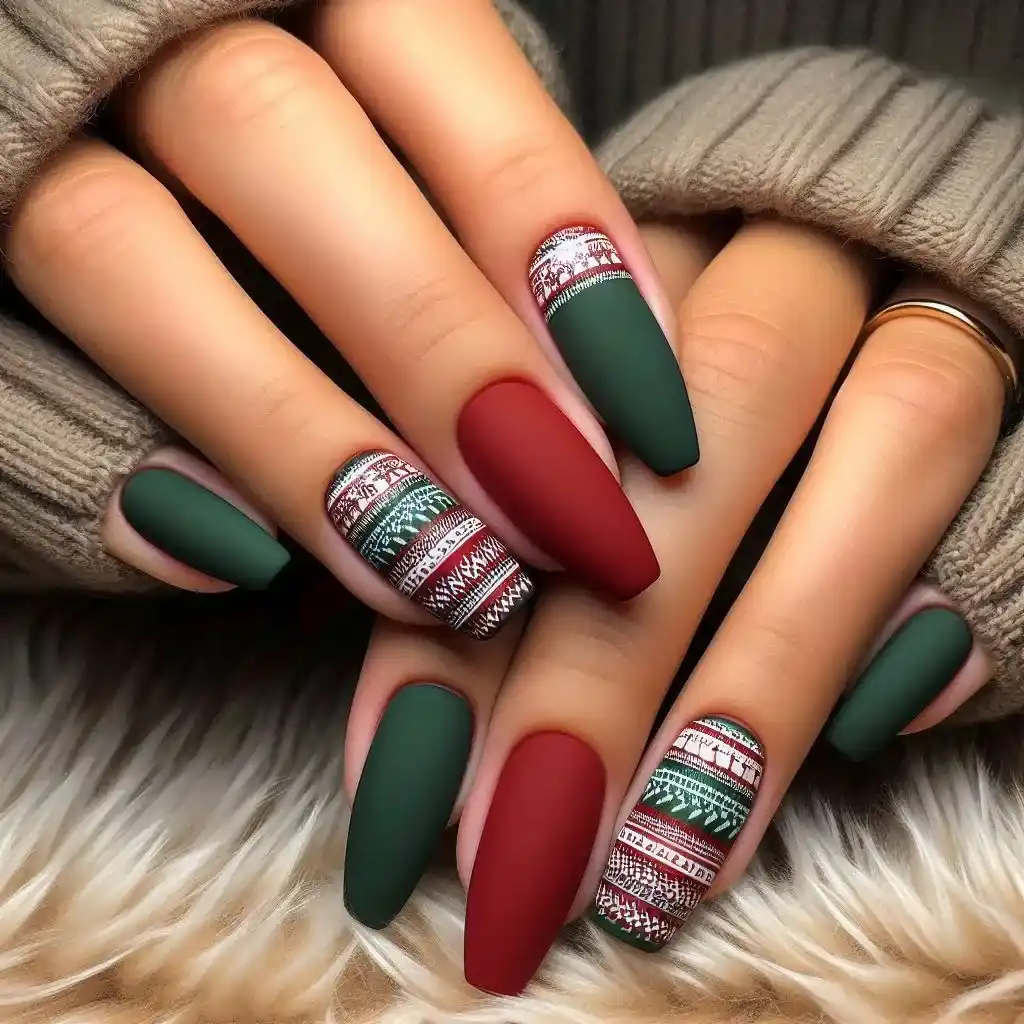
Mimicking the cozy patterns of holiday sweaters, this design uses intricate lines and shapes to create a warm, festive look. It’s perfect for staying snug and stylish.
To make design:
- Paint your nails with a matte red or green base.
- Use white polish and a thin brush to draw sweater-like patterns (lines, dots, and shapes) across each nail.
- Let each layer dry before adding another to prevent smudging.
- Finish with a matte top coat to keep the cozy feel.
16. Emerald Elegance
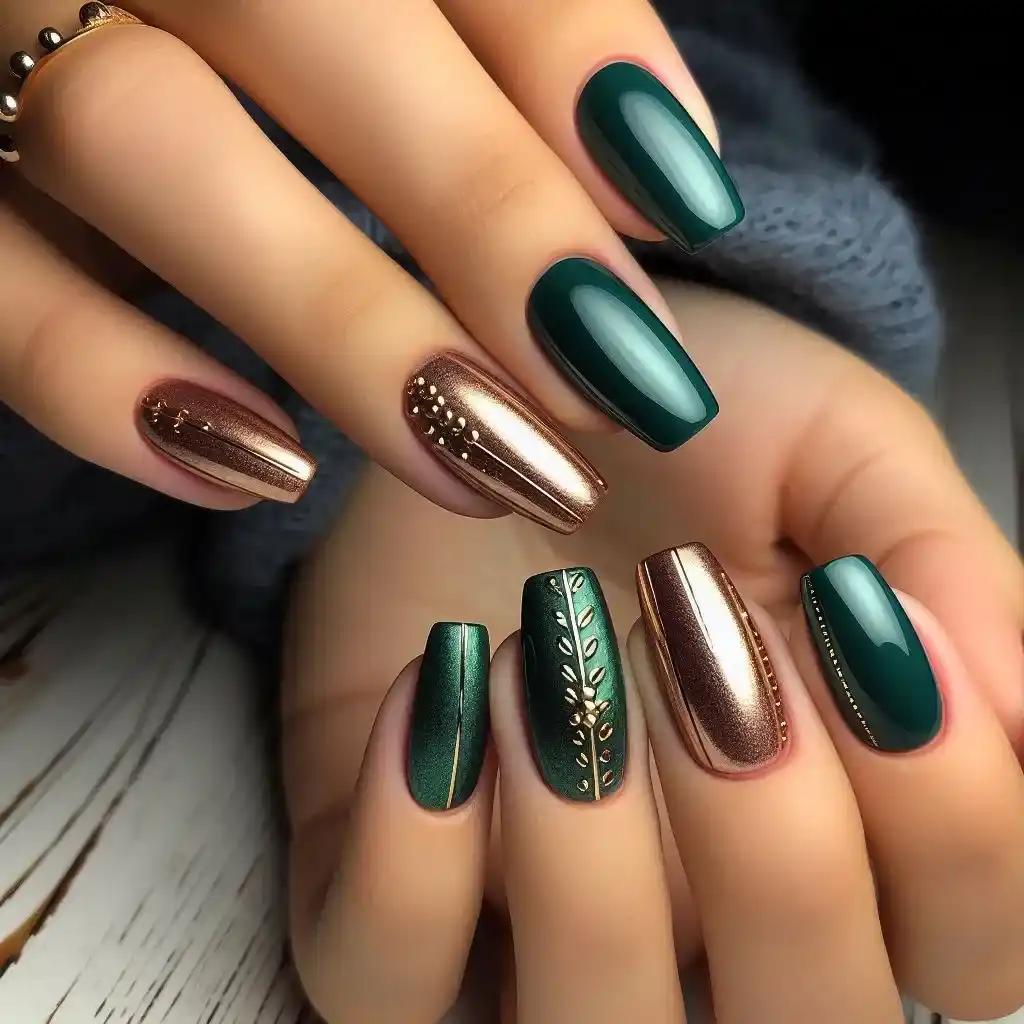
Rich, dark emerald green nails offer a sophisticated twist on traditional holiday colors. Add a glossy finish to make them pop during evening events.
To make design:
- Apply a rich emerald green polish to all nails.
- Once the polish dries, use a gold striping tape or thin brush to add subtle accents (like thin lines or dots).
- Keep the design simple to maintain elegance.
- Apply a glossy top coat to enhance the shine.
17. Peppermint Swirls
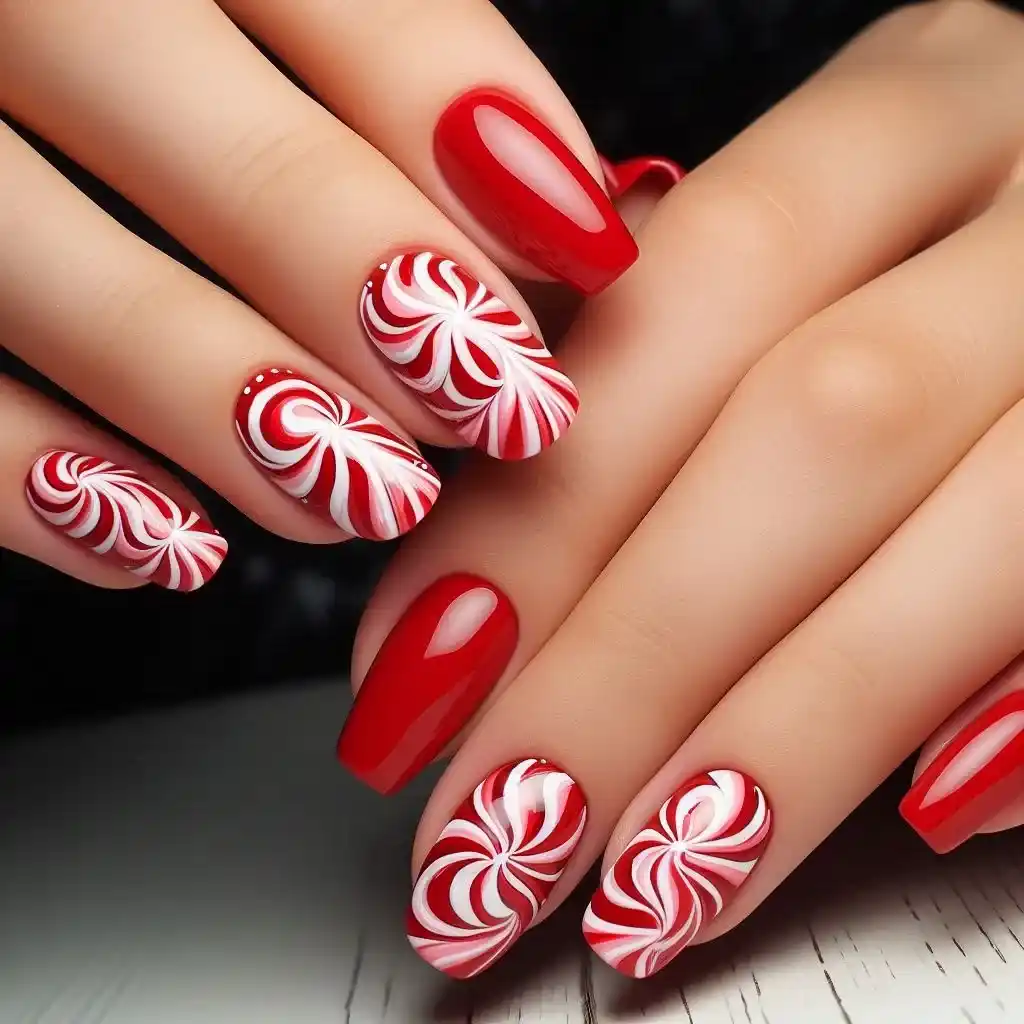
A red-and-white swirled design, similar to peppermint candies, adds a fun and festive touch to your holiday ensemble. It’s sweet and eye-catching!
To make design:
- Use a red polish as the base color.
- After it dries, use white polish and a small brush to create swirly lines, mimicking the look of peppermint candies.
- Repeat the swirls on each nail for a unified look.
- Finish with a shiny top coat to make the design pop.
18. Reindeer Silhouettes
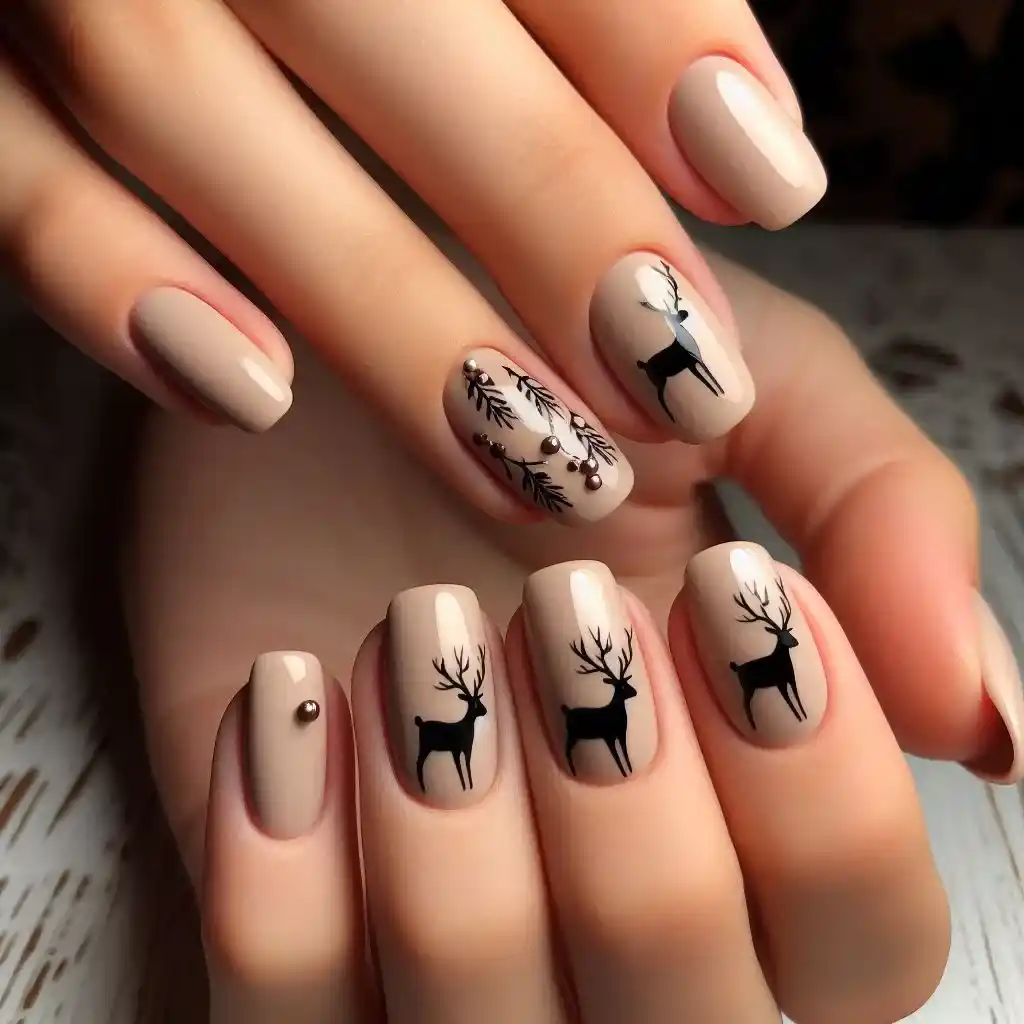
This minimalist design features tiny reindeer silhouettes against a light or neutral background. It’s a subtle nod to the holiday season without being over the top.
To make design:
- Start with a neutral or light-colored polish as the base.
- Use a thin brush to draw simple reindeer outlines in black or brown polish on one or two nails.
- Add tiny details like antlers with a fine brush for an extra touch.
- Seal the design with a clear top coat.
19. Icicle Tips
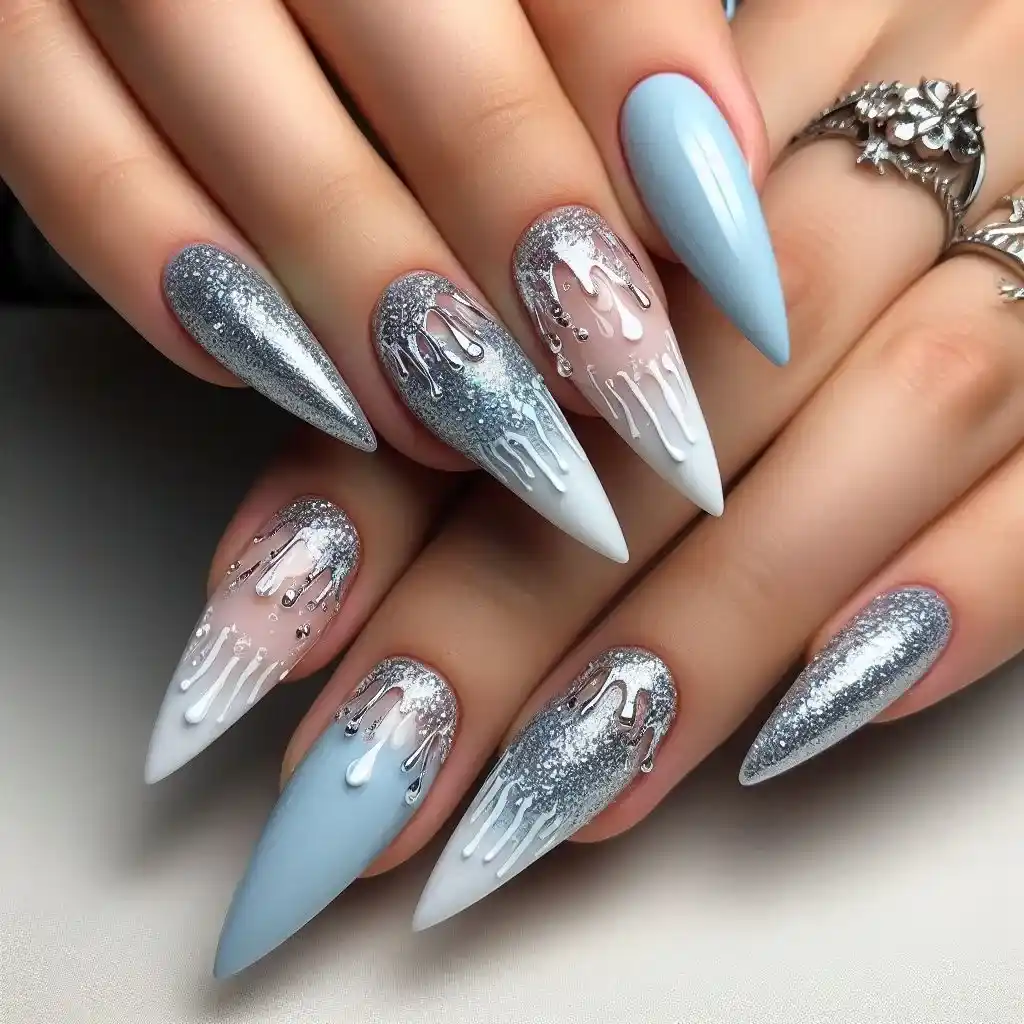
Cool, icy blue or silver polish drips down from the tips of your nails, mimicking icicles hanging from a rooftop. It’s a fresh, wintry design perfect for December.
To make design:
- Apply a light blue or clear polish as the base.
- Use silver polish to paint thin, sharp lines dripping from the tips of your nails to resemble icicles.
- Add a bit of glitter polish to the icicles for a frosty sparkle.
- Apply a shiny top coat to complete the design.
20. Glistening Snowflakes
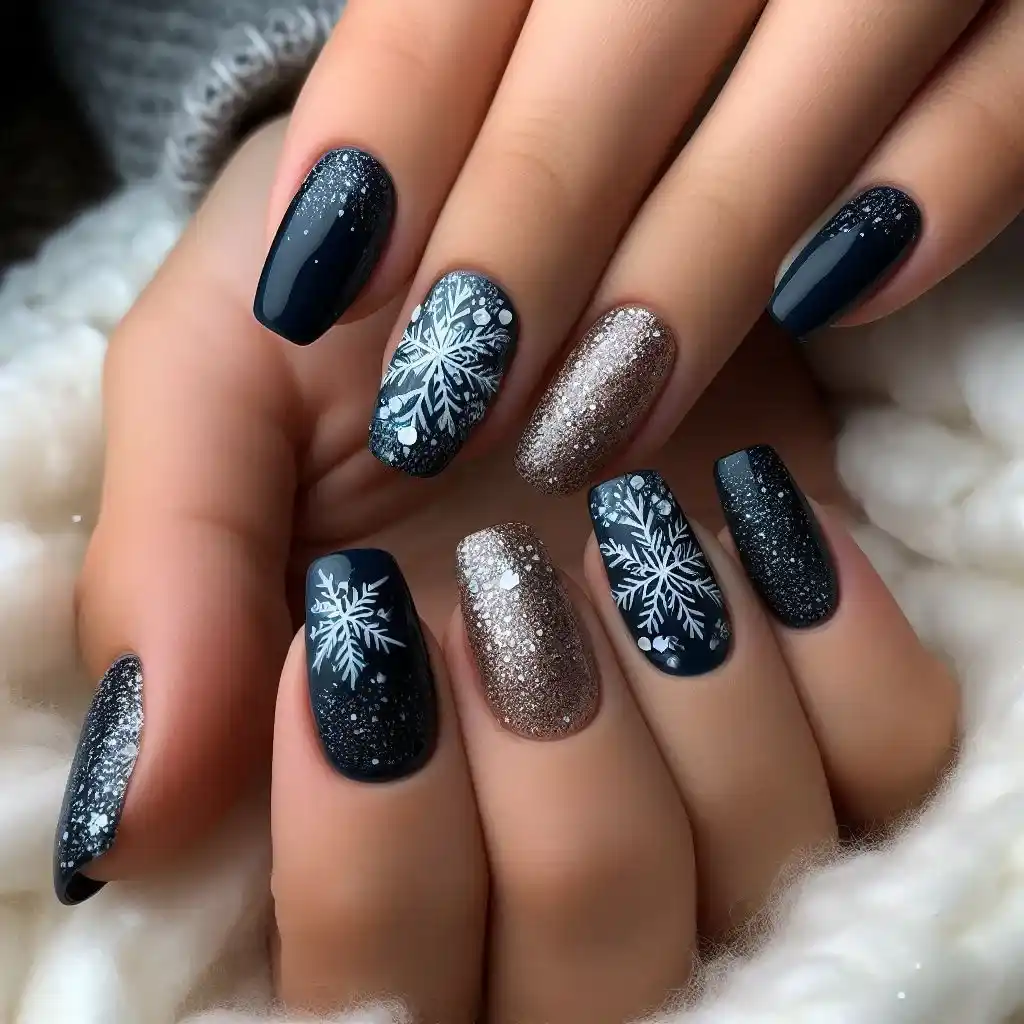
Silver or glittery snowflake designs on a deep navy blue or black background create a dramatic winter night effect that’s as chic as it is festive.
To make design:
- Start with a dark navy blue or black polish as the base.
- Use a fine brush to paint delicate snowflakes with silver or white polish on each nail.
- Add small dots of glitter around the snowflakes for a sparkling effect.
- Seal with a clear top coat to make the design shine.
21. Tinsel Toes
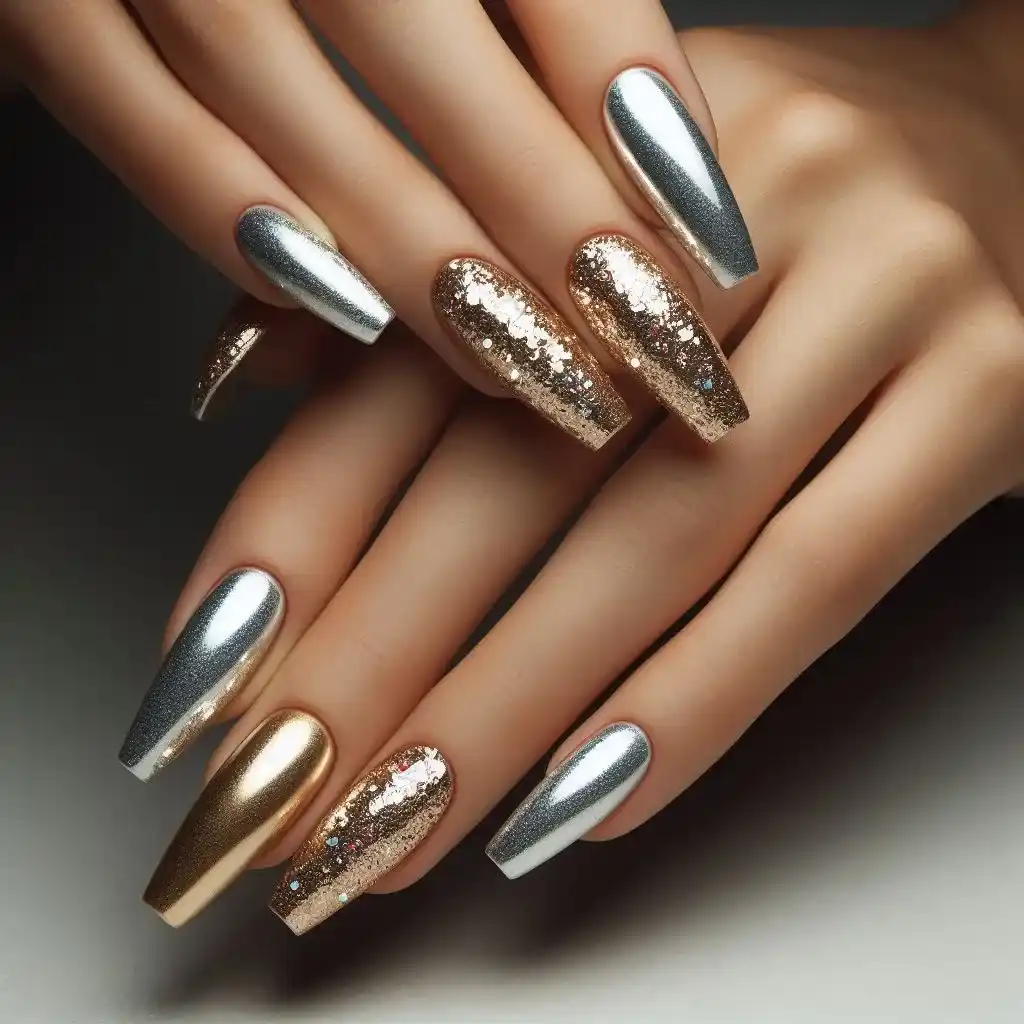
For those who want extra glam, cover your nails in metallic tinsel-inspired polish. Gold, silver, or even holographic options will ensure you shine bright at every party.
To make design:
- Paint your nails with a metallic gold or silver polish as the base.
- After it dries, use a glitter polish to add a tinsel-like effect across the nails.
- Apply more glitter near the tips to create a gradient look.
- Finish with a shiny top coat for extra sparkle.
22. Velvet Red
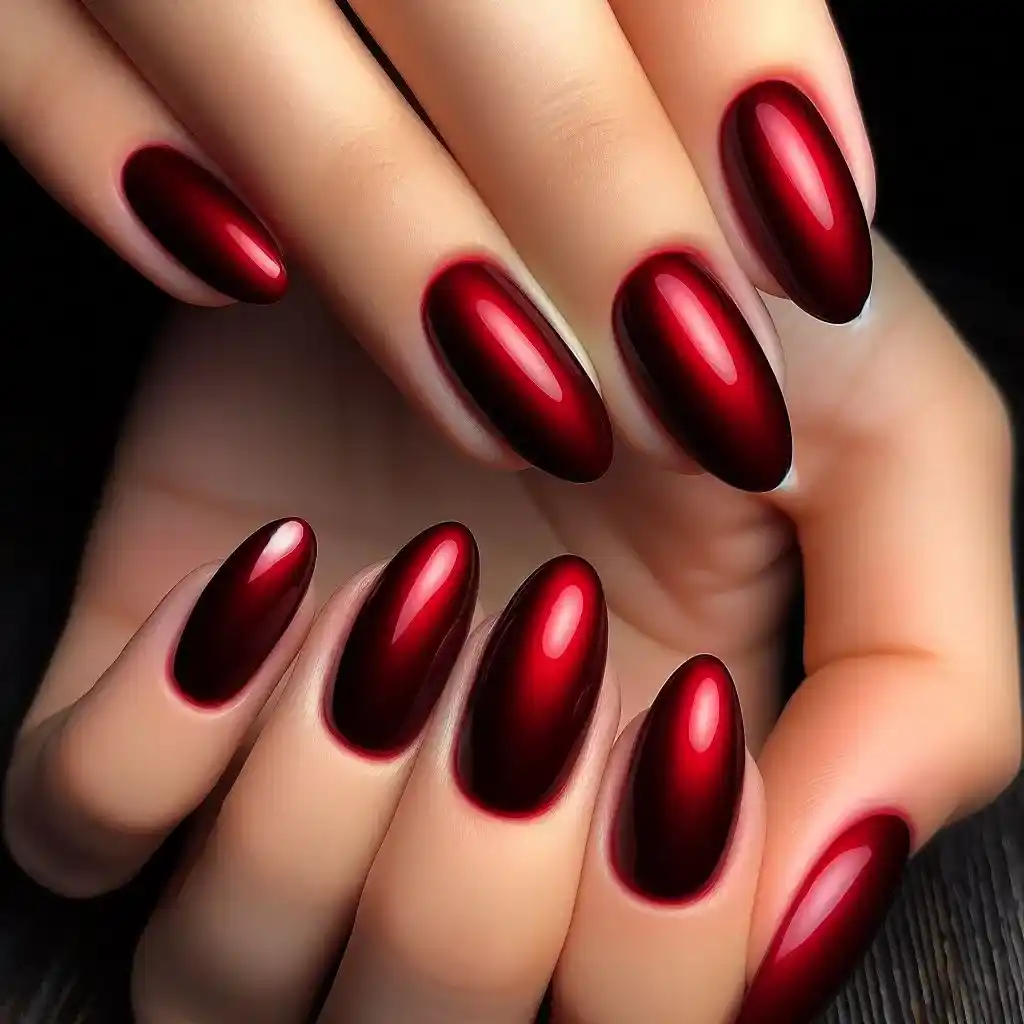
Rich, deep red nails with a soft velvet-like texture that exudes luxury. The design is kept simple and elegant, with a matte top coat to enhance the velvety appearance.
To make design:
- Paint your nails with a deep red velvet-textured polish for an ultra-luxurious look.
- Let the polish dry fully for the velvet effect to appear.
- Skip adding extra designs—this look is all about the rich color and texture.
- Finish with a matte top coat if desired.
23. Crimson Classics
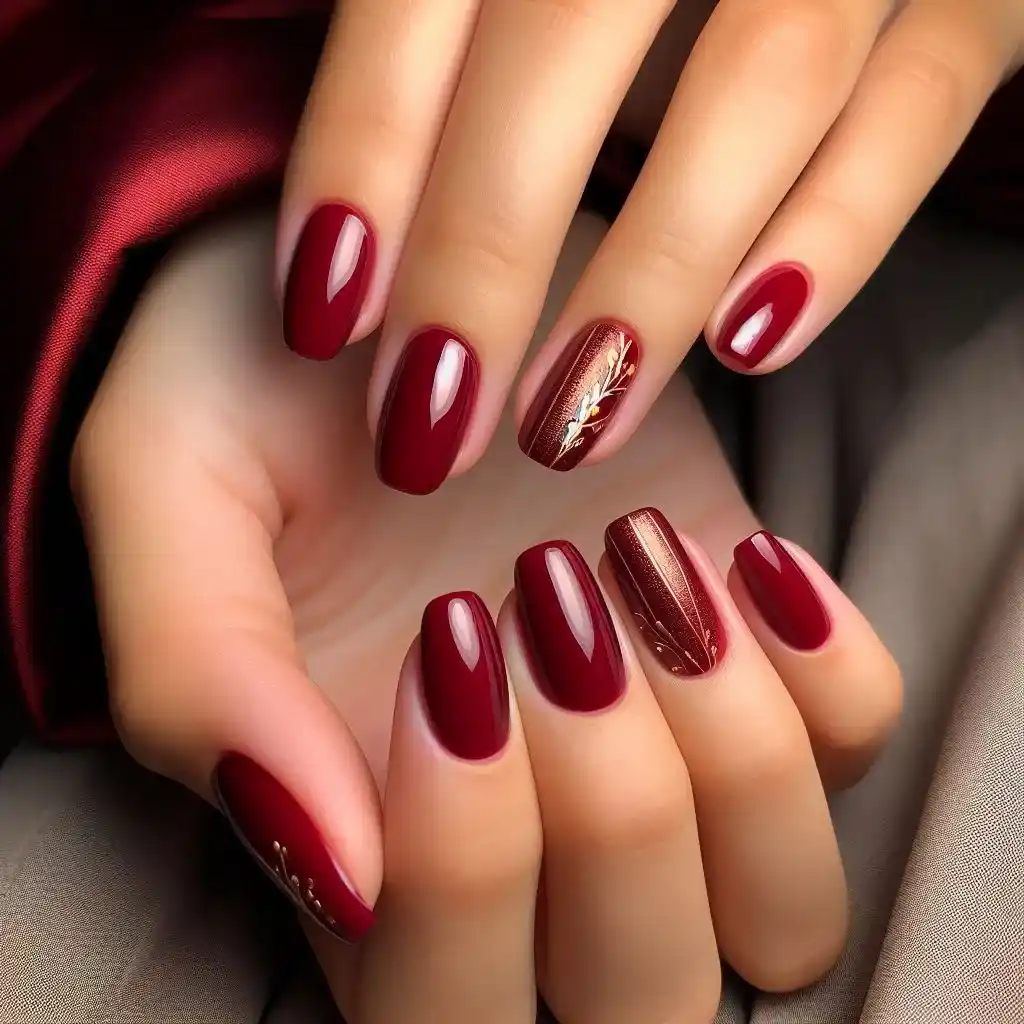
Deep crimson nails are a timeless choice for the holidays. Add some gold foil accents for an extra touch of glamour that works for both Christmas and New Year’s Eve.
To make design:
- Apply a deep red polish to all your nails.
- Once dry, use gold foil or glitter polish to add subtle accents along the edges of the nails.
- Keep the design simple and classy by avoiding too much detail.
- Seal the look with a clear top coat for a smooth, shiny finish.
24. Glitter Gradient
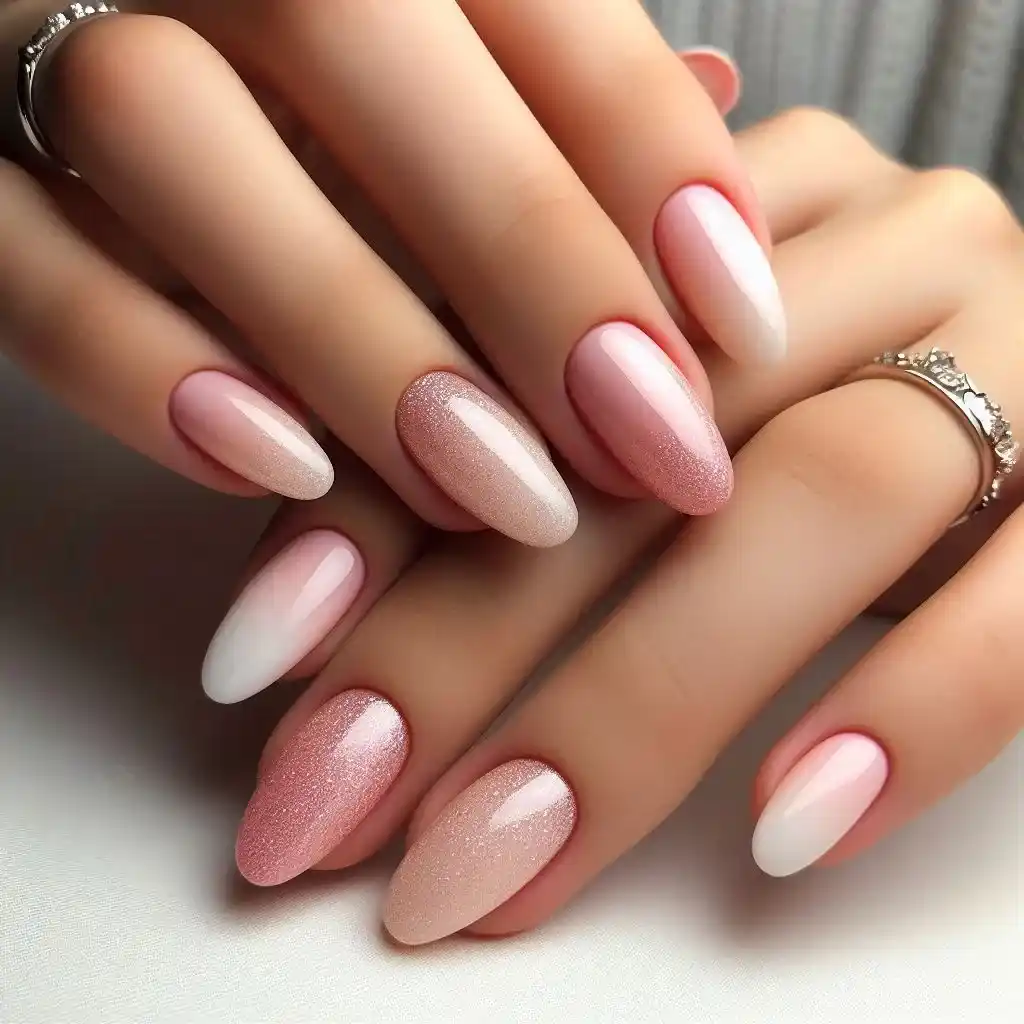
A beautiful glitter gradient design that fades from a nude or soft pink base into sparkly gold or silver tips. It’s perfect for those who love a bit of sparkle but prefer a subtle approach.
To make design:
- Start with a soft pink or nude base polish.
- Apply glitter polish to the tips of your nails, concentrating more glitter near the top for a gradient effect.
- Use a sponge to gently dab the glitter and blend it downward for a smooth transition.
- Apply a glossy top coat to smooth the gradient and add shine.
25. Santa’s Hat
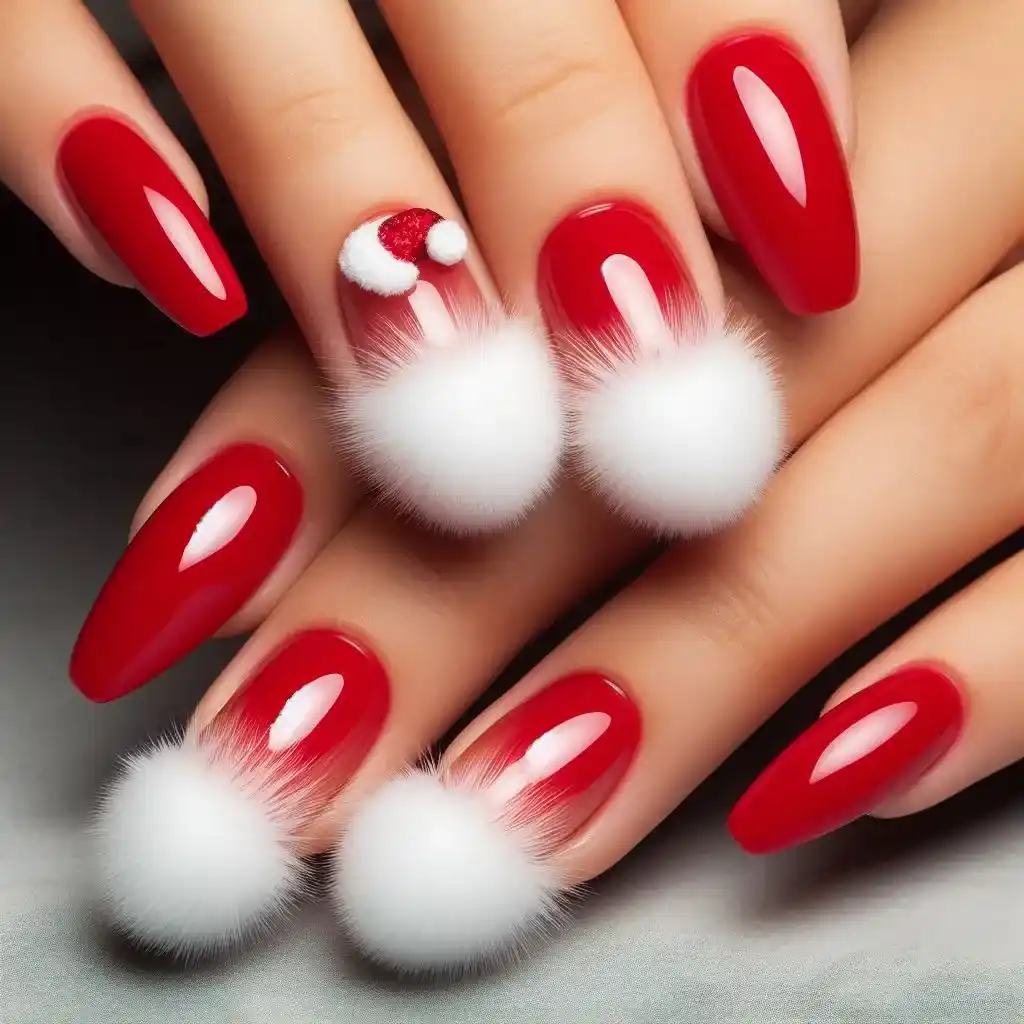
Red nails with a fluffy white tip mimic Santa’s iconic hat, bringing a fun and festive element to your December look. It’s playful, cute, and guaranteed to bring holiday cheer!
To make design:
- Start with a red polish for the base color.
- Paint the tips of your nails with a fluffy white polish to mimic the trim of Santa’s hat.
- Add a small white dot on the edge of one nail to represent the pom-pom.
- Seal the design with a clear top coat for a festive finish.
26. Frozen Fantasy
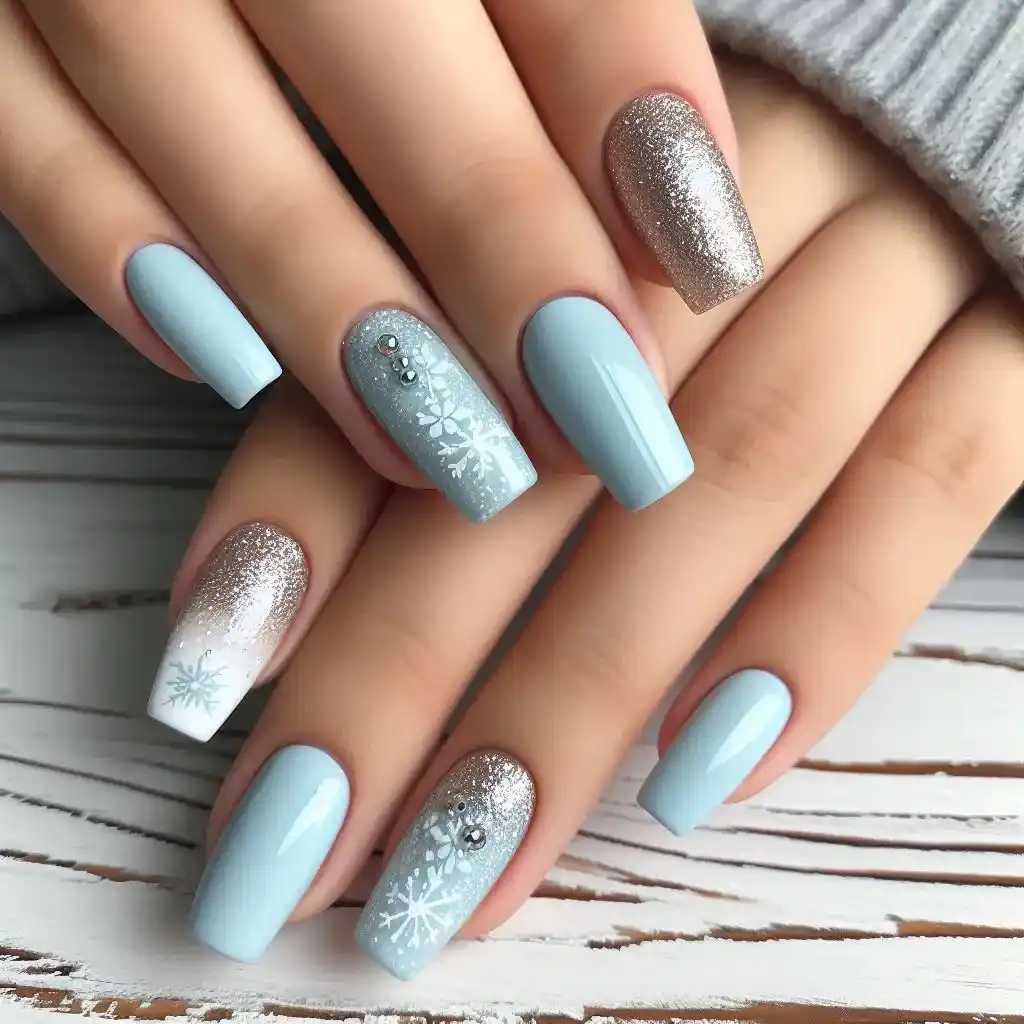
Inspired by the icy beauty of winter, this design features a pale blue base with shimmering silver accents, mimicking the glistening frost of a cold December morning. It’s a cool, chic look perfect for any winter gathering.
To make design:
- Start with a pale blue or icy white polish as the base for a frosty effect.
- Once dry, use silver or glitter polish to lightly coat the tips of your nails, resembling frosted ice.
- Add tiny silver snowflakes or icy dots using a small nail brush or toothpick to enhance the wintery look.
- Apply a clear top coat to make your nails sparkle like frozen crystals.
27. Twinkling Stars
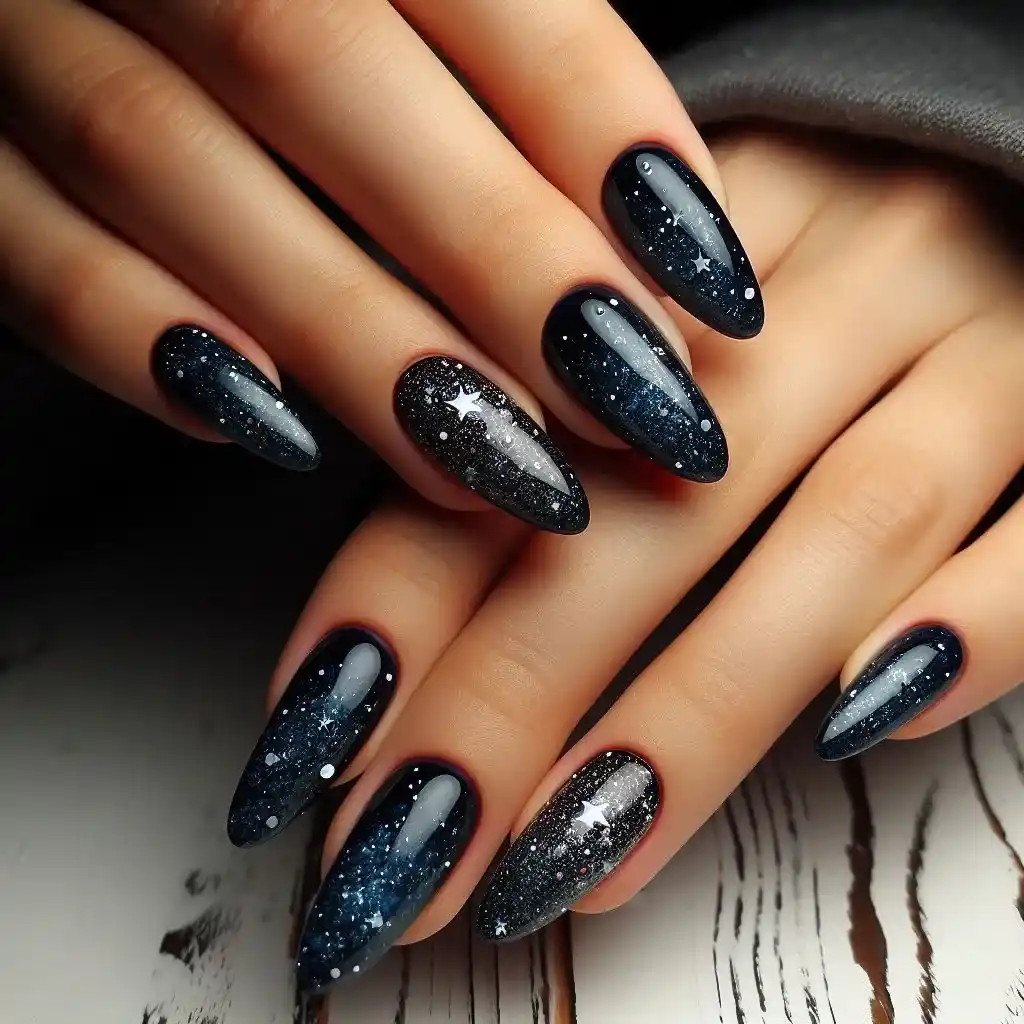
A midnight blue or black base with tiny gold or silver stars gives a magical, celestial feel to your December nails. It’s perfect for those who want a bit of starlit elegance to complement their holiday outfits.
To make design:
- Apply a dark midnight blue or black polish to your nails for a night-sky base.
- Use a small dotting tool or a toothpick dipped in silver polish to create tiny star shapes across your nails.
- For extra sparkle, add a few tiny dots of glitter polish around the stars to mimic twinkling lights.
- Seal the design with a shiny top coat to make the stars glimmer like a clear December night.
Candy Cane Stripes

Nothing says December like candy canes! Red and white stripes create a playful, festive look reminiscent of everyone’s favorite holiday treat.
- Paint your nails with a bright red polish as the base.
- After the red dries, use white nail striping tape or a small nail brush to create diagonal white stripes.
- Make sure the lines are evenly spaced to resemble candy canes.
- Finish with a shiny top coat for a smooth finish.
29. Mistletoe Magic
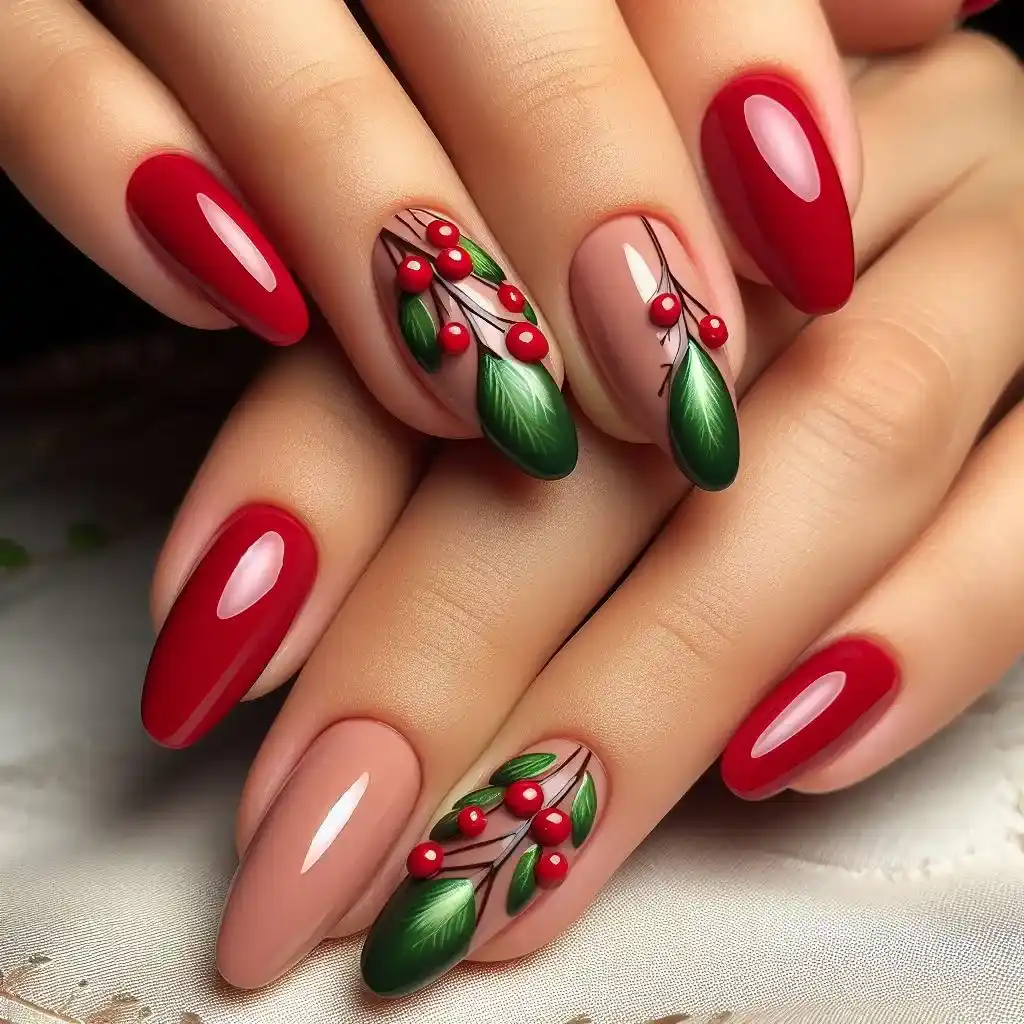
A simple yet festive mistletoe design, complete with tiny leaves and berries, brings a playful and romantic touch to your holiday nails.
To make design:
- Start with a soft red or nude polish as the base.
- Use a thin brush to paint tiny mistletoe leaves with green polish on one or two nails.
- Add small red dots as berries around the leaves.
- Finish with a clear top coat to lock in the festive design.
30. Rainbow Christmas Ornaments
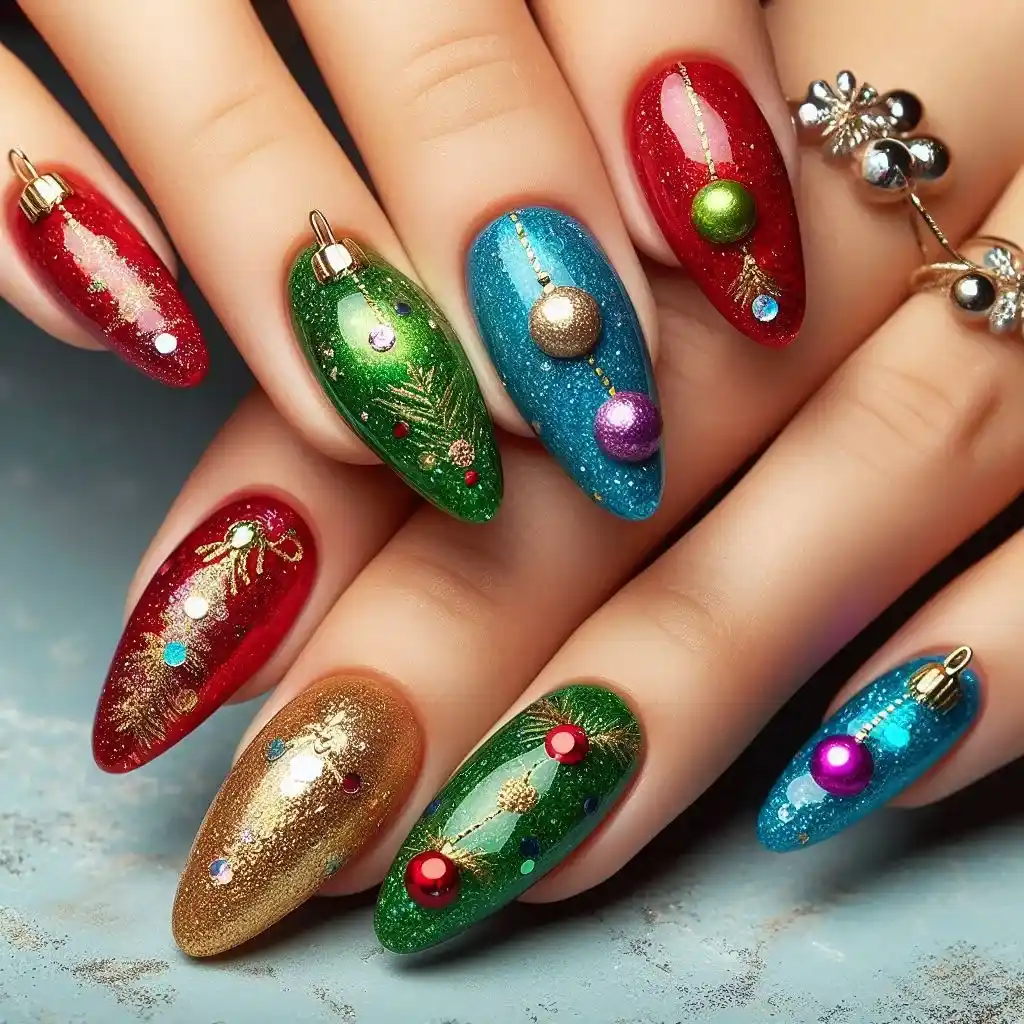
The Rainbow Christmas Ornaments nail design adds a fun and colorful twist to holiday nails. With each nail painted in bright, festive colors like red, green, blue, and gold, and topped with tiny ornament details, this design brings the joy of Christmas decorations right to your fingertips.
To make design:
- Start with a clear or light neutral base to let the colors pop.
- Paint each nail with a different bright, bold color—red, green, blue, gold, and purple to resemble classic Christmas ornaments.
- Use a small brush to add tiny white or silver ornament hooks at the top of each nail.
- Add glitter or metallic polish accents on some nails to give the ornaments a shiny, festive look.
- Finish with a glossy top coat to enhance the vibrant colors and give the design a polished, holiday ornament effect.
Conclusion
December is the perfect time to get creative with your nails and embrace the festive spirit. Whether you prefer subtle elegance, playful designs, or glittery glamour, these 25 December nail ideas offer something for everyone. From classic holiday looks like Gingerbread Man Accents and mistletoe accents to trendy, eye-catching styles like Frozen Fantasy and Gift Wrap Glam, your nails can become a beautiful part of your holiday ensemble. No matter which design you choose, these simple step-by-step instructions make it easy to achieve a stunning holiday look that will have you feeling festive all season long.
