Introduction
Have you ever wanted to bring a little Disney magic to your Halloween look but didn’t know where to start? Whether you’re dressing up as your favorite character or just want to add a playful, spooky twist to your nails, Disney Halloween nails can make your look stand out. From classic villains to beloved characters, there’s a magical design waiting for you to rock this Halloween. Let’s dive into the best Disney-inspired nail designs for this spooky season!
Table of Contents
25 Easy Disney Halloween Nails
1. Villainous Charm
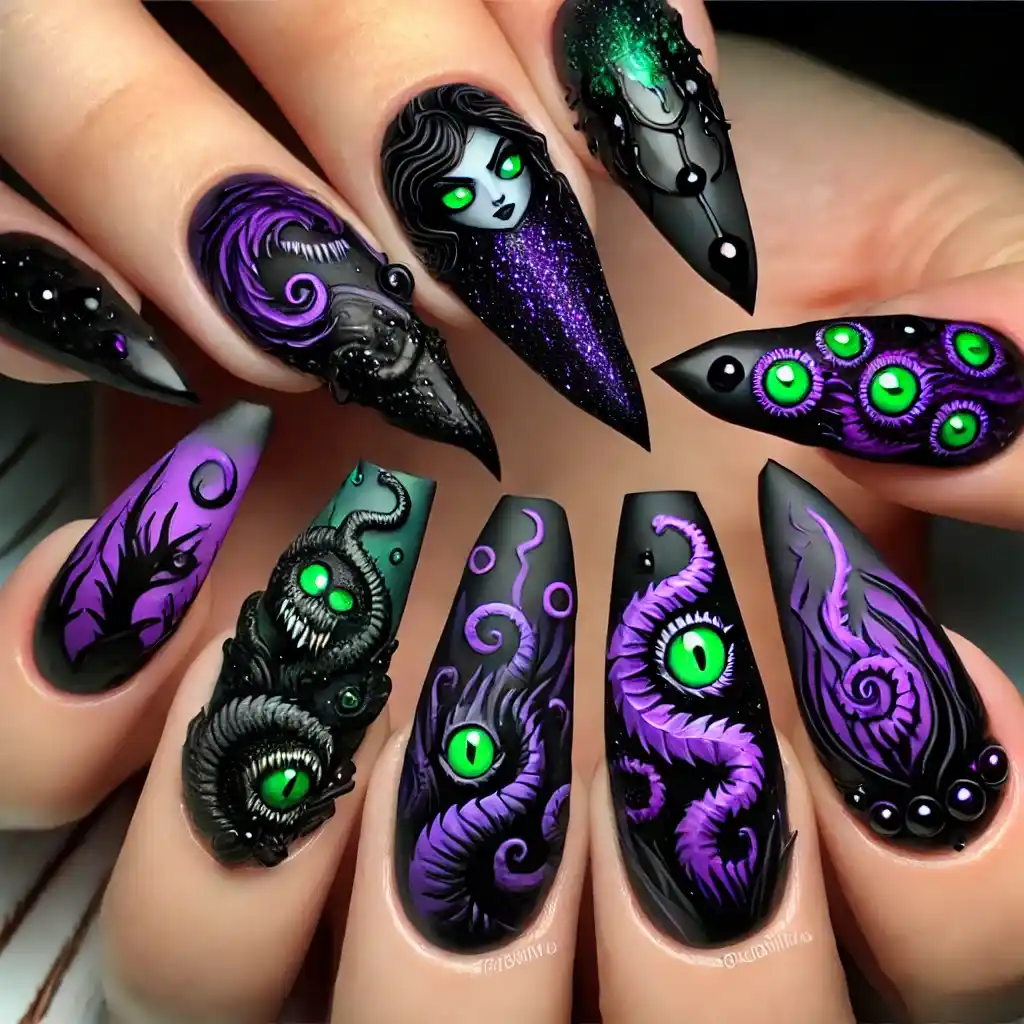
Inspired by the most notorious Disney villains, this nail design features deep purples, blacks, and greens. Each nail showcases symbols from iconic villains like Maleficent’s horns and Ursula’s tentacles.
- Paint all your nails dark purple.
- On one nail, use black polish to draw Maleficent’s horns.
- On another, add Ursula’s tentacles using purple polish.
- For the other nails, make tiny green eyes using a thin brush.
- Finish with a clear top coat for protection.
2. Midnight Pumpkin Glow
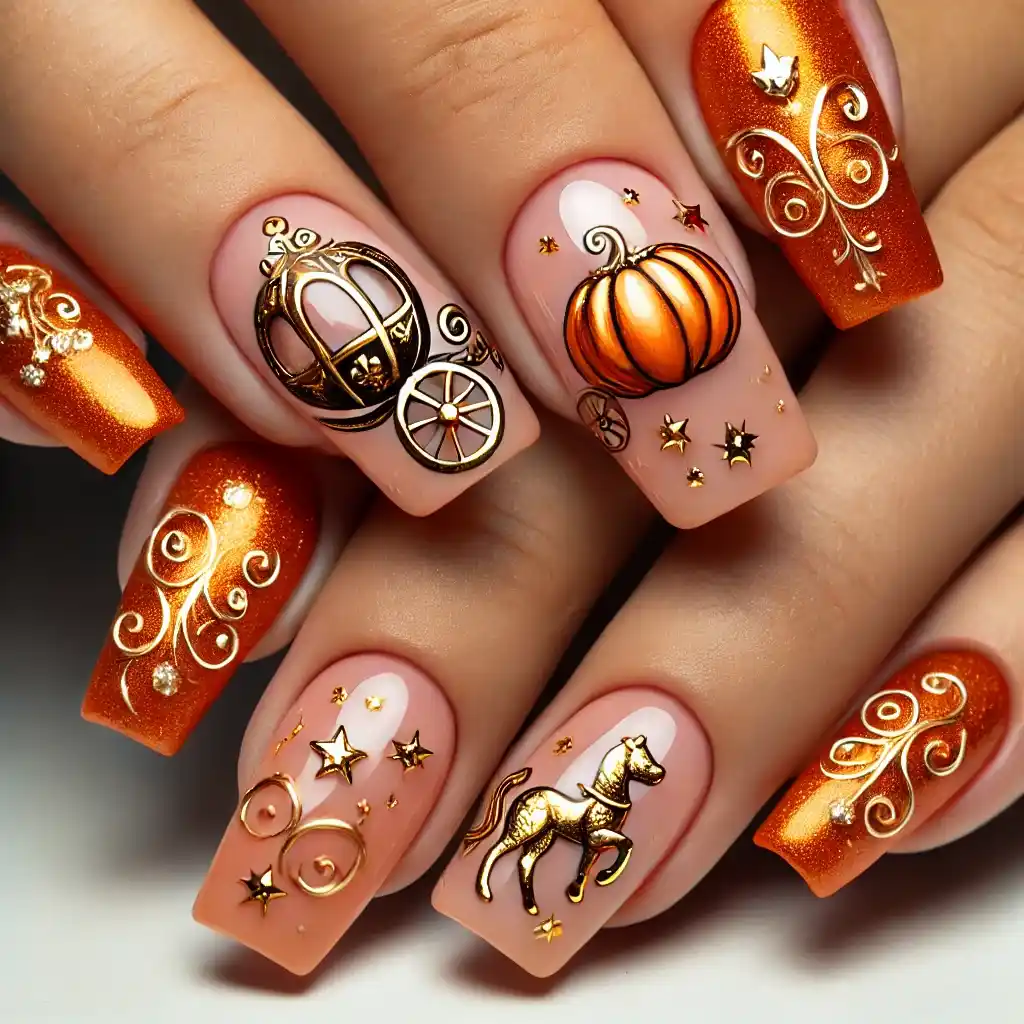
Bring Cinderella’s magical pumpkin carriage to life with this design. Glittering pumpkin-orange nails are topped with delicate gold swirls, with one nail featuring the famous carriage lit up by stars.
- Paint all nails a bright orange.
- On your ring finger, use gold polish to draw a pumpkin carriage.
- Add little stars around the carriage with a thin brush.
- On the other nails, paint gold swirls.
- Seal with a shiny top coat.
3. Haunted Mansion Shadows
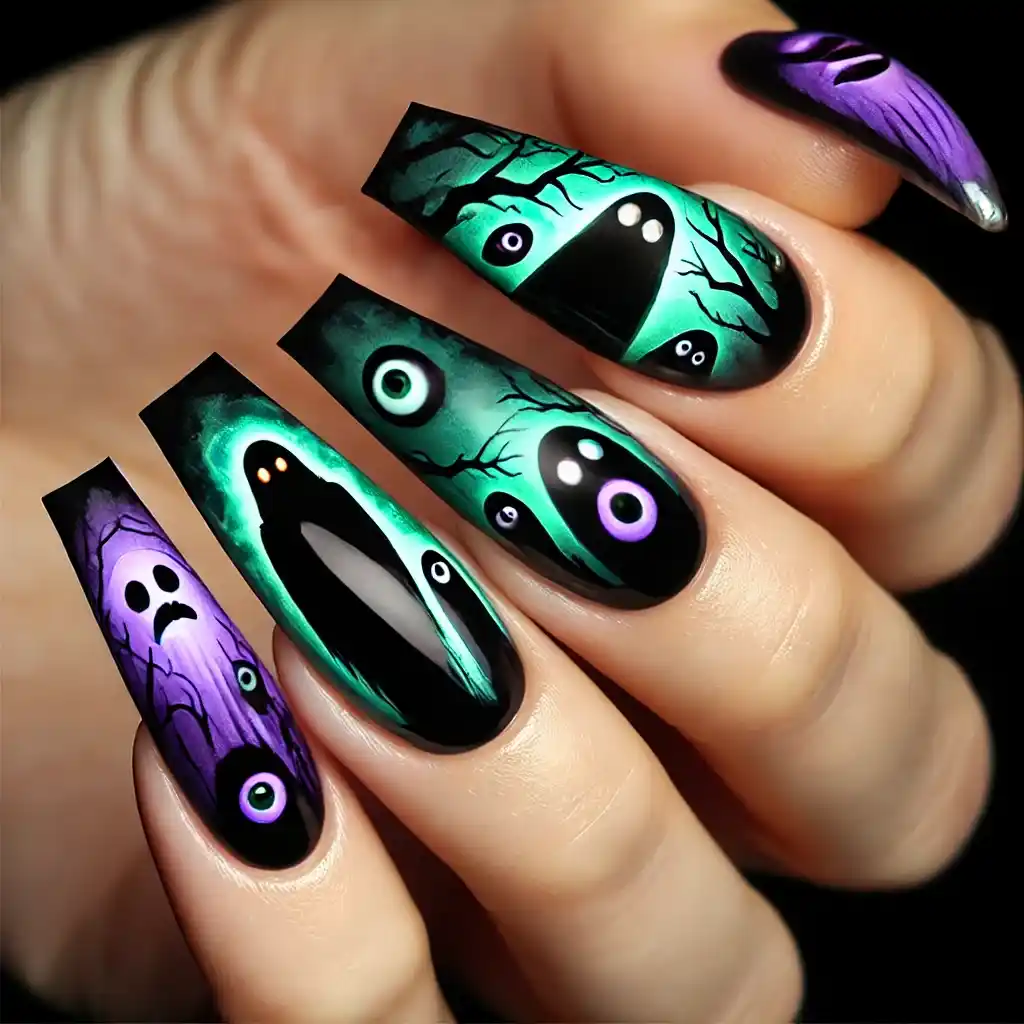
Inspired by the Haunted Mansion ride, this design is all about dark greens and spooky purples. Ghostly silhouettes of the hitchhiking ghosts add a haunting yet elegant touch to the set.
- Paint your nails a deep green.
- Use purple polish to paint ghost shapes on two or three nails.
- Add small white dots for the eyes of the ghosts.
- On the remaining nails, draw shadowy figures with a thin black brush.
- Apply a top coat to keep the design shiny.
4. Evil Queen Poison
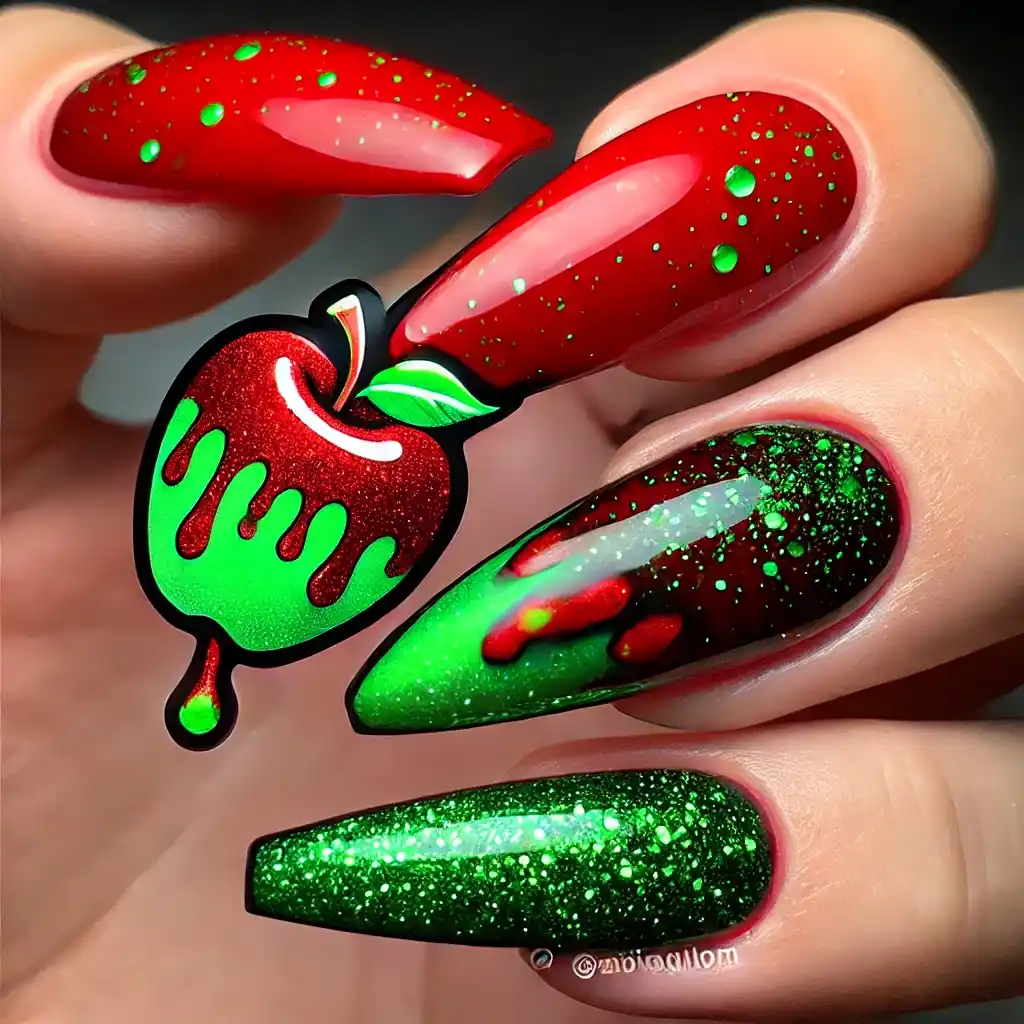
Channel the Evil Queen from Snow White with this striking design. Rich red apples and a dripping green poison accent give your nails an eerie yet captivating vibe.
- Start with red polish for all your nails.
- Use green polish to draw a dripping poison apple on one nail.
- Add sparkle by sprinkling green glitter over the drips while the polish is wet.
- Let everything dry and add a clear top coat.
5. Jack’s Spooky Smile
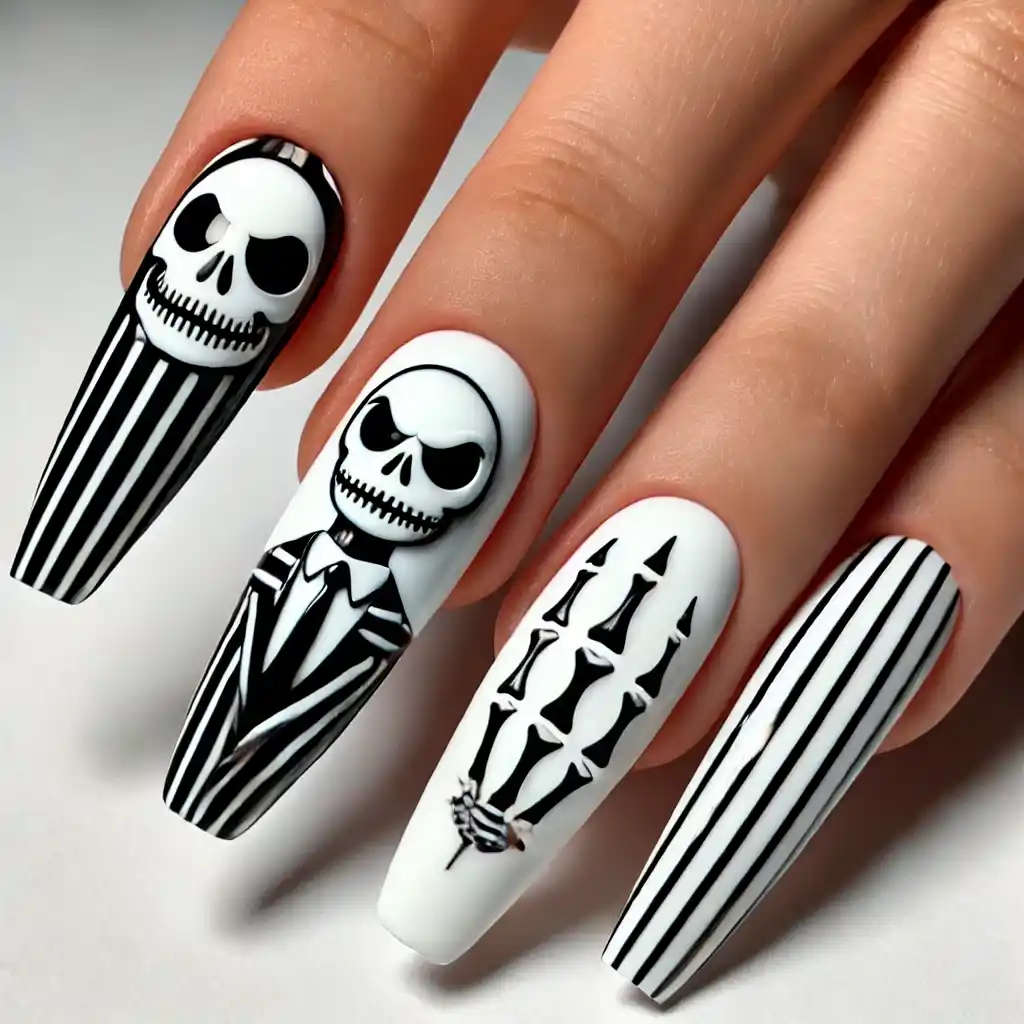
Perfect for fans of The Nightmare Before Christmas, this design includes Jack Skellington’s iconic grin on a monochrome black and white palette, giving a fun yet spooky flair.
- Paint all your nails white.
- With black polish, carefully paint Jack Skellington’s smiling face on two nails.
- On the other nails, draw thin black lines to make stripes like his suit.
- Add a top coat for a smooth, finished look.
6. Witchy Wonderland
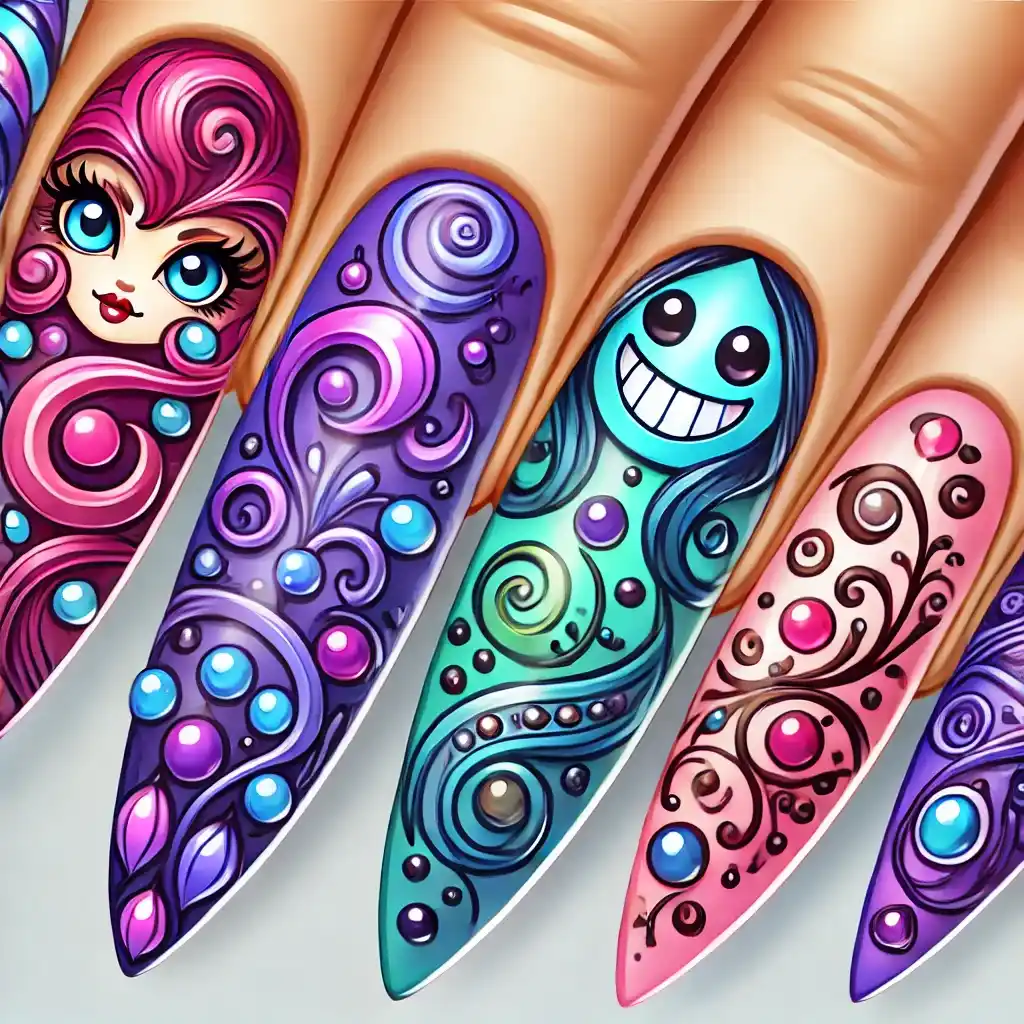
A whimsical take on Alice in Wonderland, this design features playful elements like the Cheshire Cat’s grin, the Queen of Hearts’ card symbols, and swirls that feel like a magical whirlwind.
- Paint your nails with different colors like purple, blue, and pink.
- Use white polish to draw the Cheshire Cat’s grin on one nail.
- On another nail, paint red hearts for the Queen of Hearts.
- Add swirly patterns on the other nails using a thin brush.
- Finish with a top coat to make everything shiny.
7. Underworld Hades Glow
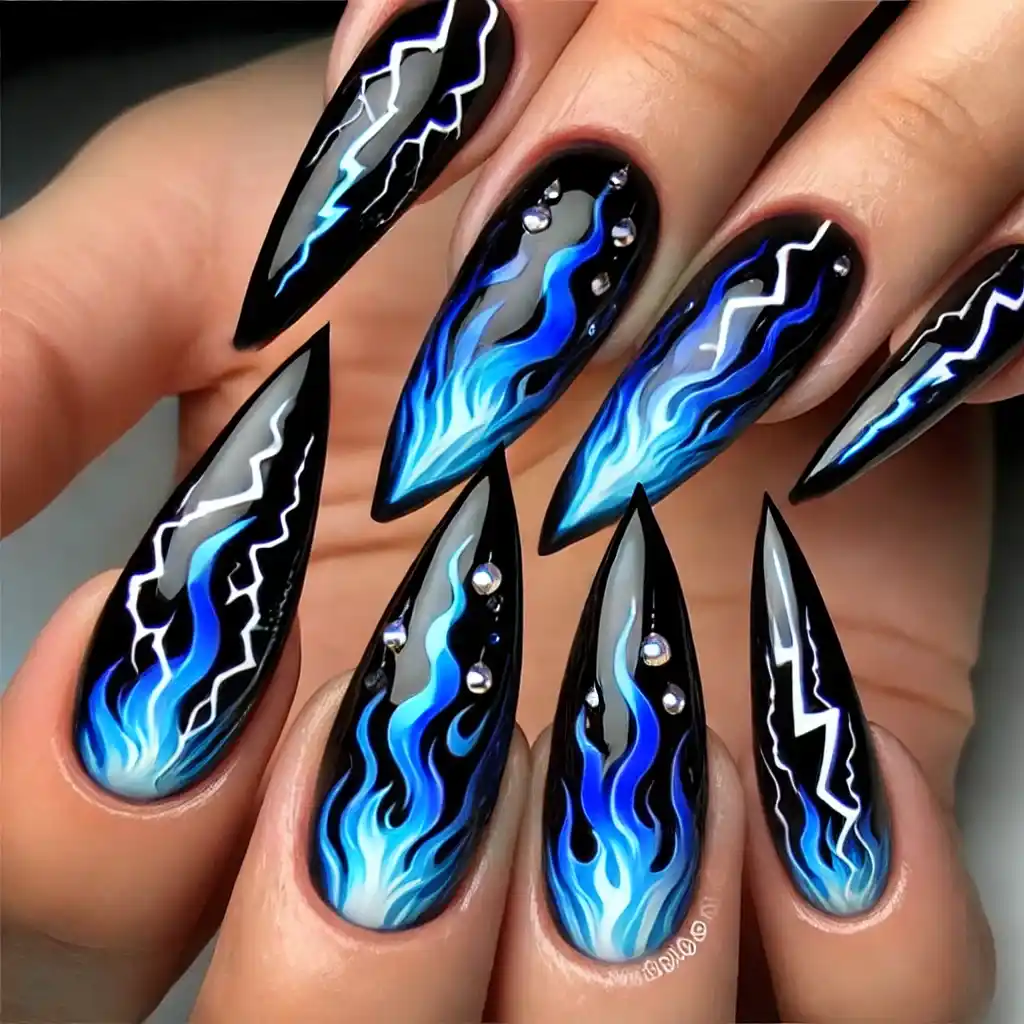
Inspired by Hades from Hercules, these nails glow with electric blue flames and dark shadows. The design is fierce and fiery, just like the god of the underworld himself.
- Paint your nails a dark black or navy blue.
- On two nails, use electric blue polish to paint flame shapes.
- Add thin silver lines to make the flames look like they’re glowing.
- Paint the remaining nails with small lightning bolts in blue.
- Seal with a shiny top coat.
8. Frozen Frostbite
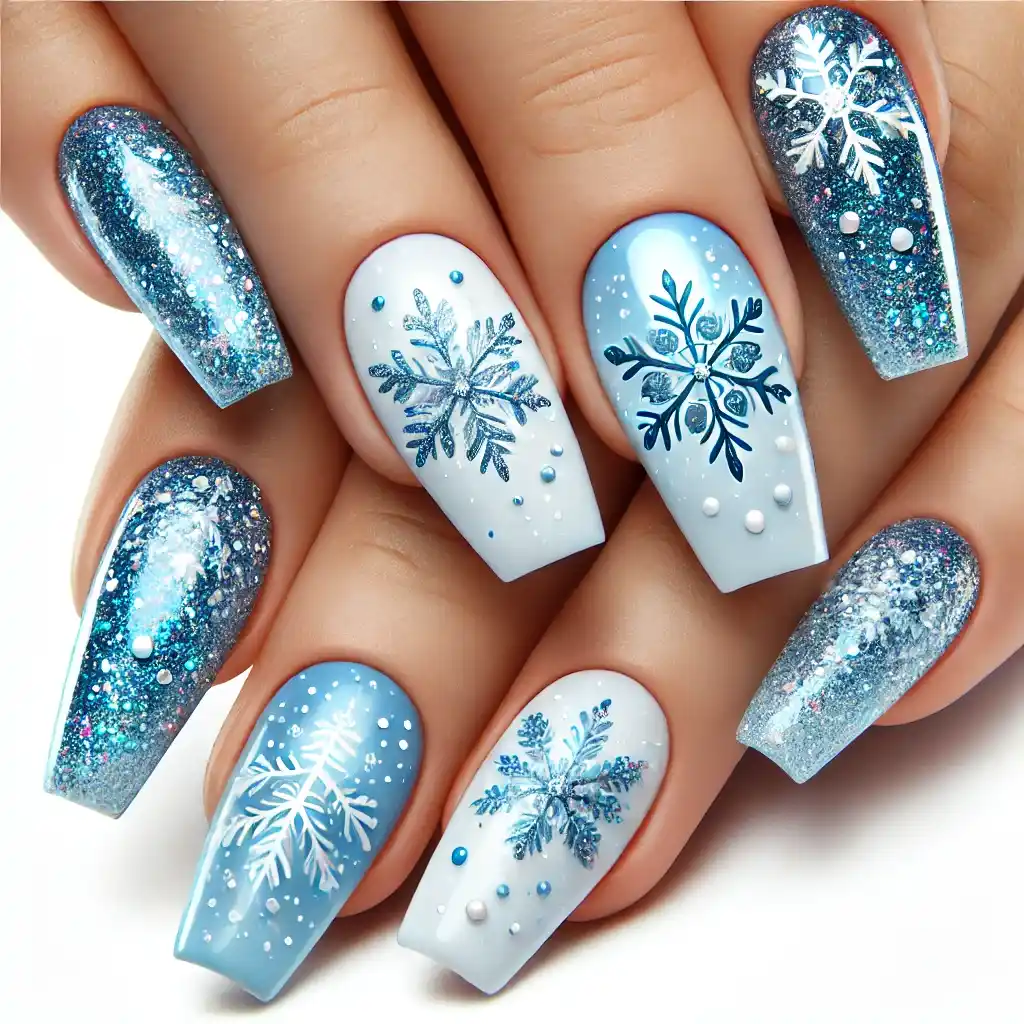
Add a chilling edge to your Halloween look with a design inspired by Elsa and the Frozen universe. Icy blues, shimmering whites, and snowflakes make this design as cool as it gets.
- Paint your nails with a light icy blue.
- On one or two nails, use white polish to draw snowflakes.
- Add some silver glitter to make your nails sparkle like ice.
- Use white dots around the snowflakes to create falling snow.
- Finish with a shiny top coat.
9. Ghostly Mickey Magic
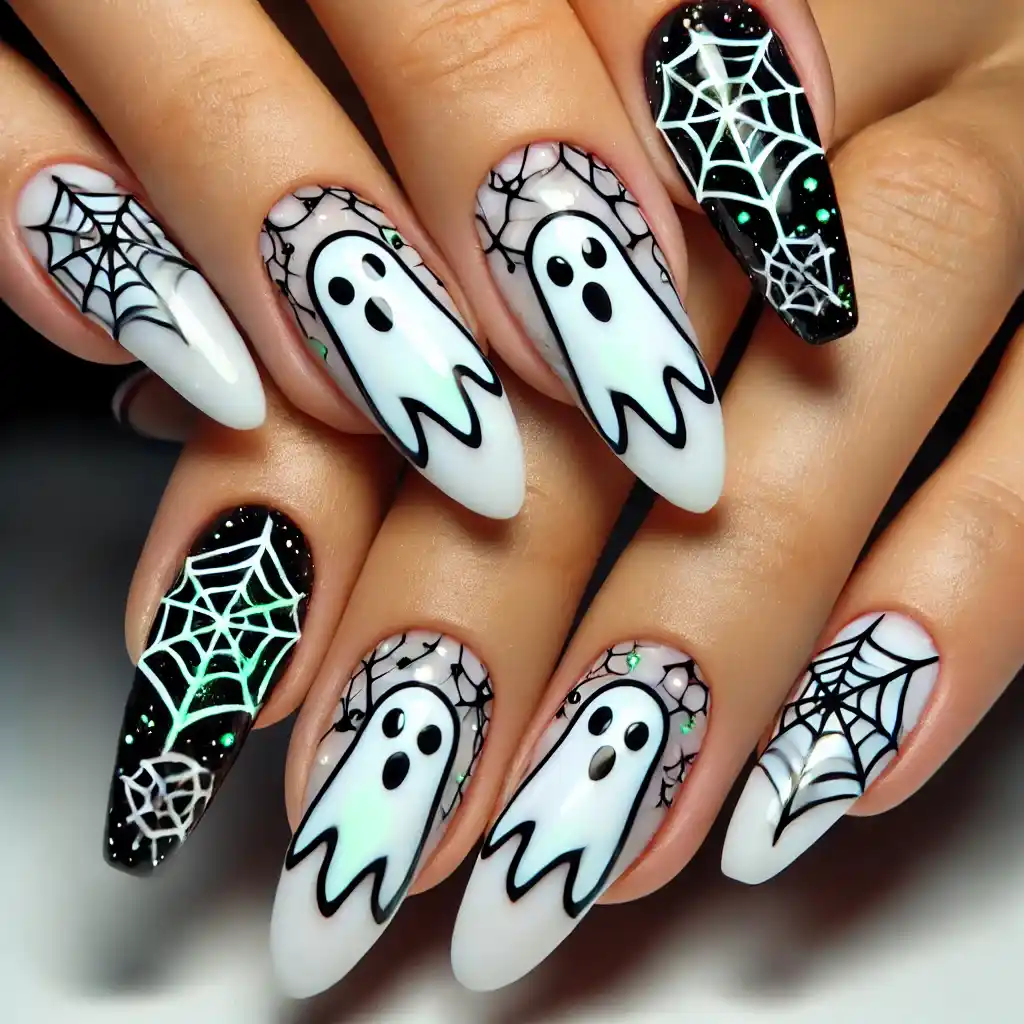
Classic Mickey gets a Halloween twist with ghostly shapes and cobwebs. These nails feature white ghostly Mickey heads, making your Disney love a little spooky this season.
- Paint all nails white.
- Use black polish to paint little Mickey Mouse heads on each nail.
- Add some spooky spider webs around Mickey using a thin brush.
- For extra fun, add glow-in-the-dark polish over the Mickey heads.
- Apply a top coat for a smooth finish.
10. Pirates of Halloween
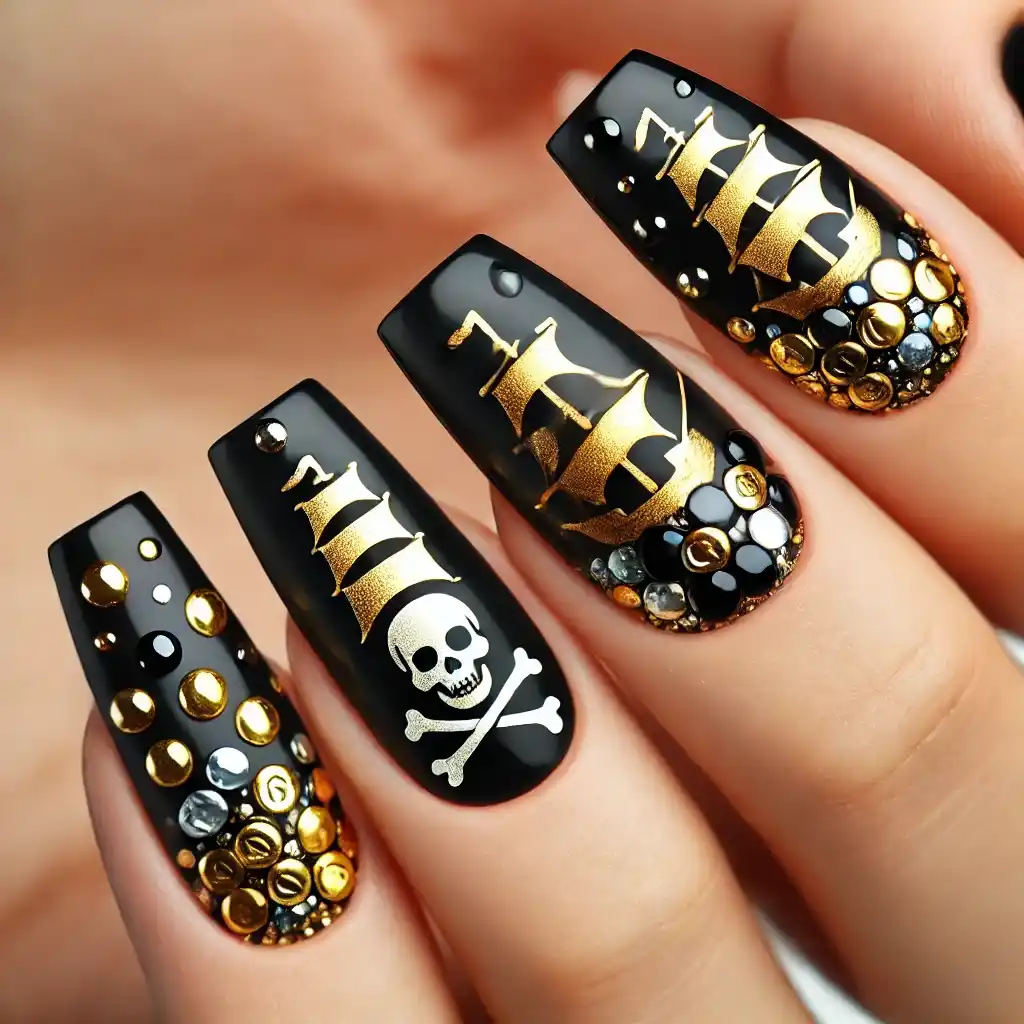
Inspired by Pirates of the Caribbean, this design is perfect for anyone who loves a swashbuckling adventure. Black and gold details, skulls, and pirate ships bring the spooky sea to your nails.
- Paint all nails black.
- On your ring finger, use gold polish to paint a pirate ship.
- On another nail, add a small white skull.
- Add tiny gold and silver dots on the other nails to look like treasure.
- Seal with a top coat to make it last.
11. Maleficent’s Thorns
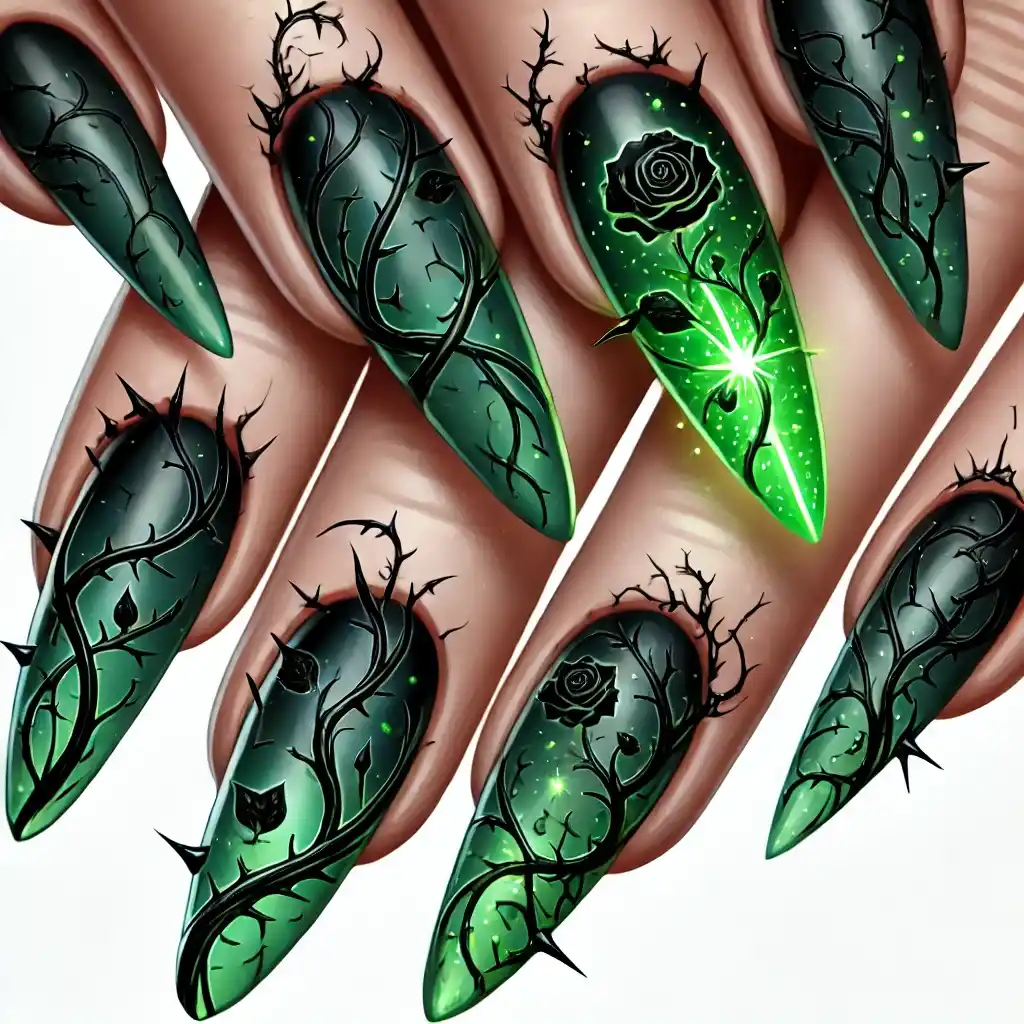
This design is a nod to Sleeping Beauty’s Maleficent, featuring deep black nails wrapped in green, glowing thorny vines. It’s dark, powerful, and perfect for a bold Halloween look.
- Start by painting your nails dark green.
- Use black polish to draw thorny vines on each nail.
- On one accent nail, add glowing green tips to the thorns.
- Let it dry and apply a shiny top coat.
12. Ursula’s Sea Curse
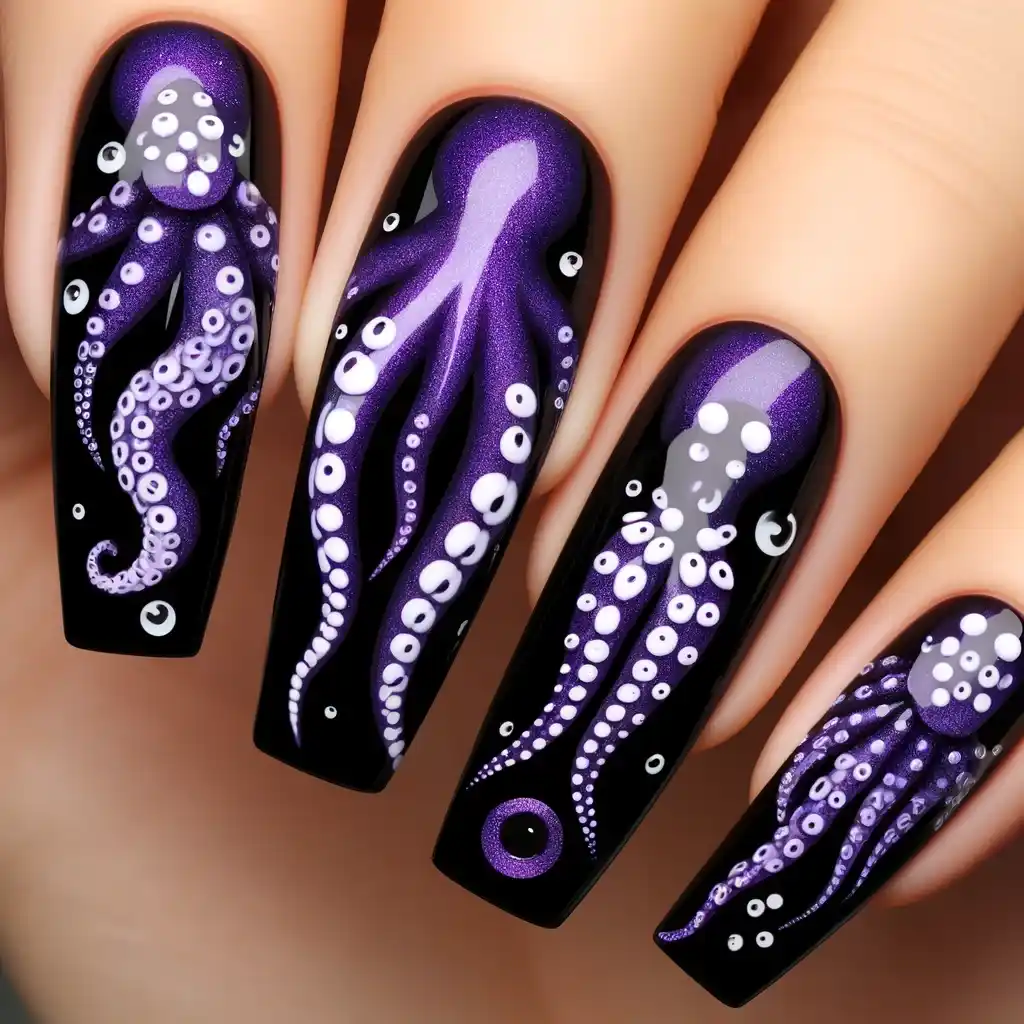
Dive deep into the sea with this Little Mermaid inspired design. Purples and blacks dominate, with tentacles curling around nails and shimmering pearls to add a touch of undersea magic.
- Paint your nails a deep purple.
- On one nail, draw Ursula’s tentacles with black polish.
- Add small white dots for suction cups on the tentacles.
- Use a bit of shimmer polish on the other nails to mimic the ocean.
- Seal with a top coat for a glossy finish.
13. Bewitching Belle
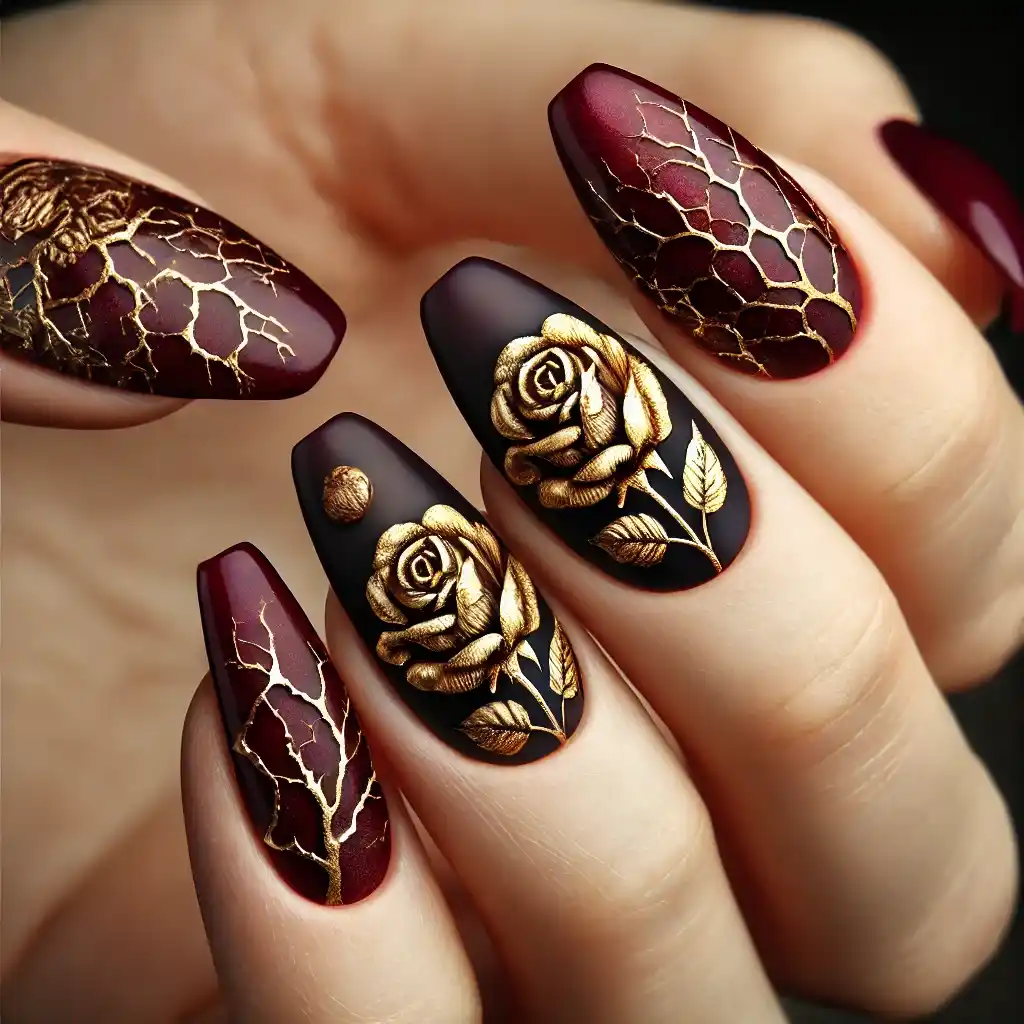
A spooky twist on Beauty and the Beast, this design features enchanted roses with dark, mysterious tones. The cracked rose petals give an eerie but beautiful vibe.
- Paint your nails a dark red or maroon.
- On one nail, paint a golden enchanted rose.
- Use black polish to add cracks around the rose for a spooky effect.
- Add some shimmer to the other nails with gold glitter polish.
- Finish with a clear top coat.
14. Mad Tea Party Spells
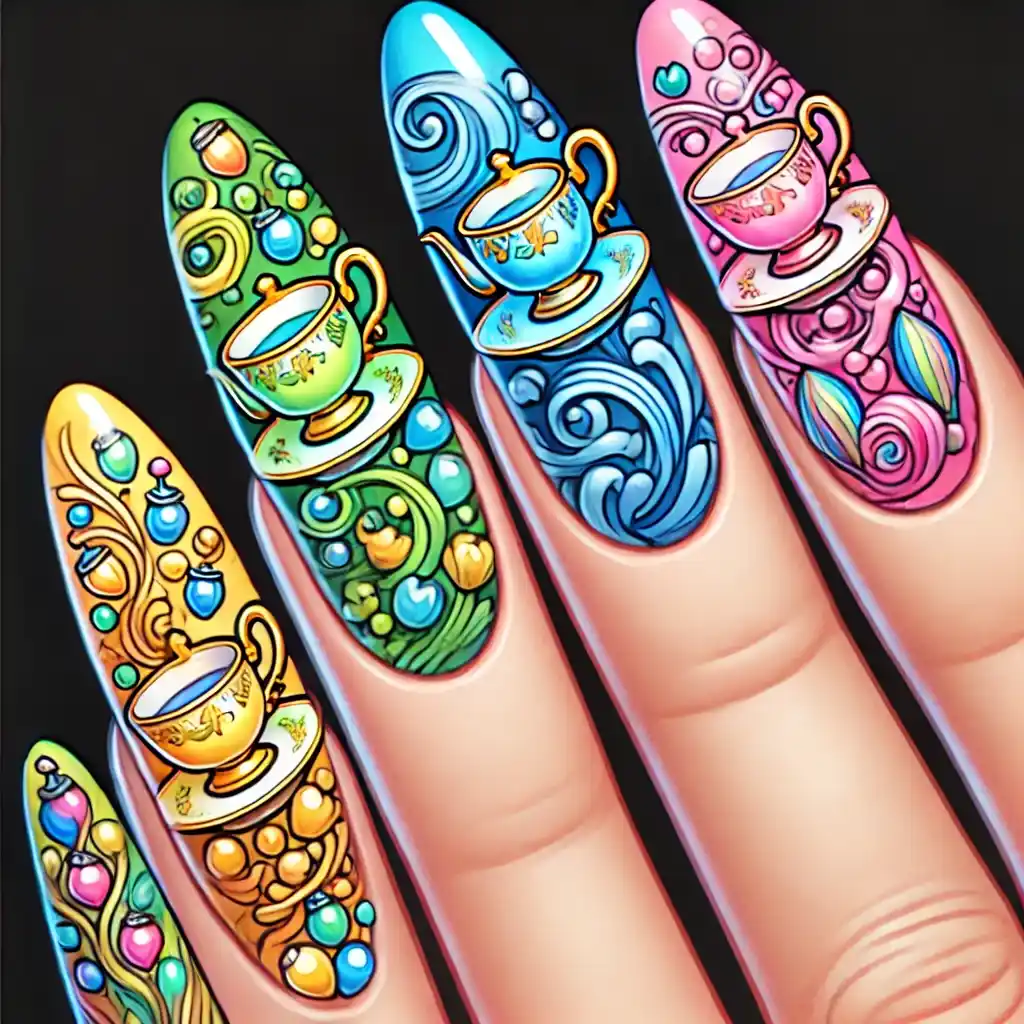
Inspired by the Mad Hatter’s tea party, these nails are bursting with chaotic colors, teacup symbols, and swirling lines that make you feel like you’re at a spellbinding tea party.
- Paint your nails with bright colors like purple, pink, and blue.
- Use white polish to paint little teacups on one or two nails.
- Add swirls and dots around the teacups for a magical look.
- Finish with a top coat to keep it looking fresh.
15. Voodoo Tiana Nights
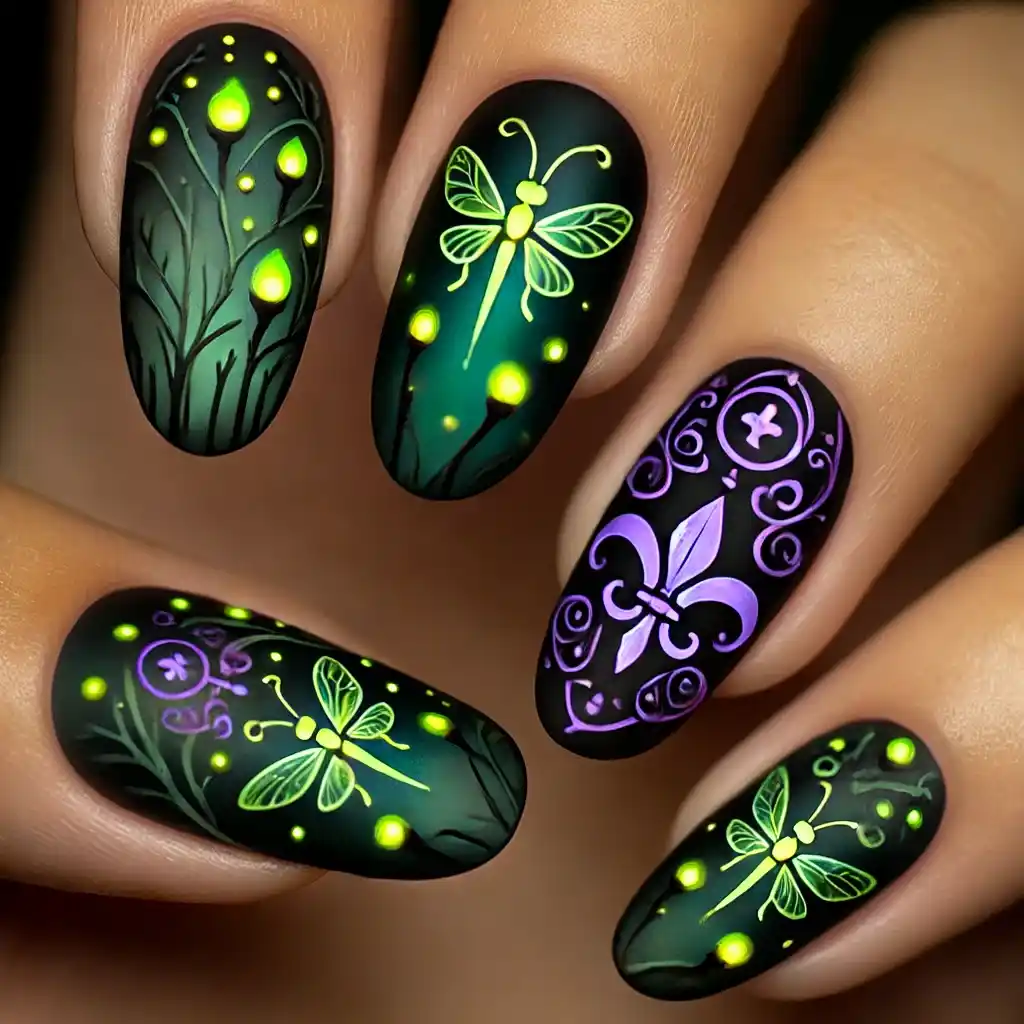
Inspired by The Princess and the Frog, this nail set combines deep greens and purples with glowing fireflies and mystical voodoo symbols. Perfect for a magical Halloween night.
- Paint your nails dark green.
- On one nail, draw fireflies using yellow polish.
- Use purple to paint small voodoo symbols on another nail.
- Add a bit of glitter to make the fireflies glow.
- Seal everything with a top coat.
16. Gothic Beauty and the Beast
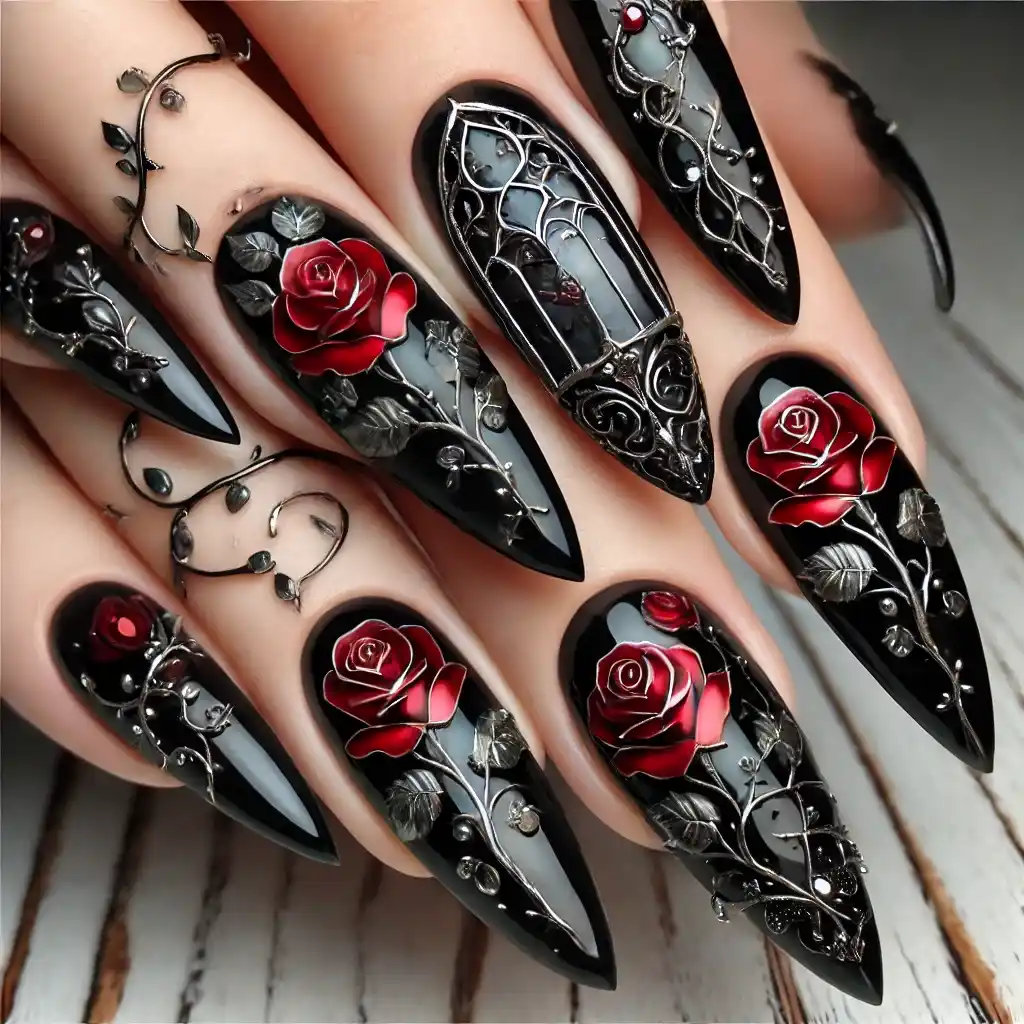
This nail design gives a gothic twist to the tale as old as time. Black and deep red roses with stained glass accents make this design hauntingly beautiful.
- Start by painting your nails black.
- On one nail, use red polish to draw a rose with long thorns.
- Add silver accents to mimic the stained glass.
- Use tiny white dots to create a glowing effect.
- Finish with a shiny top coat.
17. Zombie Woody Twist
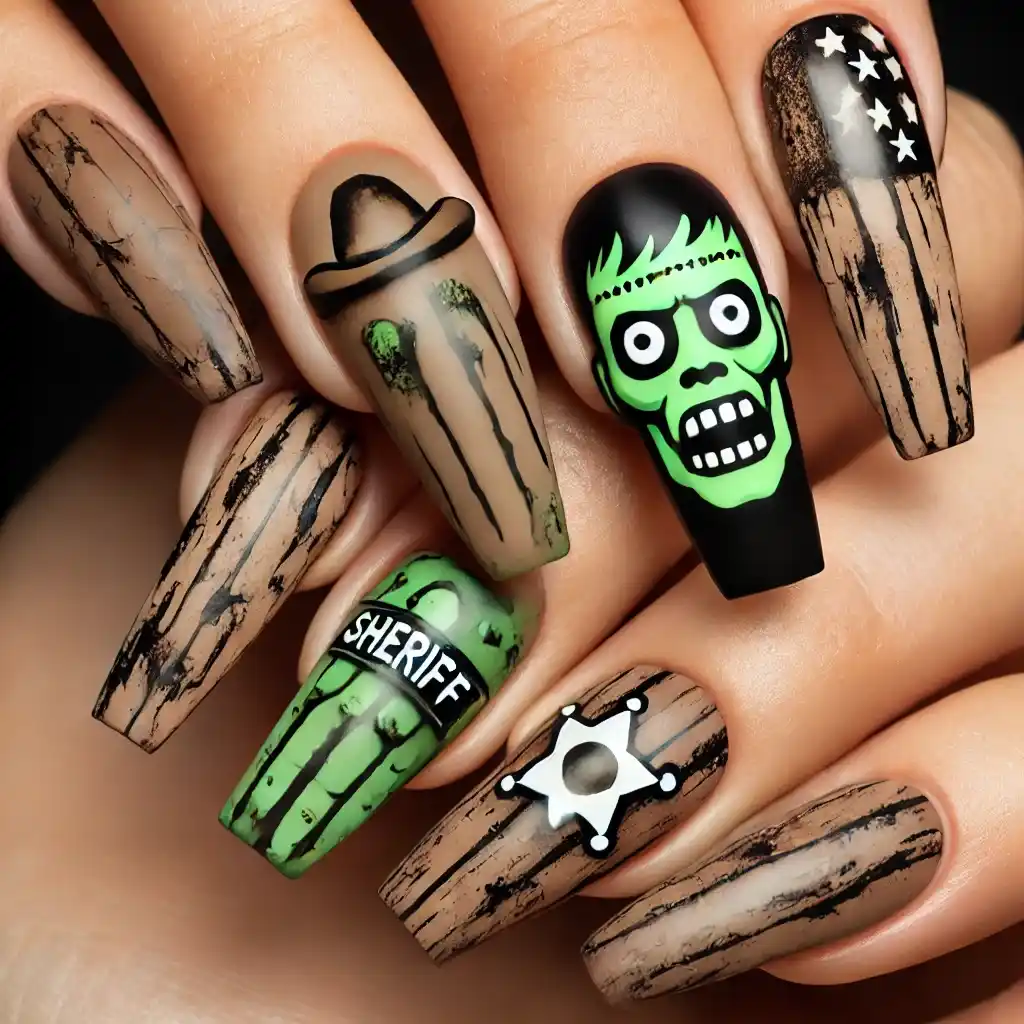
For Toy Story fans who want a creepy touch, Zombie Woody and Buzz Lightyear decals on muted, earthy tones create a quirky, spooky Halloween look.
- Paint your nails light brown or beige.
- On one nail, draw Zombie Woody’s face with green and black polish.
- On another, draw a small black-and-white sheriff badge.
- Add rough scratches and lines on the other nails for a weathered look.
- Finish with a top coat.
18. Cursed Enchanted Mirror
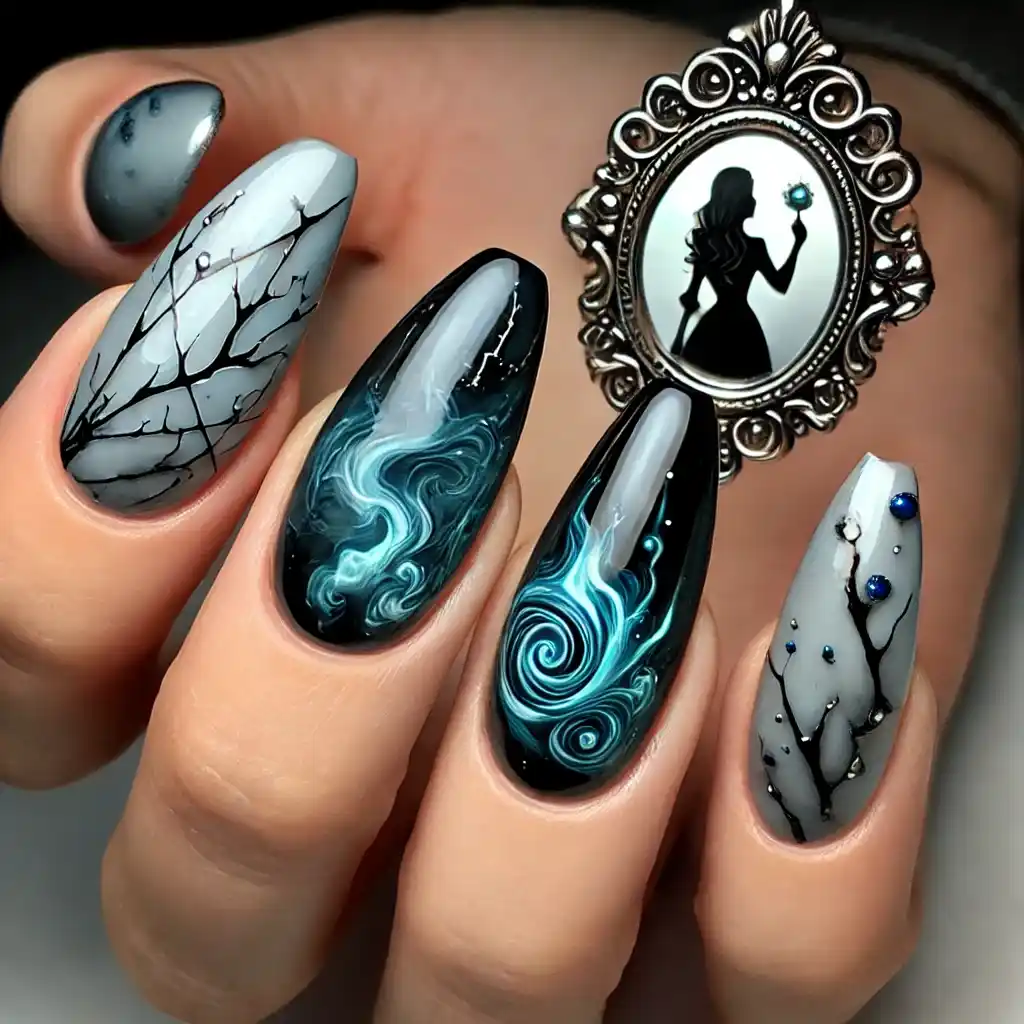
Inspired by Snow White’s Magic Mirror, this nail design is all about silver reflections, dark smoke swirls, and a single cursed mirror on your accent nail.
- Paint your nails silver.
- On one nail, draw a cracked magic mirror with black polish.
- Add tiny dark swirls around the mirror to make it look mysterious.
- Use dark blue polish on the other nails for a smoky effect.
- Apply a top coat to protect the design.
19. Jafar’s Desert Spell
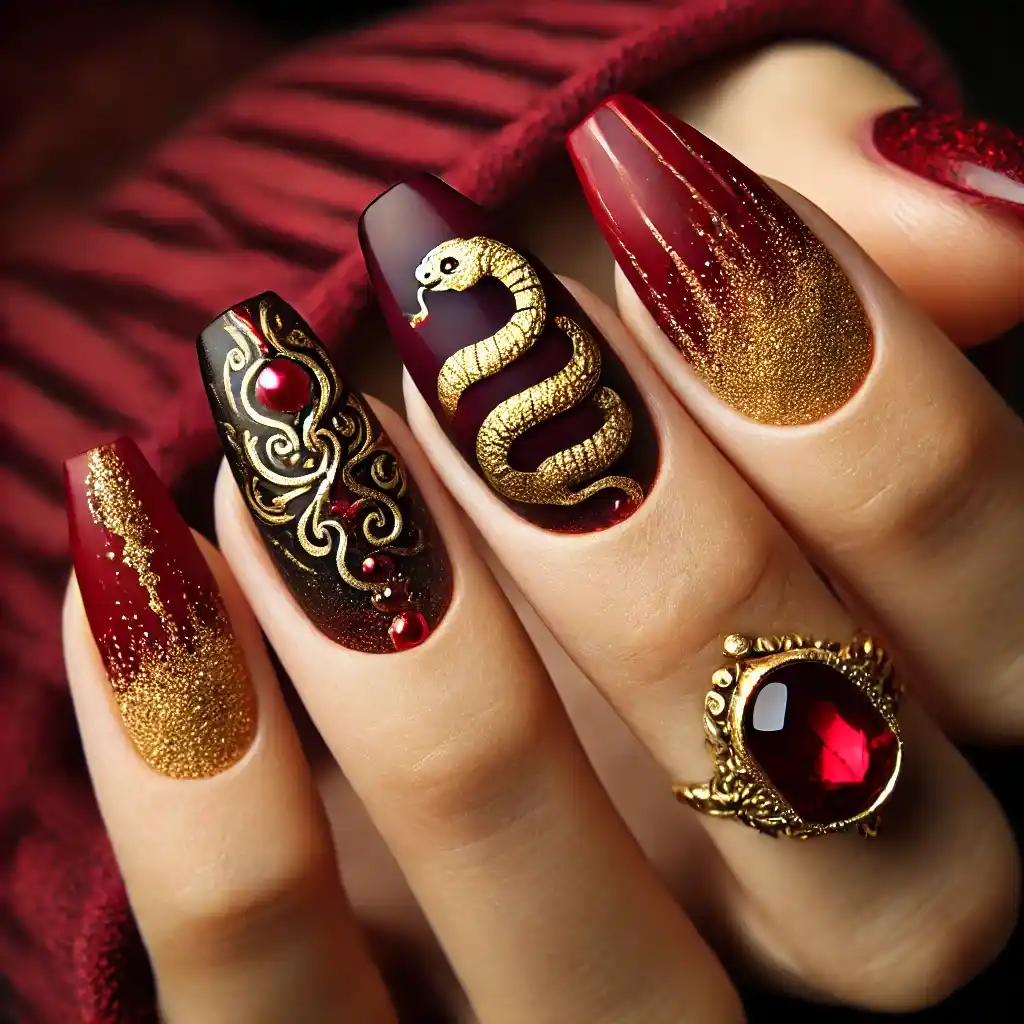
Inspired by Jafar from Aladdin, this design brings rich golden sands, dark ruby reds, and mystical snake symbols that embody his wicked charm.
- Paint all nails deep red.
- On one nail, use gold polish to draw Jafar’s snake staff.
- Add a small ruby-colored dot in the center of the snake’s eyes.
- Paint tiny golden sands on the other nails.
- Finish with a shiny top coat.
20. Spooky Stitch
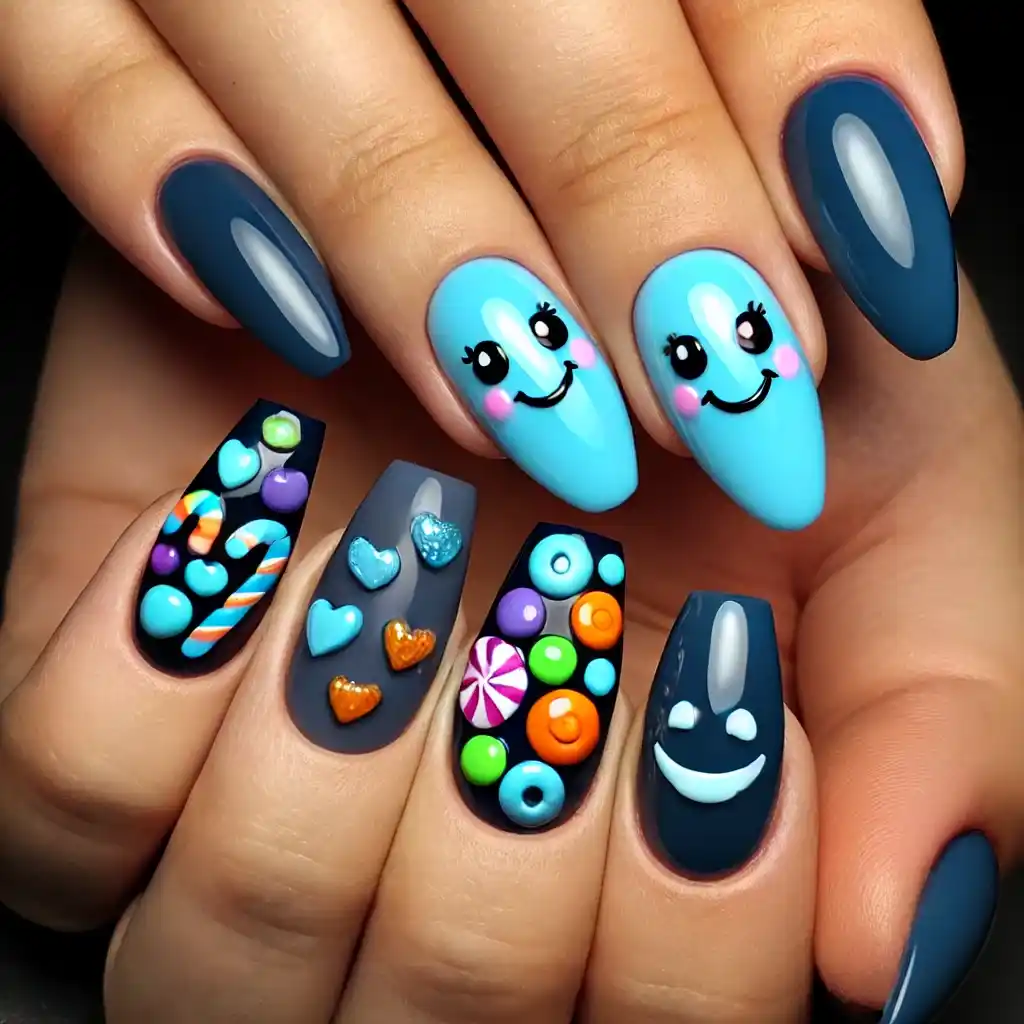
Give Stitch a Halloween makeover with this design featuring deep blues, blacks, and playful ghost and candy accents, bringing a mischievous but cute vibe.
- Paint all nails dark blue.
- On one or two nails, draw Stitch’s face with light blue polish.
- Add white dots for eyes and tiny black details for the mouth.
- On the other nails, add some candy shapes in bright colors.
- Seal with a top coat for extra shine.
21. Cruella’s Midnight Dots
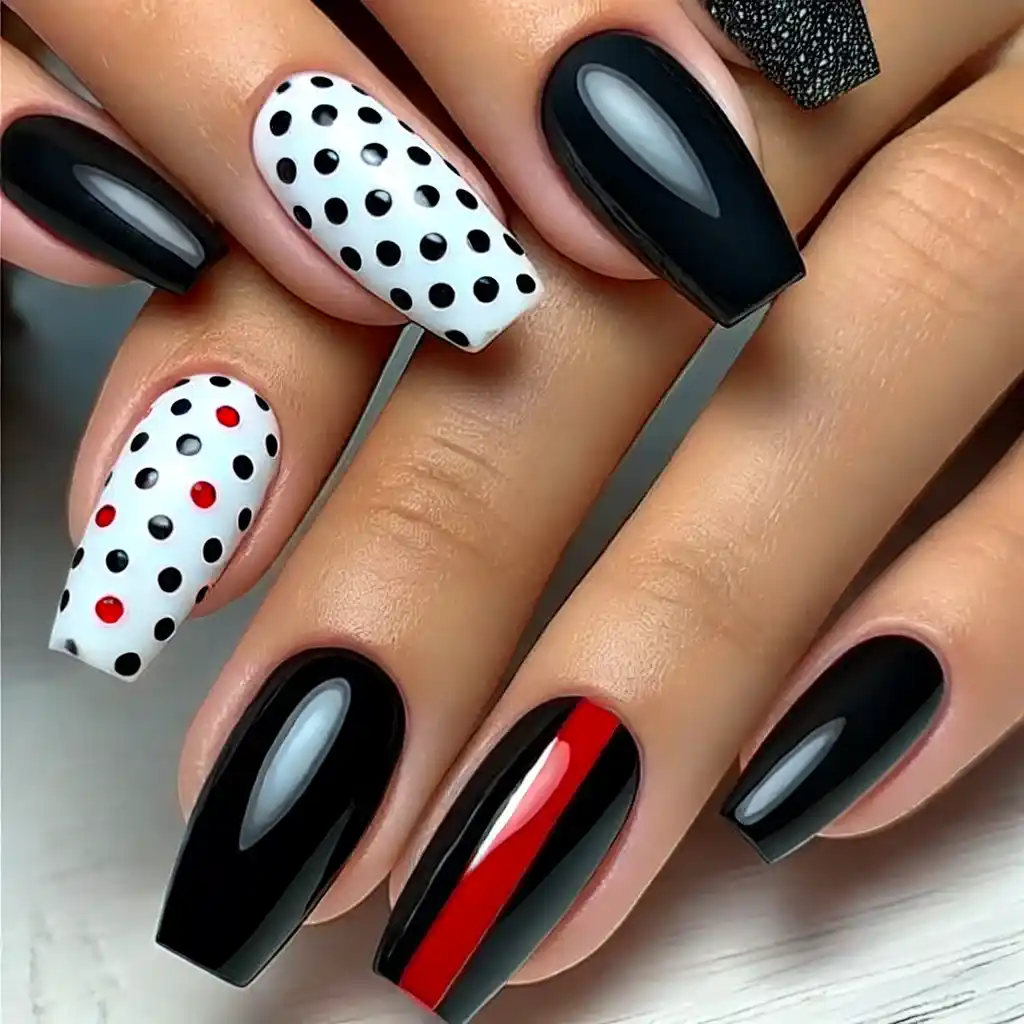
Inspired by Cruella de Vil, these nails combine her classic black-and-white polka dots with splashes of red to add a dangerous, stylish touch.
- Paint half of your nails black and the other half white.
- On the black nails, use white polish to paint tiny dots.
- On the white nails, paint tiny black dots for a reverse effect.
- Add a red stripe on one nail for a bold accent.
- Finish with a top coat for a smooth finish.
22. Mickey’s Halloween Bash
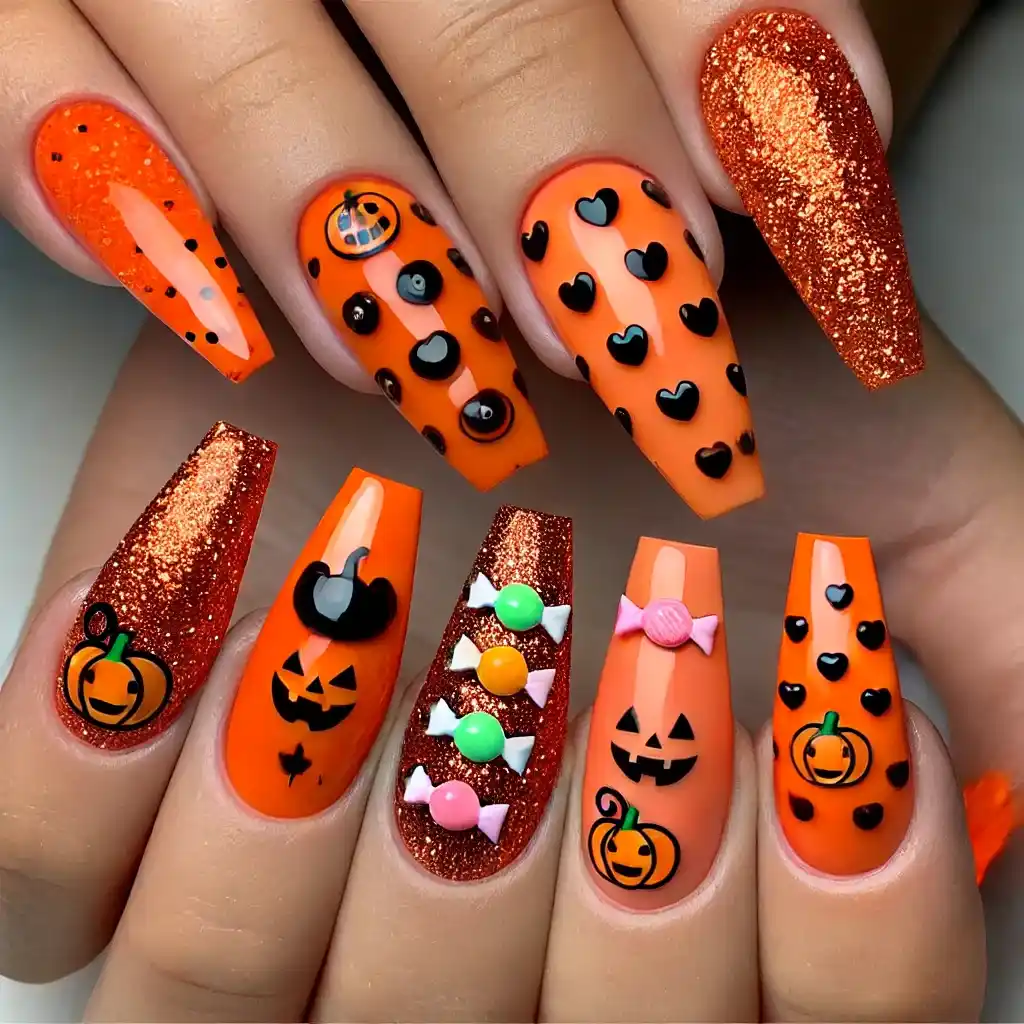
Celebrate Halloween Disney-style with this colorful design featuring pumpkins, Mickey ears, and fun candy corn accents, perfect for a playful but festive look.
- Paint all nails orange.
- Use black polish to draw Mickey Mouse ears on a few nails.
- Add small pumpkins and candy shapes on the remaining nails.
- Use a bit of glitter for a festive look.
- Seal with a clear top coat.
23. Flame Queen Ember
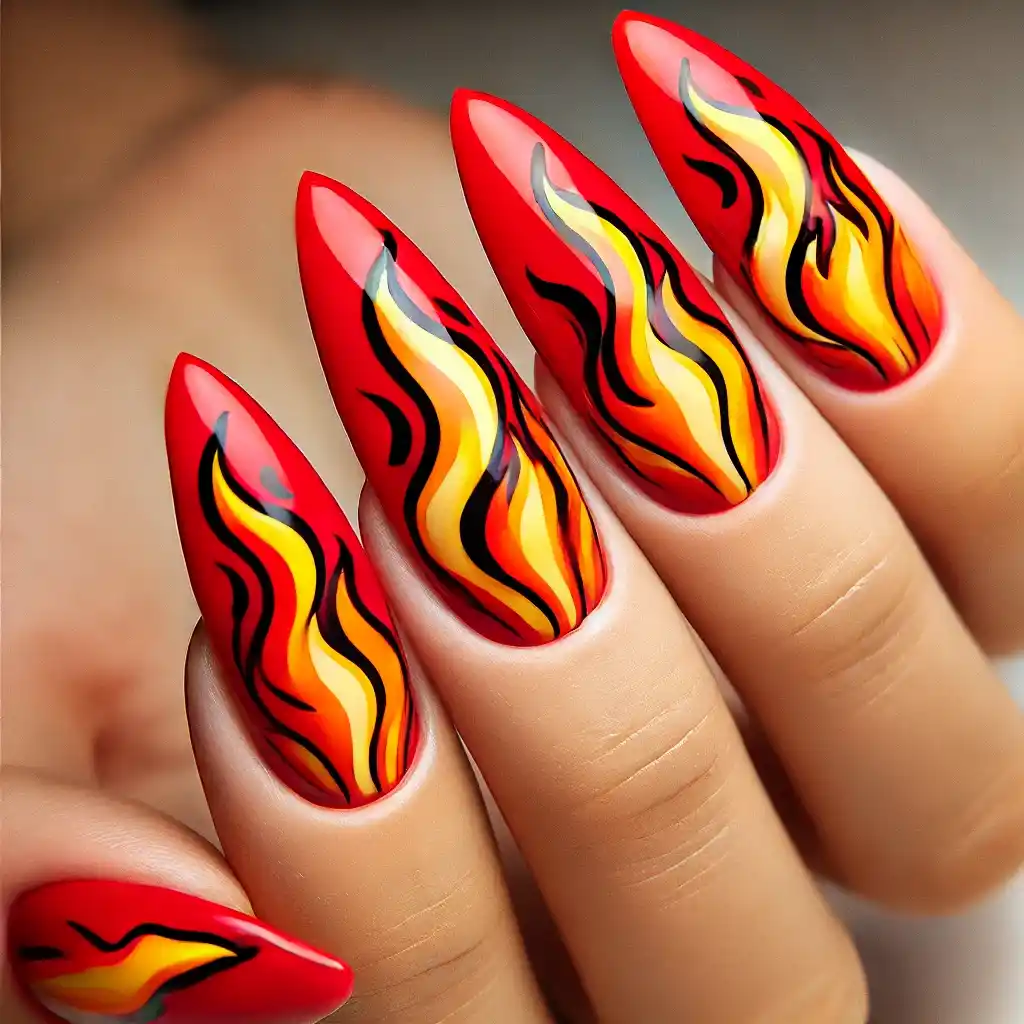
Inspired by the fiery spirit of the Fire Queen from Inside Out, this design brings glowing reds, yellows, and flame accents for a hot and fierce nail look.
- Paint your nails bright red.
- Use orange and yellow polish to paint flames on two nails.
- Add thin black lines for extra detail in the flames.
- Paint the other nails with a fiery shimmer polish.
- Finish with a top coat.
24. Wicked Wonderland
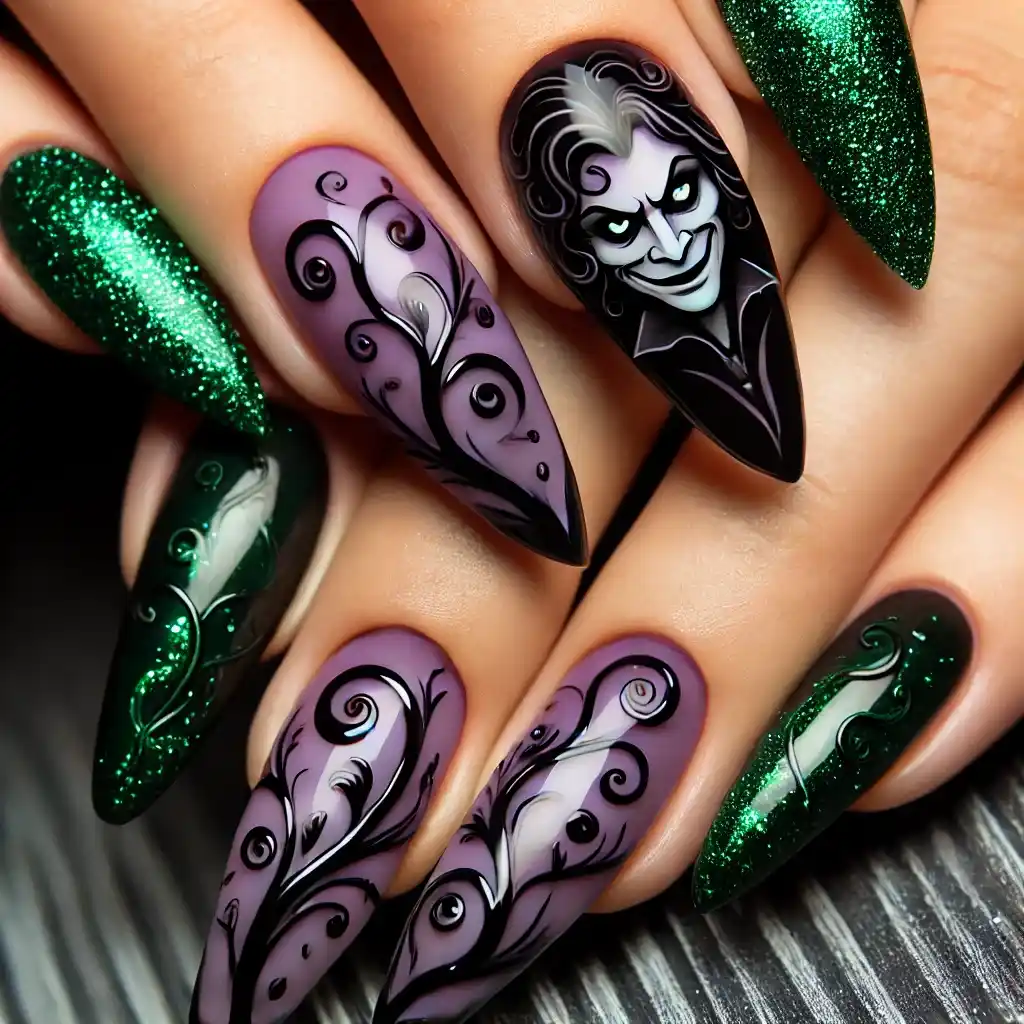
This design gives Alice in Wonderland a creepy twist, with dark vines, ghostly figures, and the infamous grinning Cheshire Cat staring back at you.
- Paint your nails dark green or purple.
- On one nail, draw the Cheshire Cat’s smile in white.
- Use black polish to paint spooky vines and swirls on the other nails.
- Add a touch of glitter for a magical effect.
- Apply a top coat to keep everything in place.
25. Hocus Pocus Potion
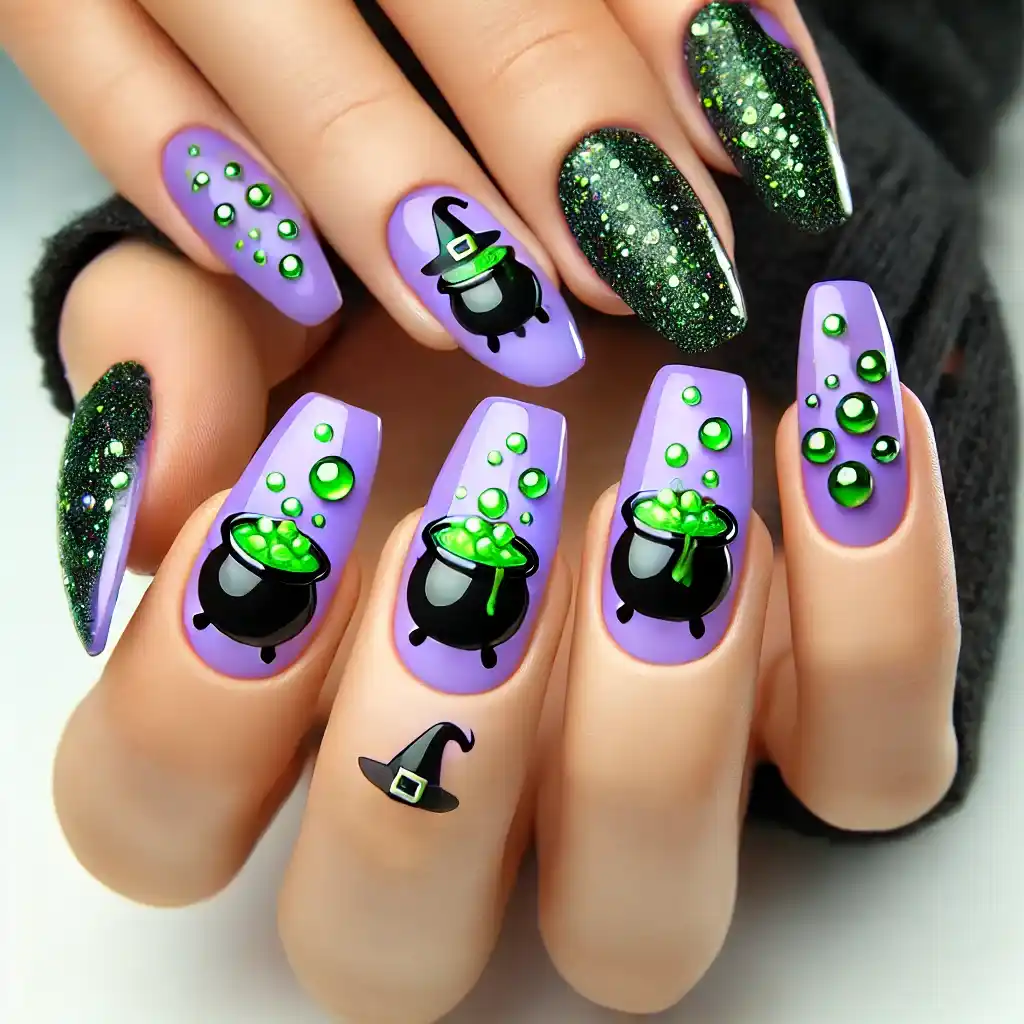
Inspired by the Sanderson Sisters from Hocus Pocus, this design is all about purples, greens, and the bubbling brew of their witchy magic. A perfect Halloween spell for your nails.
- Paint your nails purple.
- Use green polish to paint bubbling cauldrons on two nails.
- Add tiny black witch hats or brooms on the other nails.
- Use some glitter polish to make the potion look like it’s glowing.
- Seal with a top coat for a shiny finish.
Conclusion
Disney Halloween nails bring a magical touch to the spooky season, allowing you to celebrate your favorite characters and villains right at your fingertips. Whether you prefer the bold look of villains like Maleficent and Ursula or the playful charm of Mickey and Stitch, these designs offer a fun, creative way to express yourself. With these simple, easy-to-follow instructions, you can create unique, eye-catching nails that capture the magic of Disney and the thrill of Halloween. Get ready to show off your spooky Disney spirit with these 25 enchanting nail ideas!





One thought on “Disney Halloween Nails: Spooky Meets Cute with Iconic Characters”