Introduction
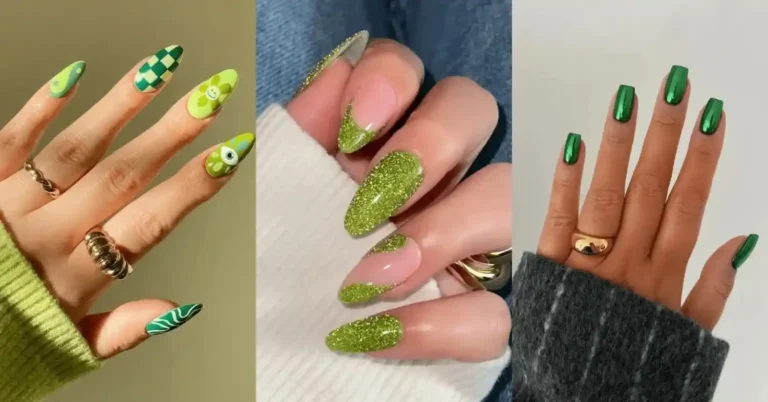
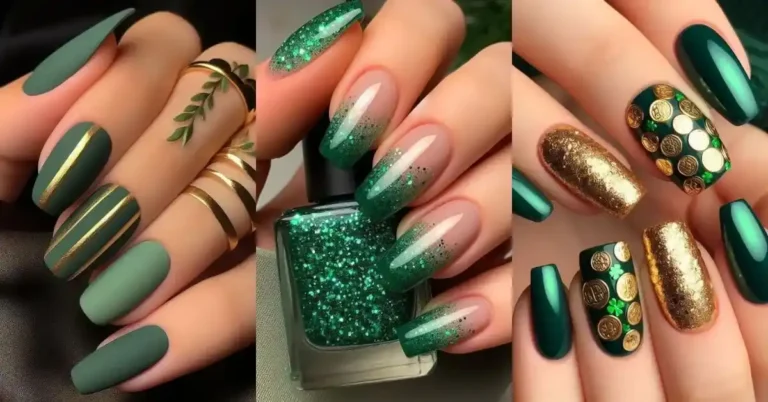
Are you tired of the same old red and green nail designs every Christmas? Looking to add a fresh twist to your festive manicure this holiday season? Green nails offer a versatile and stylish alternative, allowing you to embrace the holiday spirit with a modern flair. Here are 20 trendy Green Christmas Nails designs for 2024 that will make your nails the talk of every holiday gathering.
Table of Contents
20 Trendy and Simple Green Christmas Nails Designs
1. Evergreen Elegance

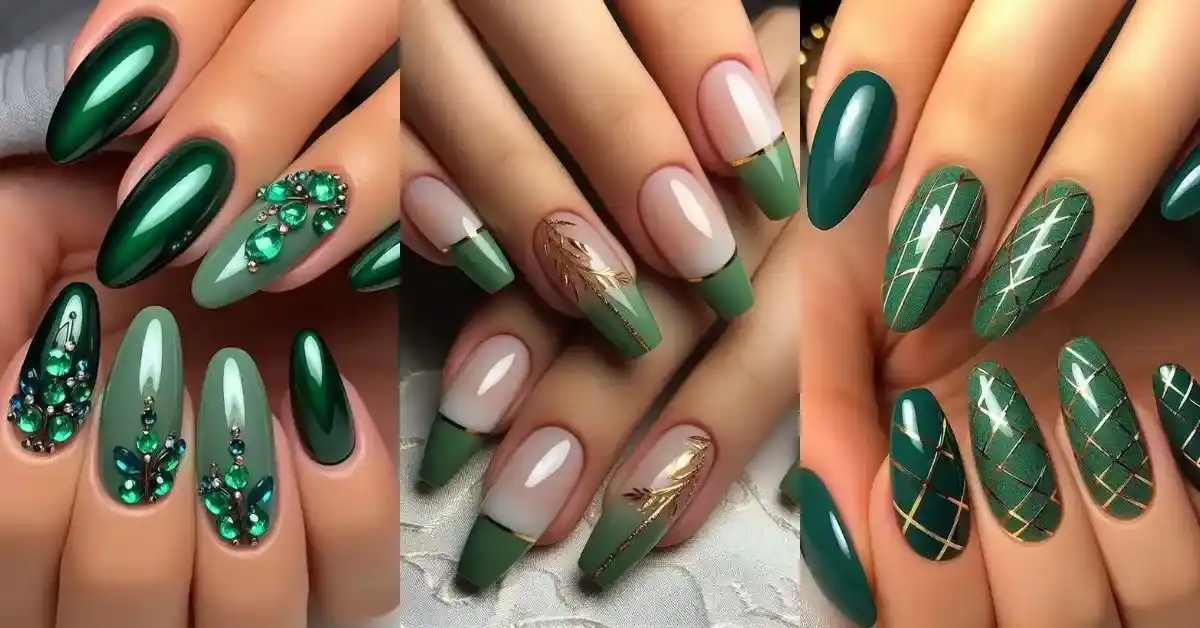
Embrace the classic beauty of deep evergreen nails, reminiscent of lush Christmas trees. This rich shade exudes sophistication and pairs well with any holiday outfit.
To make design:
- Start with a base coat to protect your nails.
- Apply a deep green polish evenly on each nail. Let it dry.
- Add a second coat to deepen the color, making it rich and bold.
- Finish with a glossy topcoat for a smooth, shiny look that resembles an evergreen tree.
2. Gold-Accented Green Tips

Elevate your manicure with green French tips adorned with delicate gold accents. This design adds a touch of luxury to the traditional French manicure.
To make design:
- Begin by applying a clear base coat to keep your nails strong.
- Paint your nails with a solid green shade and let them dry.
- Use a thin brush or tape to paint just the tips with gold polish.
- Seal with a topcoat to ensure your design lasts.
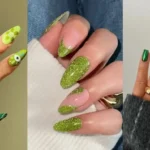
3. Subtle Green Glitter

Add a hint of sparkle to your nails with a subtle green glitter overlay. This design is perfect for those who prefer a minimalist yet festive look.
To make design:
- Paint your nails with a pale green polish as the base.
- Once dry, lightly dab green glitter polish on each nail’s tips for sparkle.
- Blend the glitter downwards for a soft, glittery effect.
- Apply a clear topcoat for a smooth finish.
4. Holly Leaf Motifs

Incorporate hand-painted holly leaves and red berries on a green base to capture the essence of the season. This design brings a natural and festive touch to your nails.
To make design:
- Paint nails with a dark green base color and let it dry.
- Using a thin nail brush, draw small holly leaves on a few accent nails.
- Add tiny red dots next to the leaves for berries.
- Seal your art with a topcoat to keep it secure.
5. Christmas Tree Silhouettes

Adorn your nails with simple Christmas tree silhouettes against a green backdrop. This minimalist design is both chic and festive.
To make design:
- Paint your nails with a dark forest green as a background.
- Use a nail art brush or toothpick to draw simple triangle shapes for trees.
- Add tiny dots for ornaments if desired.
- Finish with a topcoat to make it last.
6. Frosted Pine Effect

Achieve a frosty look by adding a matte topcoat over your green nails, giving them a wintery, snow-covered appearance.
To make design:
- Start with a matte green polish and paint all nails.
- Let it dry completely and apply a second layer if needed.
- For a frosted look, dab a touch of white polish on the tips.
- Add a clear matte topcoat for a wintery finish.
7. Mistletoe Accents

Highlight one or more nails with delicate mistletoe designs, adding a romantic element to your holiday manicure.
To make design:
- Paint all nails a deep green and let them dry.
- On an accent nail, draw mistletoe branches with a thin brush.
- Add a few red dots for the berries.
- Use a clear topcoat to protect the design.
8. Emerald Gemstones

Emulate the look of precious emeralds with deep green nail polish and a glossy finish, exuding luxury and elegance.
To make design:
- Use a glossy dark green polish as the base.
- While the polish is still wet, place tiny rhinestones on each nail near the base.
- Gently press each gem to secure it.
- Add a clear topcoat to lock in the gems.
9. Forest Fairy Tale

Create whimsical designs featuring forest creatures like elves and fairies on your green nails, bringing a storybook charm to your manicure.
To make design:
- Paint your nails with a light green base color.
- Using a fine brush, draw tiny mushrooms or fairies on a few nails.
- Add tiny dots and stars around them for a magical feel.
- Seal the design with a topcoat.
10. Green Ombre Gradient

Experiment with a green ombre effect, blending from dark to light shades of green for a dynamic and modern look.
To make design:
- Start with a light green base color and let it dry.
- Use a sponge to apply darker green polish to the tips for a gradient effect.
- Repeat sponging until the color fades nicely from light to dark.
- Finish with a clear topcoat for a smooth look.
11. Peppermint Swirls

Add playful peppermint swirl designs with alternating green and white stripes, reminiscent of holiday candies.
To make design:
- Paint your nails a medium green and let it dry.
- Use a small brush to create white spiral lines on a few accent nails.
- Make sure the lines are curved, like peppermint candy.
- Add a topcoat to keep your design shiny.
12. Classic Plaid Patterns

Mimic the coziness of holiday flannel with green and red plaid patterns on your nails, offering a warm and festive feel.
To make design:
- Use a deep green polish for your base and let it dry.
- Use a thin brush to paint red and white stripes horizontally and vertically on a few nails.
- Create thin lines for a classic plaid pattern.
- Add a glossy topcoat to complete the look.
13. Festive Polka Dots

Create a fun and whimsical look with white polka dots on your green nails, adding a playful touch to your manicure.
- Apply a light green polish as the base and let it dry.
- Use a dotting tool to create small white dots across each nail.
- Keep the dots evenly spaced for a clean look.
- Seal with a topcoat to make the design last.
14. Pine Cone Details

Paint delicate pine cone designs on your nails for a rustic and nature-inspired holiday look.
To make design:
- Start with a dark green base and let it dry.
- Use a fine brush to draw small oval shapes for pine cones on one or two nails.
- Add small white lines on the ovals to give the pine cones texture.
- Finish with a clear topcoat.
15. Green and Gold Checkered

Combine green and gold in a checkered pattern for a bold and eye-catching design that exudes holiday cheer.
To make design:
- Paint your nails with a solid green as a base.
- Using a thin brush, draw crisscross lines in gold to create a checkered pattern.
- Make sure each square is neat and even.
- Apply a topcoat to protect the design.
16. Snowflake Accents

Add intricate white snowflake designs over a green base to capture the magic of a winter wonderland.
To make design:
- Use a deep green polish for your base coat.
- With a thin brush or toothpick, draw snowflakes on a few nails using white polish.
- Add dots around the snowflakes for extra detail.
- Seal the design with a glossy topcoat.
17. Candy Cane Stripes

Incorporate red and white stripes over a green base to mimic the look of candy canes, adding a sweet touch to your nails.
To make design:
- Paint your nails a bright green and let it dry.
- Use white polish to draw diagonal stripes across each nail.
- Keep the lines thin and spaced like candy cane stripes.
- Finish with a clear topcoat to keep it fresh.
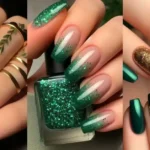
18. Glitter Gradient

Apply a gradient of green glitter from the tips of your nails downward for a sparkling and festive effect.
To make design:
- Apply a dark green base coat on all nails and let it dry.
- Use a makeup sponge to dab green glitter polish onto the tips of your nails.
- Blend the glitter downwards for a gradual fade.
- Add a topcoat to keep the glitter in place.
19. Green Velvet Texture

Use a matte topcoat to create a velvet-like texture on your green nails, adding depth and sophistication to your manicure.
To make design:
- Paint your nails with a dark matte green for a velvet-like feel.
- Once dry, use a matte topcoat for a soft, textured look.
- Add a bit of glitter on one nail if you want a subtle sparkle.
- Finish with a second layer of matte topcoat to seal the design.
20. Starry Night

Adorn your green nails with tiny gold stars to mimic a starry night sky, bringing a touch of magic to your holiday look.
To make design:
- Start with a dark green polish for the base.
- Using a thin brush, dot tiny gold stars across each nail.
- Add a few dots around the stars for a starry effect.
- Seal with a topcoat to keep your night sky design glowing.
Conclusion
Creating a unique green Christmas manicure can be a fun and festive way to express your holiday spirit. With these 20 creative designs, there’s something for every taste, whether you prefer subtle elegance or bold holiday flair. From glitter gradients and candy cane stripes to delicate snowflakes and rich emerald shades, each look brings a special touch to your nails. These step-by-step guides make it easy for anyone to try these styles, making your holiday season extra special and stylish. Get ready to show off your stunning green Christmas nails and let your festive fingertips steal the spotlight!
