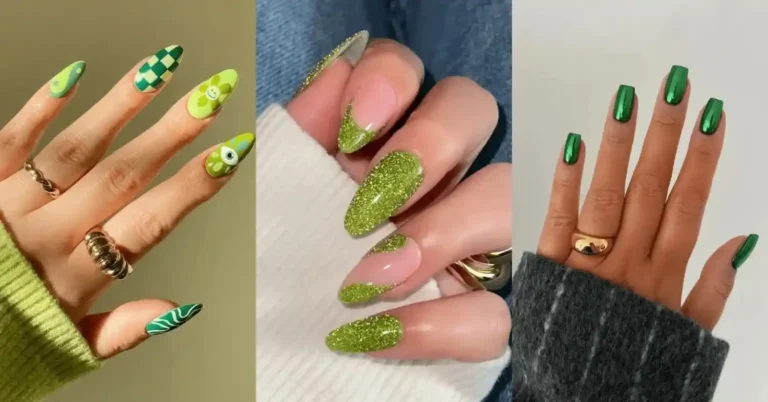
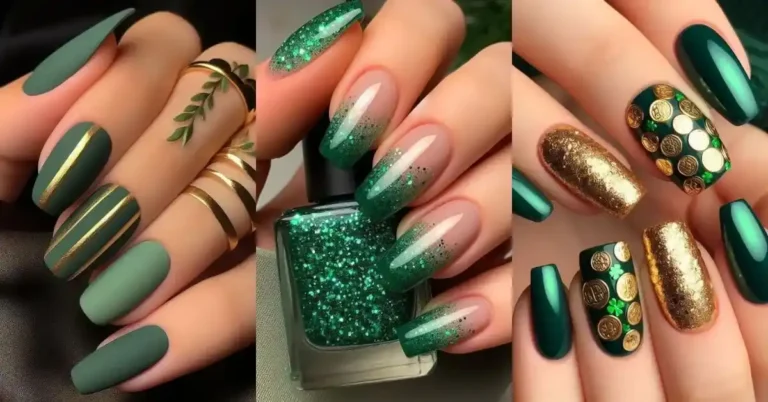
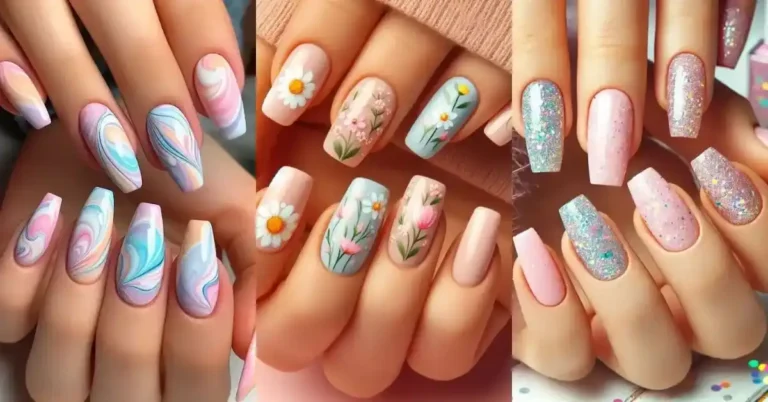
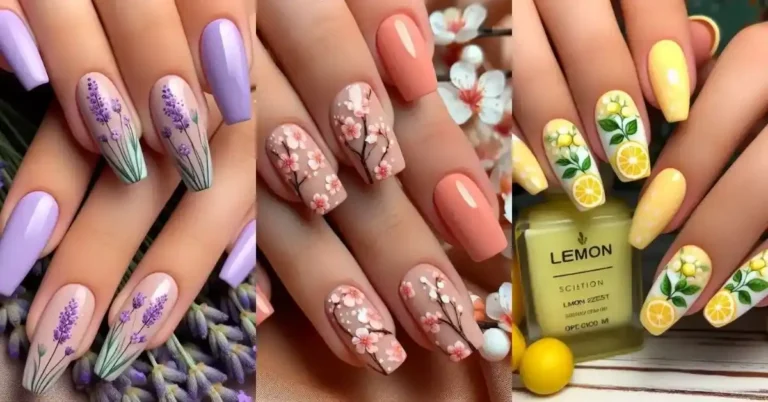
Are your nails ready to shine this January? The start of a new year brings a fresh chance to elevate your nail game. Whether you want something subtle or bold, trendy nail designs can give your hands that extra sparkle to beat the winter blues. From frosted finishes to bold burgundy accents, 2025’s nail art trends are all about creativity, personality, and a touch of luxury. The best part? You don’t need to visit an expensive salon to achieve these looks—you can create these January Nail Ideas right at home with just a few tools, a bit of patience, and a lot of inspiration.
Table of Contents
18 Beautiful January Nail Ideas
1. Mocha Mousse Elegance
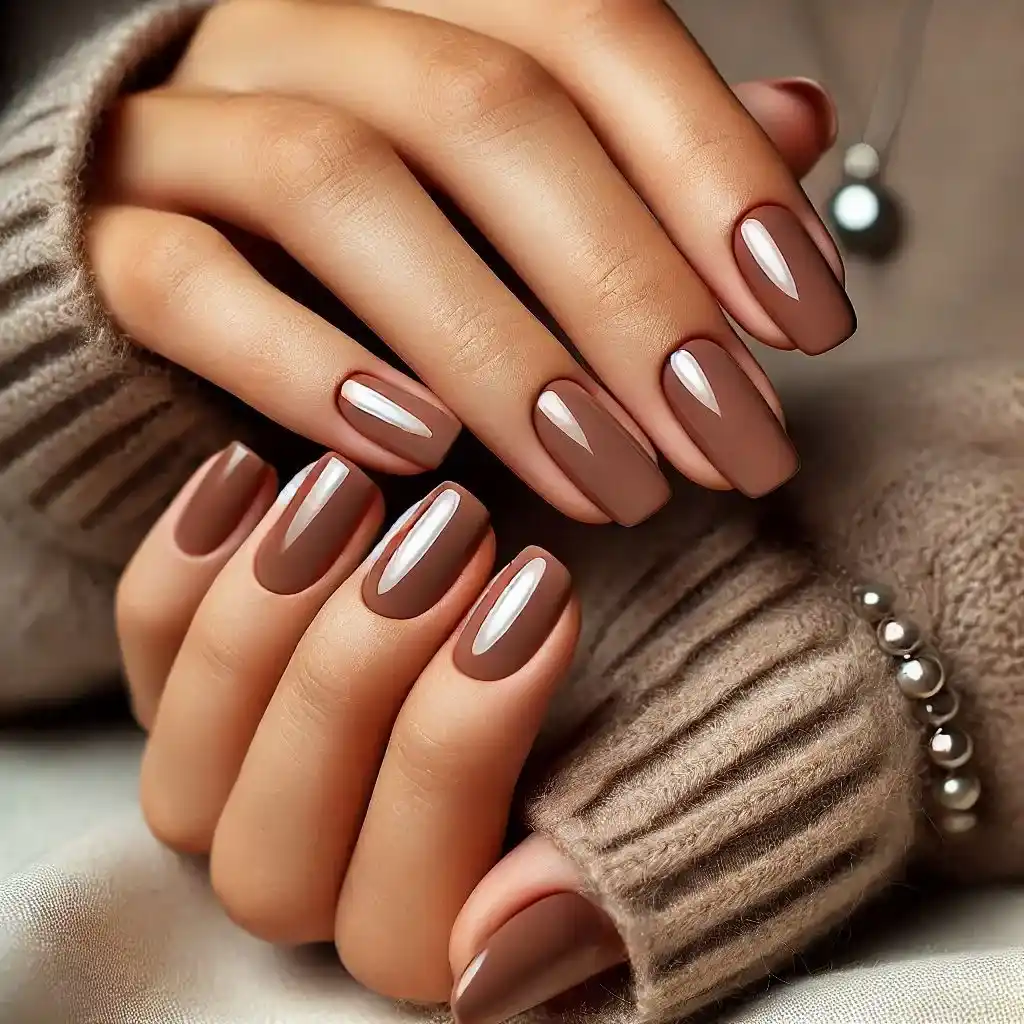
Embrace Pantone’s Color of the Year 2025 with “Mocha Mousse” nails. This warm, coffee-inspired shade offers a versatile and sophisticated look, perfect for any occasion. Whether applied as a solid color or incorporated into French tips, Mocha Mousse adds a touch of contemporary elegance to your manicure.
Steps to make nail design:
- Get Ready: Trim and clean your nails to make them neat.
- Protect Nails: Brush on a thin coat of clear polish.
- Apply Mocha Color: Use the soft brown polish and cover each nail evenly. Start in the center, then do the sides.
- Repeat for Depth: Add another coat for a richer look.
- Seal It: Finish with a shiny layer to keep it glossy.
2. Frosted Neutrals
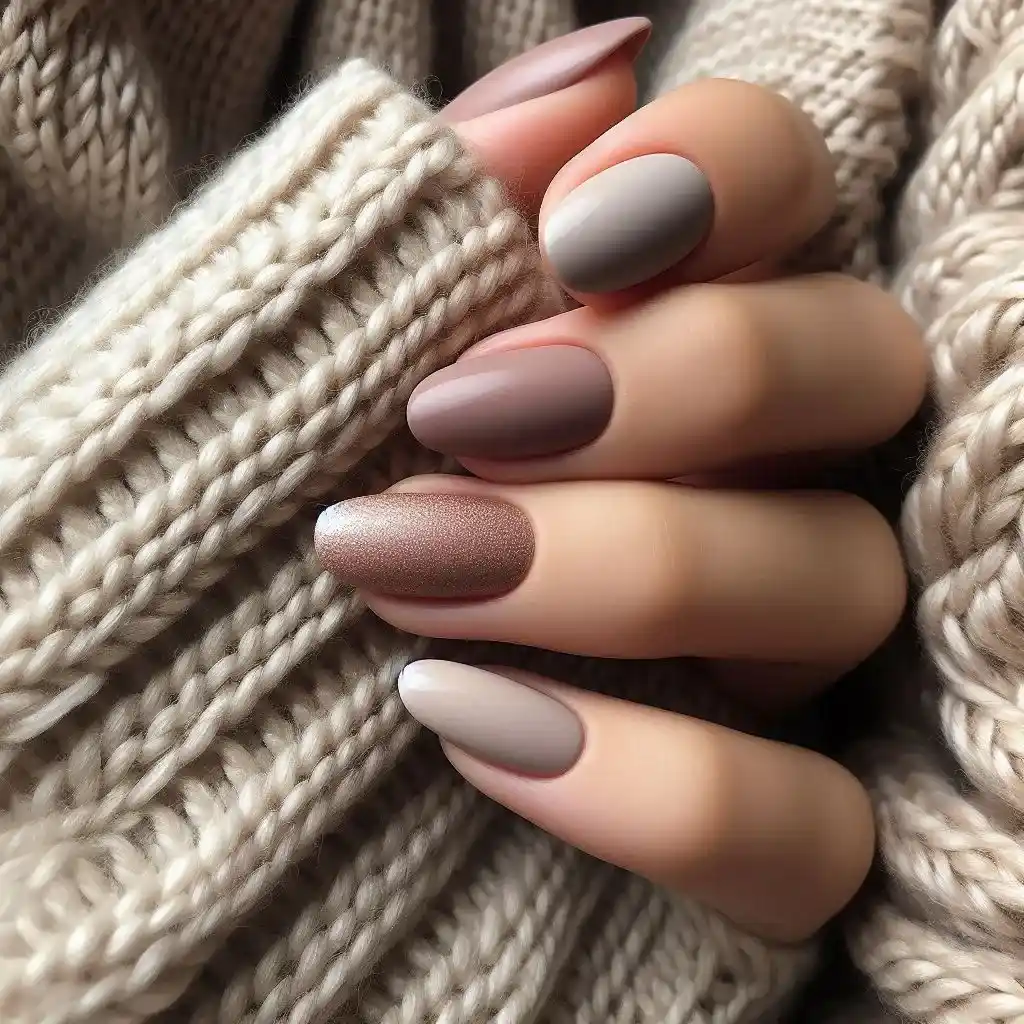
Achieve a chic and understated look with frosted neutral nails. Soft, muted tones with a frosted finish provide a subtle yet stylish appearance, suitable for both casual and formal settings. This trend emphasizes simplicity and elegance, making it a go-to choice for the winter season.
Steps to make nail design:
- Shape Nails: File your nails into the shape you like best.
- Smooth Surface: Buff lightly so the polish sticks better.
- Use Frosty Polish: Pick a light beige or taupe color and apply it smoothly.
- Add a Second Coat: Let the first coat dry, then apply another thin coat.
- Finish with Matte Polish: Use a matte top coat to complete the frosted look.
3. Burgundy Chrome Accents
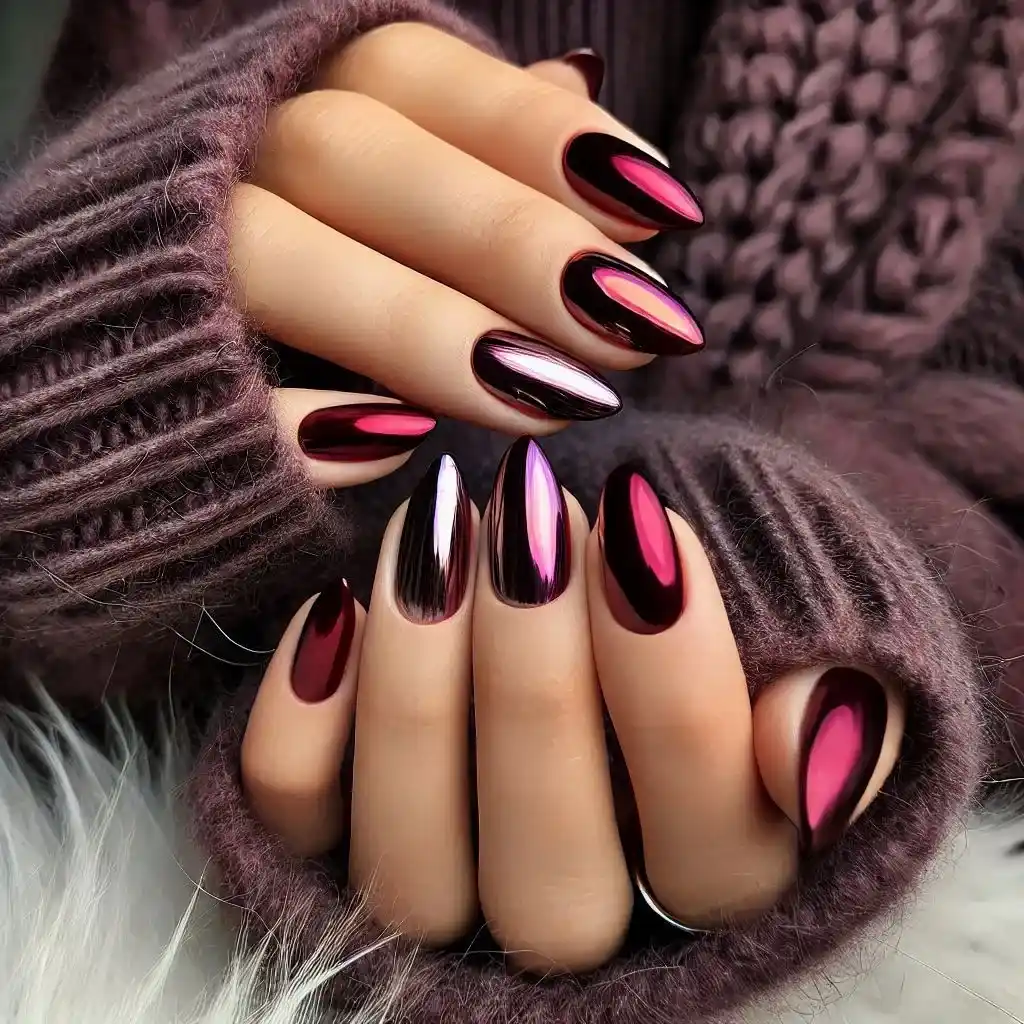
Combine the timeless appeal of burgundy with a modern chrome finish for a manicure that exudes sophistication. The metallic sheen adds depth and intrigue, making it a perfect choice for both everyday wear and special occasions.
Steps to make nail design:
- Clean Slate: Remove any old polish and wash your nails.
- Base Coat: Apply a clear base coat to help the polish stay longer.
- Apply Burgundy Polish: Use a deep burgundy shade and paint your nails evenly.
- Add Chrome Powder: While the polish is slightly sticky, gently dab chrome powder over it.
- Top Coat: Seal with a clear top coat to keep the metallic shine.
4. Snowflake Nail Art
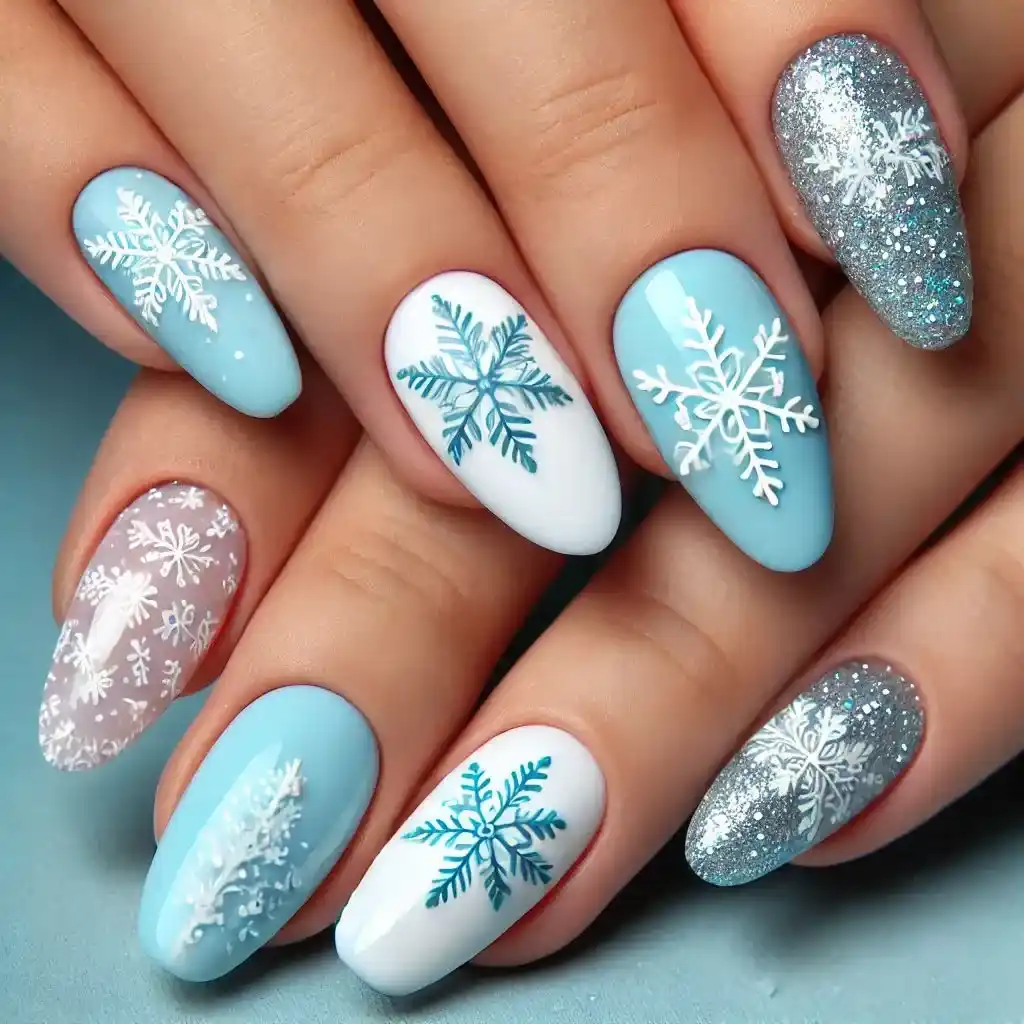
Capture the essence of winter with delicate snowflake designs on your nails. Whether you opt for intricate patterns or minimalist accents, snowflake nail art adds a festive and cozy touch to your January look. This versatile design can be customized with various colors and finishes to suit your personal style.
Steps to make nail design:
- Pick a Base Color: Paint your nails light blue or white.
- Draw Snowflakes: Use a fine brush or toothpick to draw six-pointed snowflake designs with white polish.
- Add Dots: Make small dots around the snowflakes for a snowy effect.
- Use Glitter: Add a tiny dab of glitter to the snowflake centers for sparkle.
- Seal It: Apply a top coat for a smooth finish.
5. Velvet Gold Finish
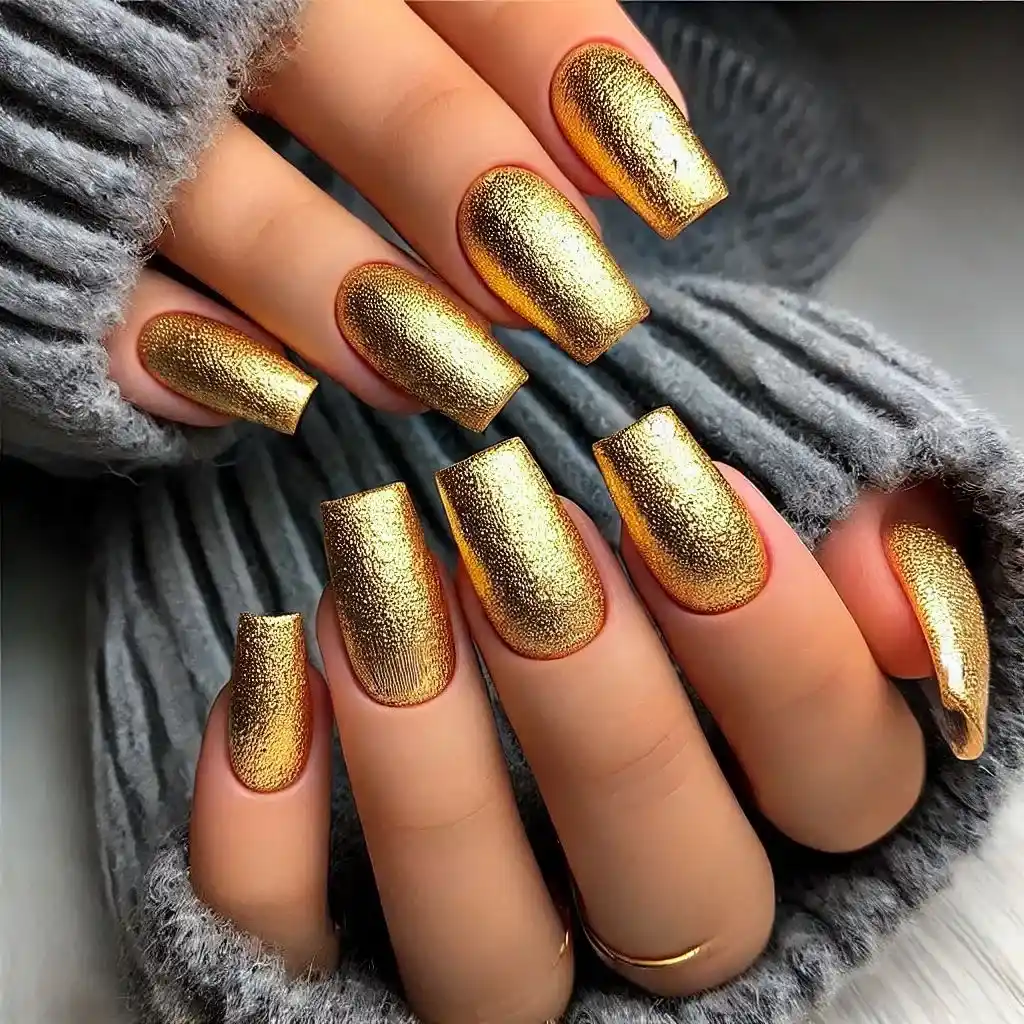
Add a touch of luxury to your manicure with a velvet gold finish. This shimmering design reflects light beautifully, giving your nails a plush and opulent appearance. Ideal for both day and night, velvet gold nails are set to be a standout trend this season.
Steps to make nail design:
- Base Prep: Start with a clear base coat to protect your nails.
- Paint with Gold Polish: Apply gold nail polish evenly to all your nails.
- Sprinkle Velvet Powder: While still wet, gently dust velvet powder over the nails.
- Press and Clean: Lightly press the powder, then brush off extra around your nails.
- Skip Top Coat: Keep the soft texture intact by skipping a final coat.
6. Icy Blue Hues
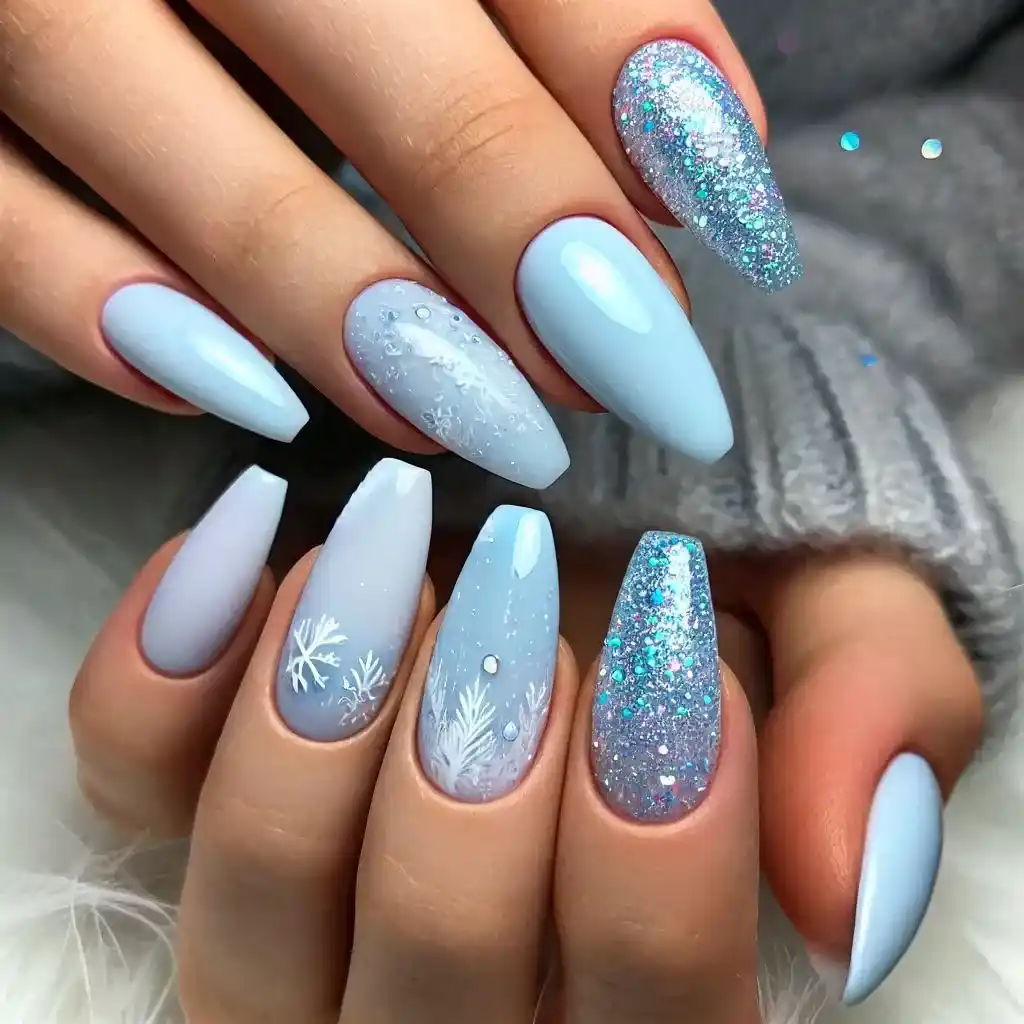
Embrace the chilly January weather with icy blue nail polish. Shades ranging from pale blue to deep navy can be accented with glitter or metallic finishes to evoke the serene beauty of winter landscapes. This cool-toned manicure is both refreshing and seasonally appropriate.
Steps to make nail design:
- Prep Your Hands: Make sure your nails are clean and dry.
- Choose Blue Polish: Pick a pale blue shade and apply one coat evenly.
- Glitter Accent: Add a glittery polish on top to give a frosty effect.
- Optional Stickers: Place snowflake or crystal decals for extra charm.
- Finish It Off: Seal everything with a clear, shiny top coat.
7. Geometric Patterns
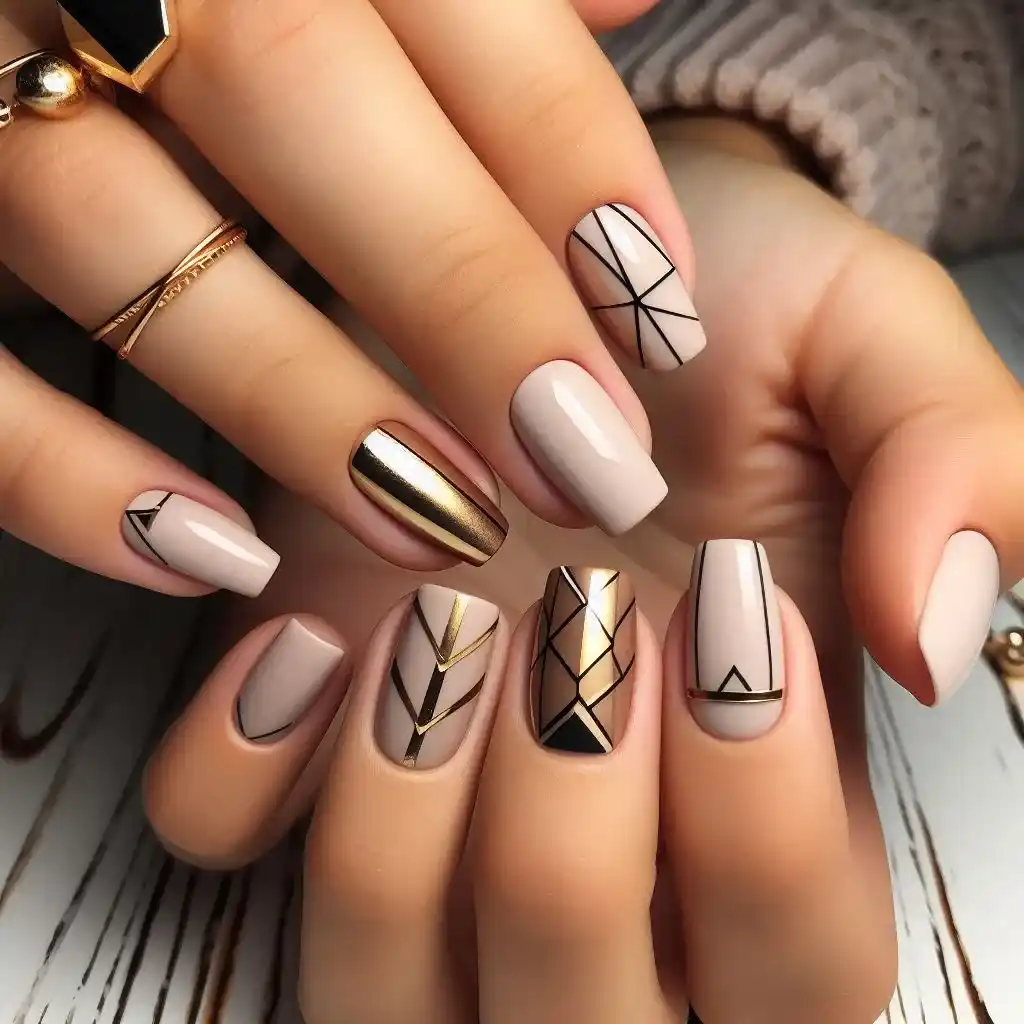
Incorporate modern geometric designs into your manicure for a contemporary twist. Think clean lines, triangles, and abstract shapes in contrasting colors. This trend allows for personalization and creativity, ensuring your nails are as unique as you are.
Steps to make nail design:
- Base Layer: Start with a neutral base like white or cream.
- Create Shapes: Use nail tape or thin brushes to make triangles or squares on your nails.
- Fill Shapes: Paint inside the shapes with contrasting colors like black or gold.
- Remove Tape: Carefully take off the tape before the paint dries completely.
- Top Coat: Finish with a smooth top coat to protect the design.
8. Metallic Silver Tips
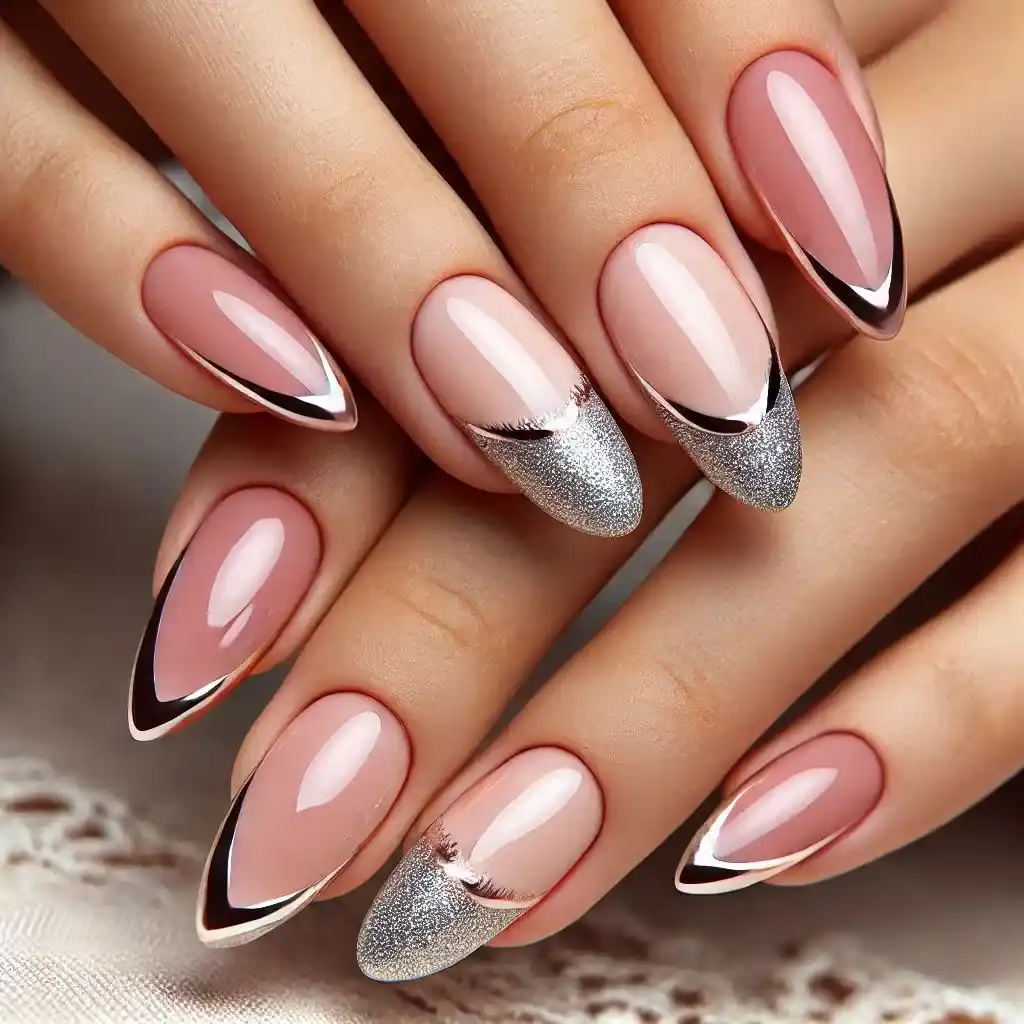
Update the classic French manicure by replacing white tips with metallic silver. This subtle yet striking modification adds a futuristic flair to your nails, making them stand out while maintaining elegance.
Steps to make nail design:
- Start with Neutral Polish: Paint your nails a soft pink or nude color.
- Add Silver Tips: Use a silver polish for the tips, freehand or with a French tip guide.
- Clean Edges: Use a small brush dipped in remover to fix any mistakes.
- Let It Dry: Allow the tips to set completely.
- Top It Off: Use a shiny coat to make it last.
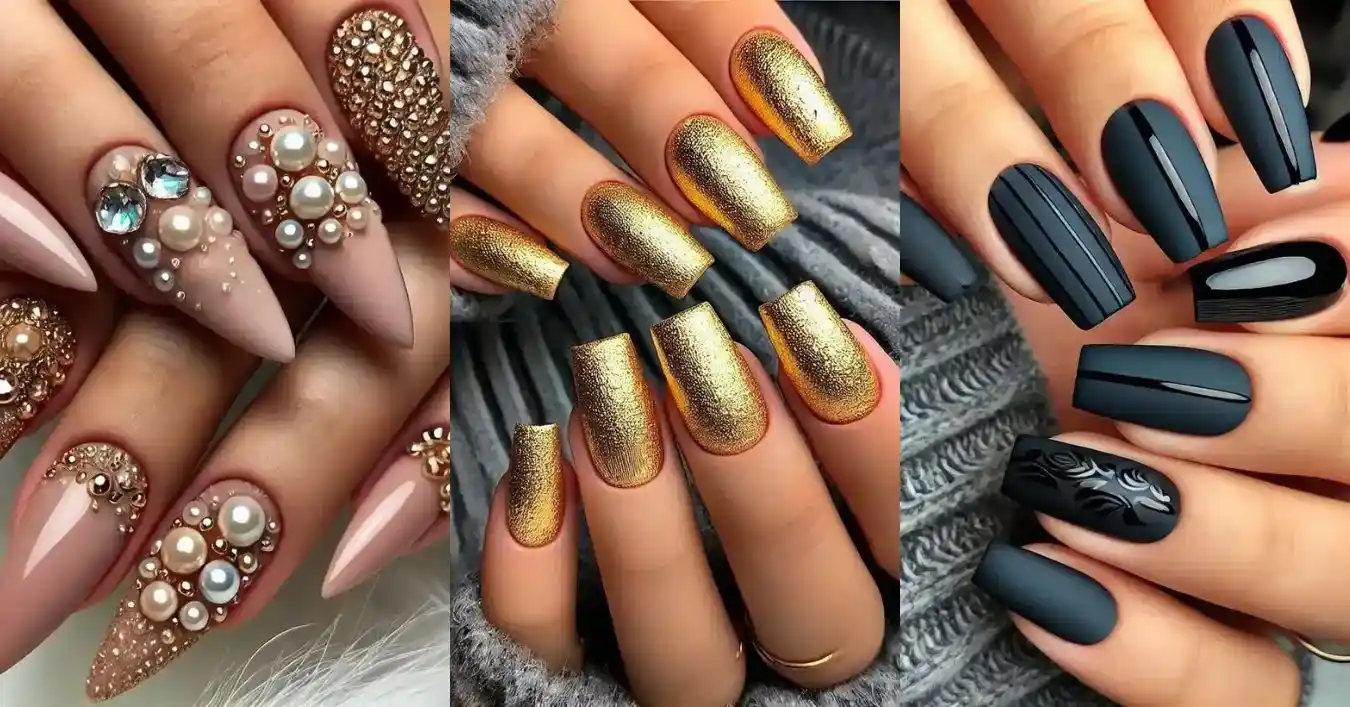
9. Matte Black with Glossy Accents
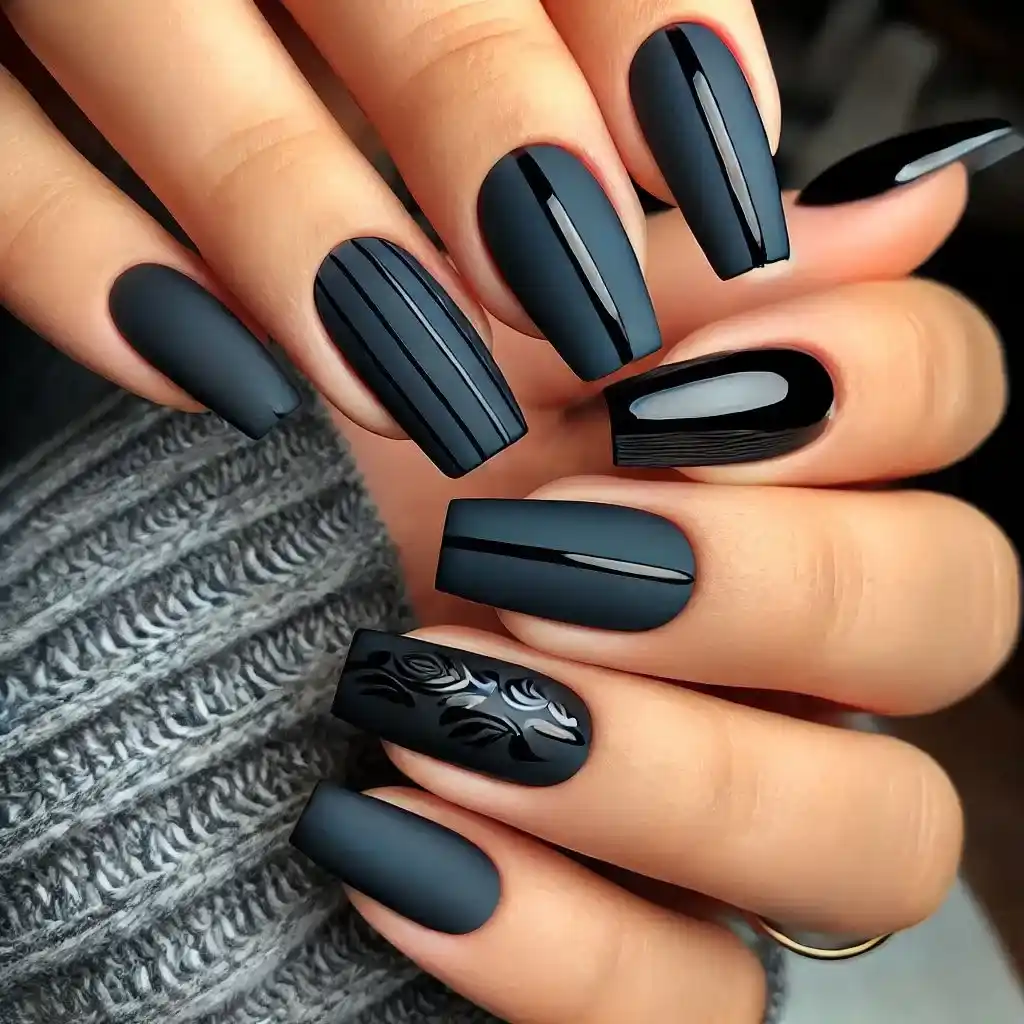
Create a dramatic and chic look by pairing matte black nails with glossy black accents. This monochromatic design plays with textures, offering a sophisticated and edgy manicure suitable for any occasion.
Steps to make nail design:
- Paint It Black: Apply a matte black polish as your base color.
- Glossy Details: Use a thin brush to add clear polish for shiny lines or dots.
- Add Gems: Stick tiny rhinestones on the glossy accents if you want sparkle.
- Skip Full Top Coat: Don’t cover the entire nail to keep the contrast.
10. Pastel Gradient
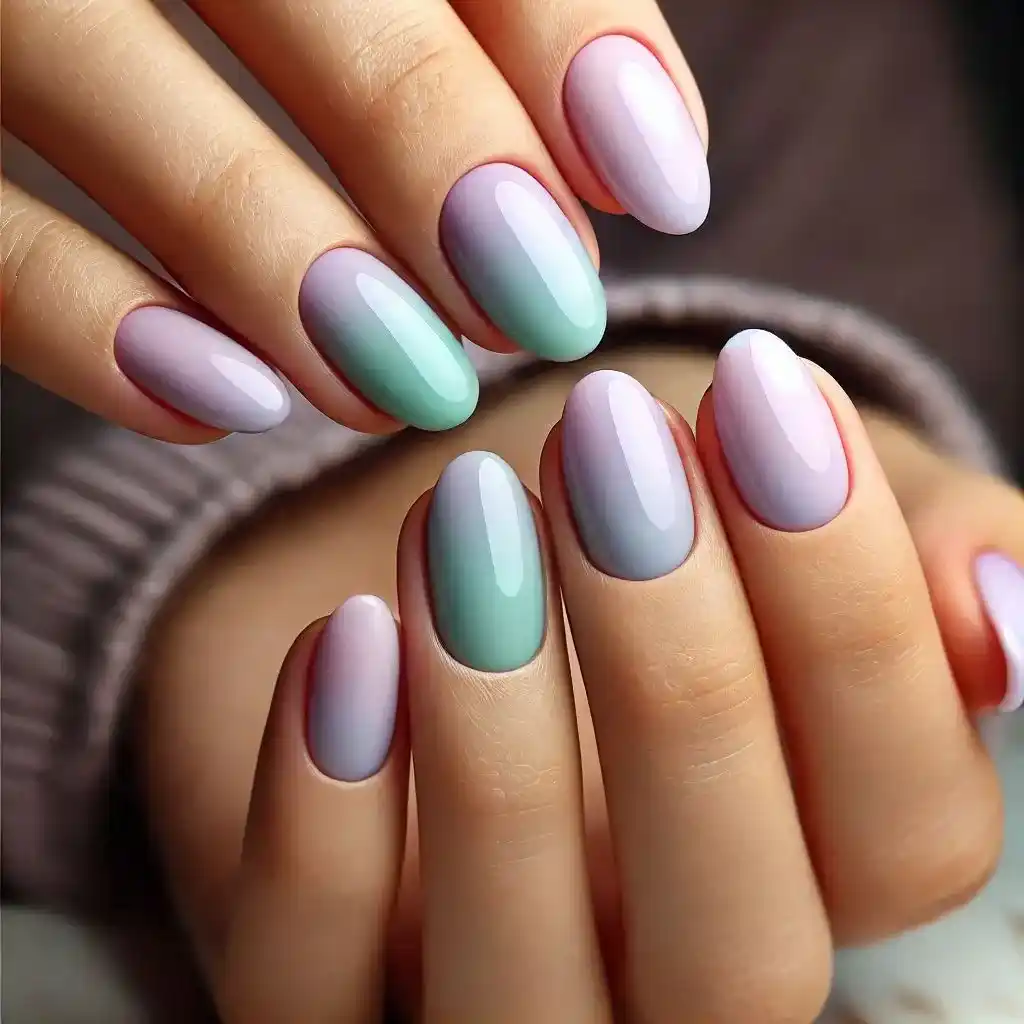
Transition from the dark hues of winter to the soft tones of spring with a pastel gradient manicure. Colors like lavender, mint, and baby pink blend seamlessly to create a gentle and appealing look, perfect for brightening up your January days.
Steps to make nail design:
- White Base Coat: Start with a white polish to make the colors pop.
- Apply Colors on Sponge: Use pastel shades like lavender or peach on a makeup sponge.
- Dab on Nails: Press the sponge gently onto your nails for a blended gradient.
- Clean Edges: Use a remover and a thin brush to tidy up the sides.
- Seal with Gloss: Use a clear top coat for smoothness.
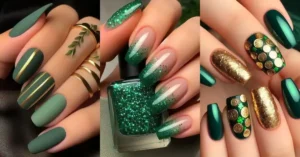
11. Jewel Tones
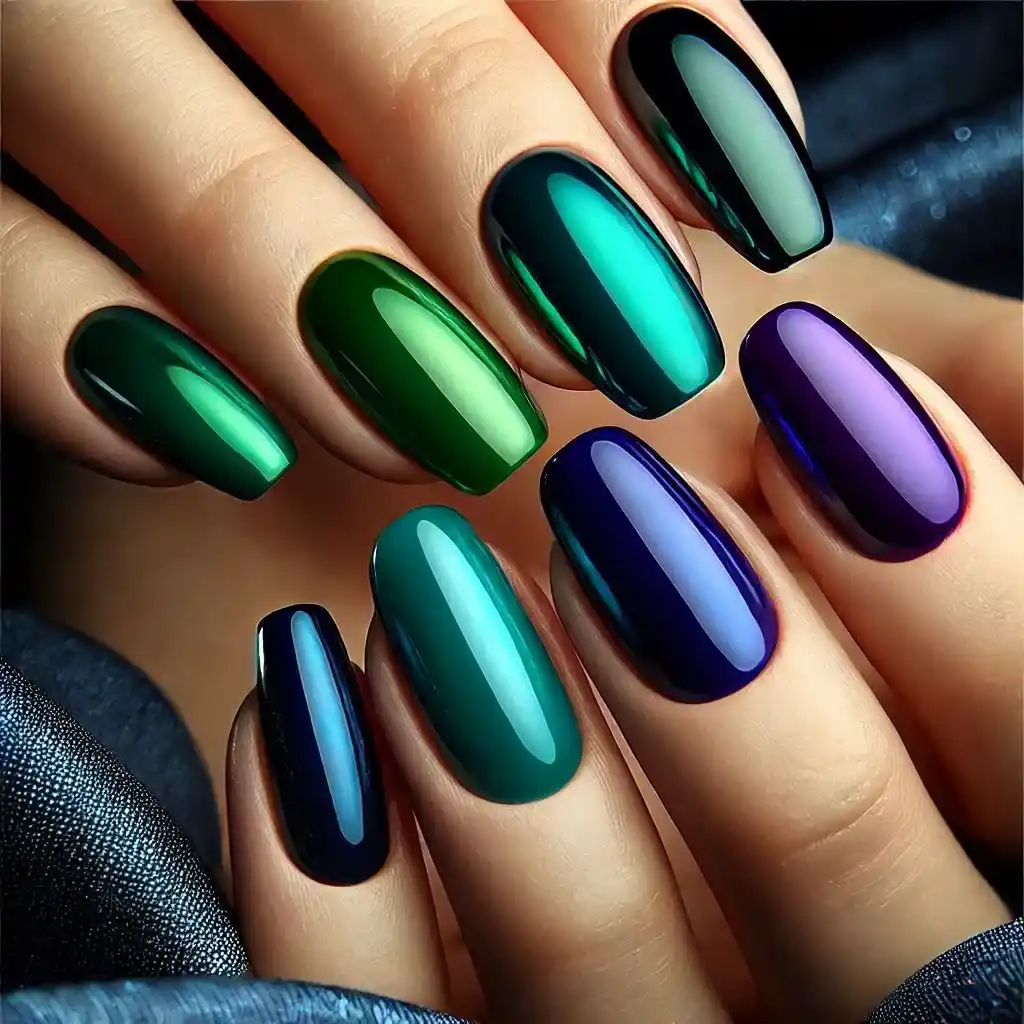
Rich jewel tones like emerald green, sapphire blue, and amethyst purple are making a statement this season. These deep, vibrant colors add a touch of luxury and elegance to your manicure, suitable for both day and night events.
Steps to make nail design:
- Deep Color Base: Choose rich colors like emerald green or sapphire and apply one coat.
- Build the Depth: Add another layer for an intense finish.
- Shiny Top Coat: Use a glossy top coat to enhance the jewel-like effect.
12. Sheer Iridescent Shades
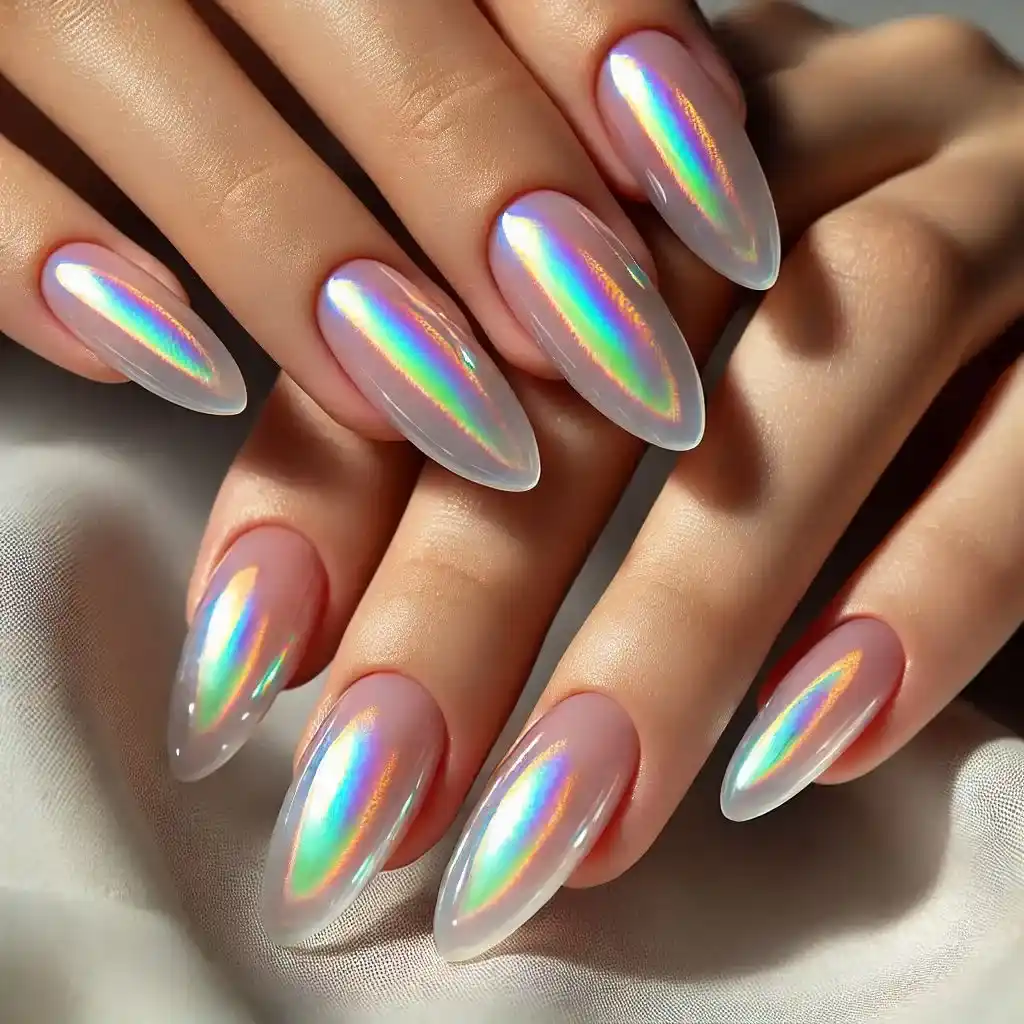
For a subtle yet captivating look, opt for sheer iridescent nail polish. These translucent shades with a hint of shimmer provide a delicate and ethereal appearance, perfect for those who prefer understated elegance.
Steps to make nail design:
- Pick a Sheer Color: Choose an iridescent polish and apply one thin layer.
- Build the Shine: Add more coats until you reach the desired shimmer.
- Accent Nail Option: Add a tiny gemstone on one nail for extra sparkle.
- Seal It Up: Use a clear top coat for a glossy finish.
13. Magnetic Nail Polish Designs
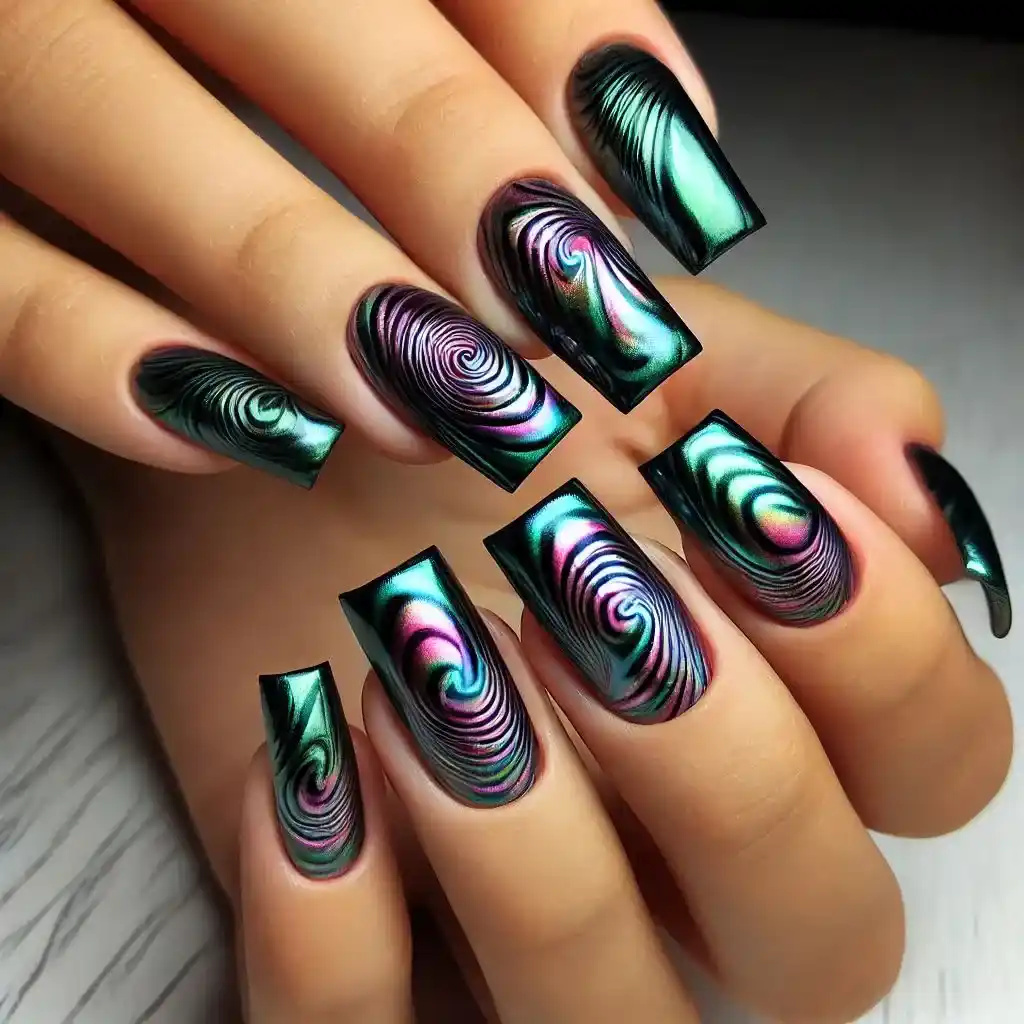
Experiment with magnetic nail polish to create unique patterns and effects. This innovative polish contains metallic particles that form designs when exposed to a magnet, resulting in mesmerizing and customizable manicures.
Steps to make nail design:
- Special Polish: Use magnetic nail polish and paint a single coat.
- Create Effect: Hold the magnet close to your nail (without touching) to form patterns.
- Repeat: Apply another coat and use the magnet again for more depth.
- Top Coat: Seal with a glossy layer for protection.
14. 3D Embellishments
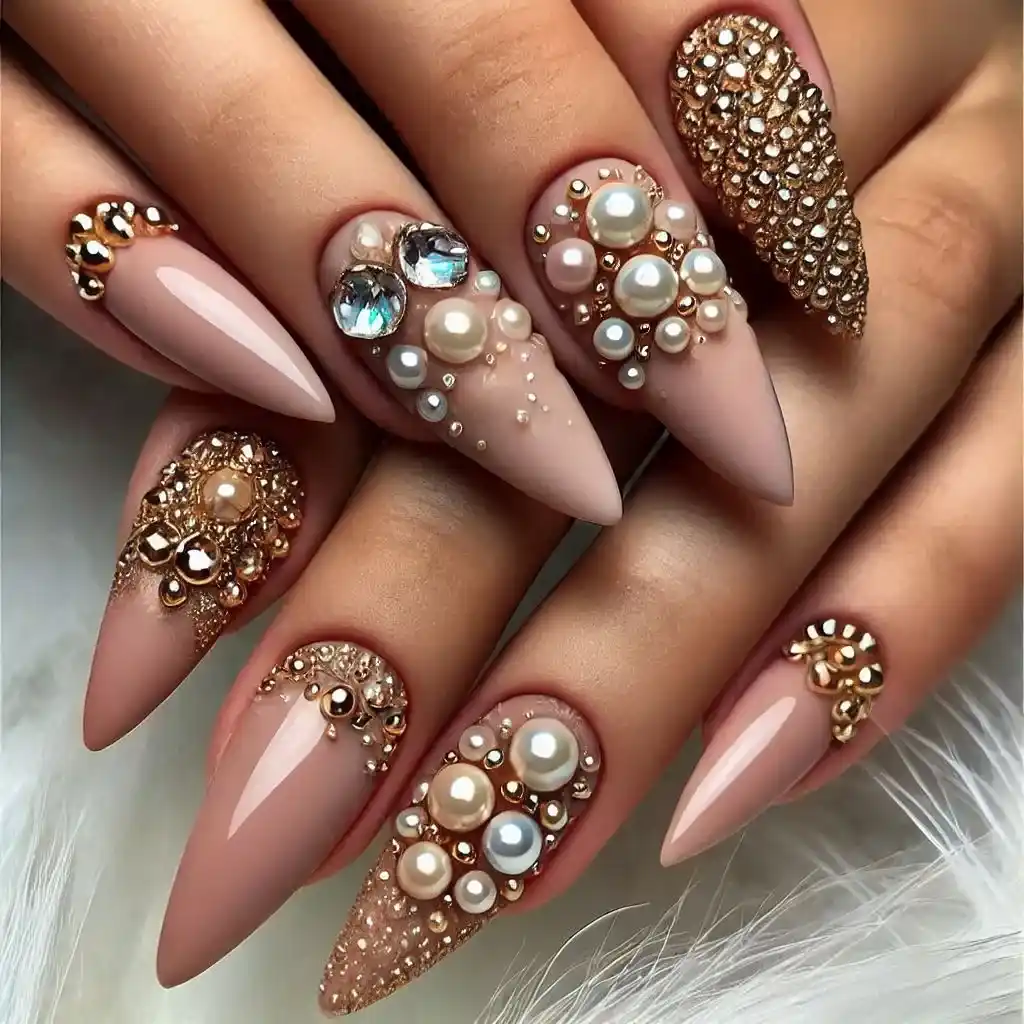
Add dimension to your nails with 3D embellishments like pearls, studs, or tiny charms. These accessories can elevate a simple manicure into a work of art, allowing for personalization and creativity.
Steps to make nail design:
- Base Color: Paint your nails with a solid color like nude or black.
- Add Glue: Use nail glue to attach small pearls or studs.
- Stick Embellishments: Place the pieces carefully with tweezers.
- Top Coat: Apply a generous top coat to secure everything.
15. Abstract Nail Art
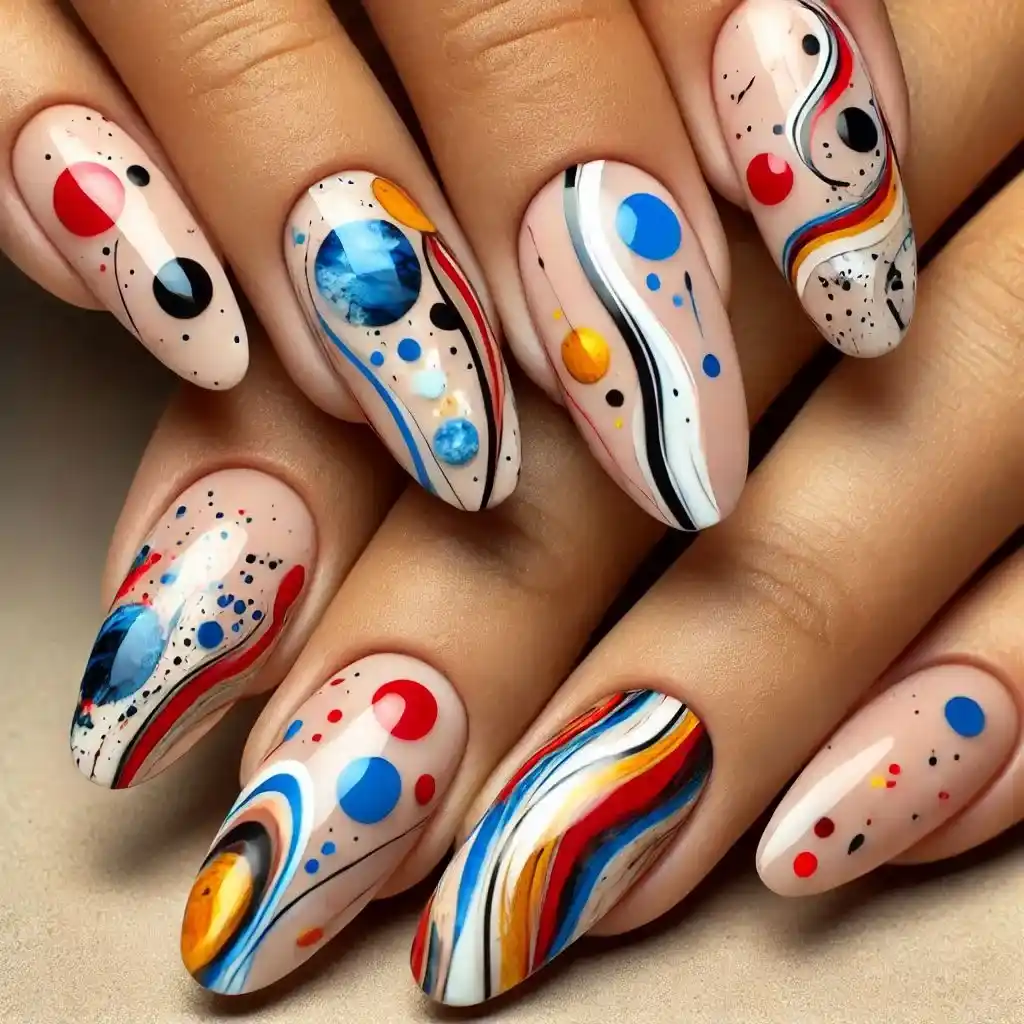
Unleash your artistic side with abstract nail art. Incorporate bold colors, random shapes, and brush strokes to create a unique and eye-catching design that reflects your personal style.
Steps to make nail design:
- Base Coat First: Apply a simple, neutral base like white.
- Random Shapes: Use bright colors to draw irregular shapes with a brush.
- Outline Shapes: Use black or gold to define the edges of each shape.
- Seal the Look: Finish with a glossy top coat.
16. Holographic Finishes
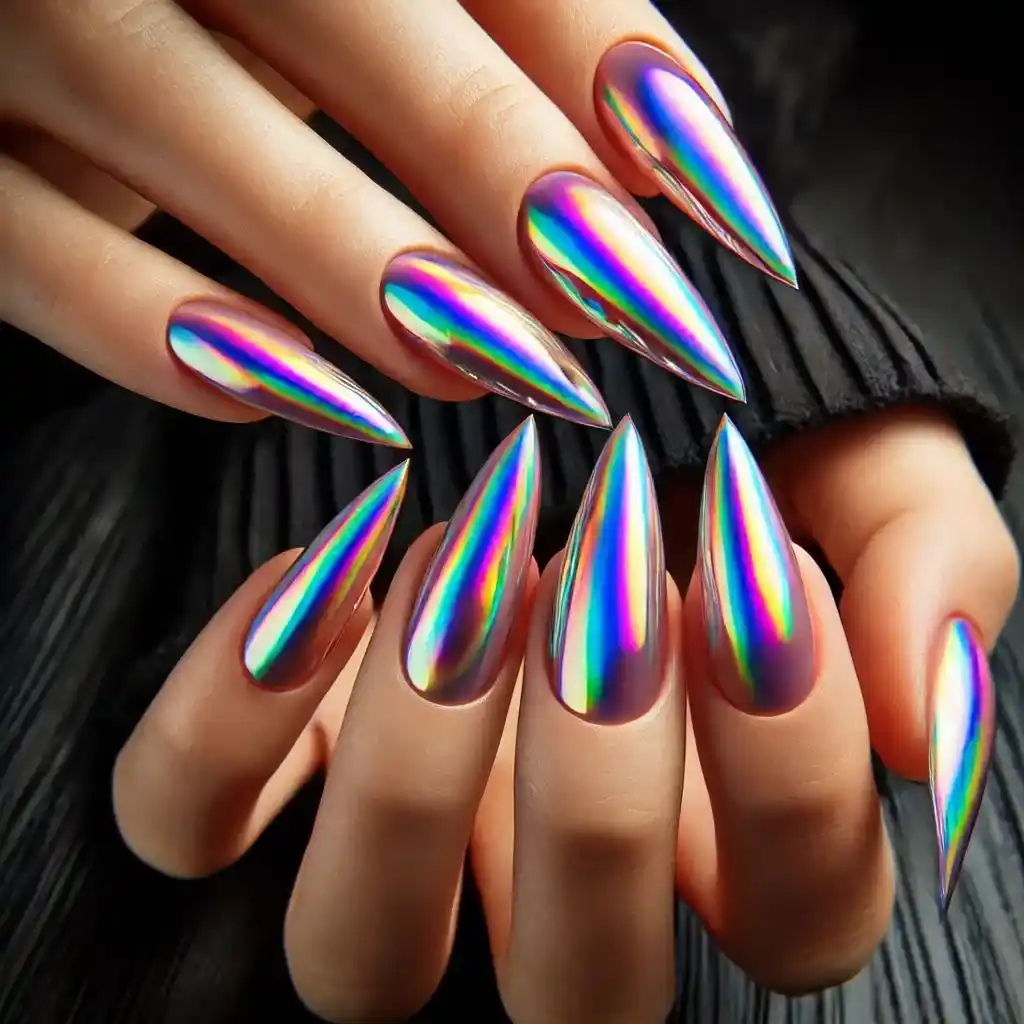
Achieve a futuristic and dazzling look with holographic nail polish. The multidimensional shimmer changes colors with light, providing a dynamic and captivating manicure that’s sure to turn heads.
Steps to make nail design:
- Pick Holo Polish: Use a holographic nail polish for your base.
- Layer for Shine: Add two thin coats for a strong effect.
- Seal It: Finish with a glossy top coat to keep the holographic look vibrant.
17. Minimalist Line Art
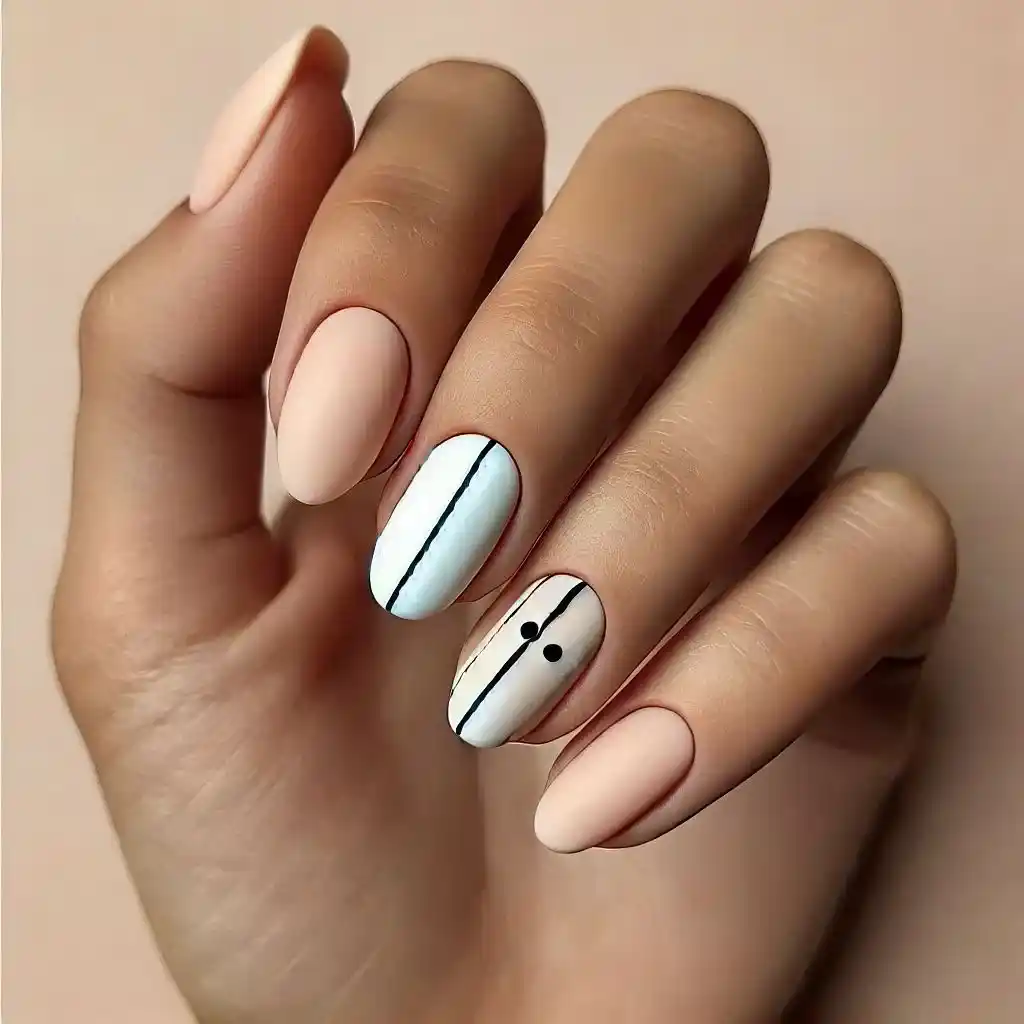
For a sleek and modern manicure, opt for minimalist line art. Simple lines and shapes in neutral or contrasting colors can create a chic and sophisticated design suitable for any occasion.
Steps to make nail design:
- Neutral Base: Start with a soft pink or beige polish.
- Draw Lines: Use a thin nail art brush to create simple designs like stripes or grids.
- Add Dots: Place tiny dots in contrasting colors for extra detail.
- Top Coat: Use a shiny or matte top coat to lock in the design.
18. Glitter Gradient
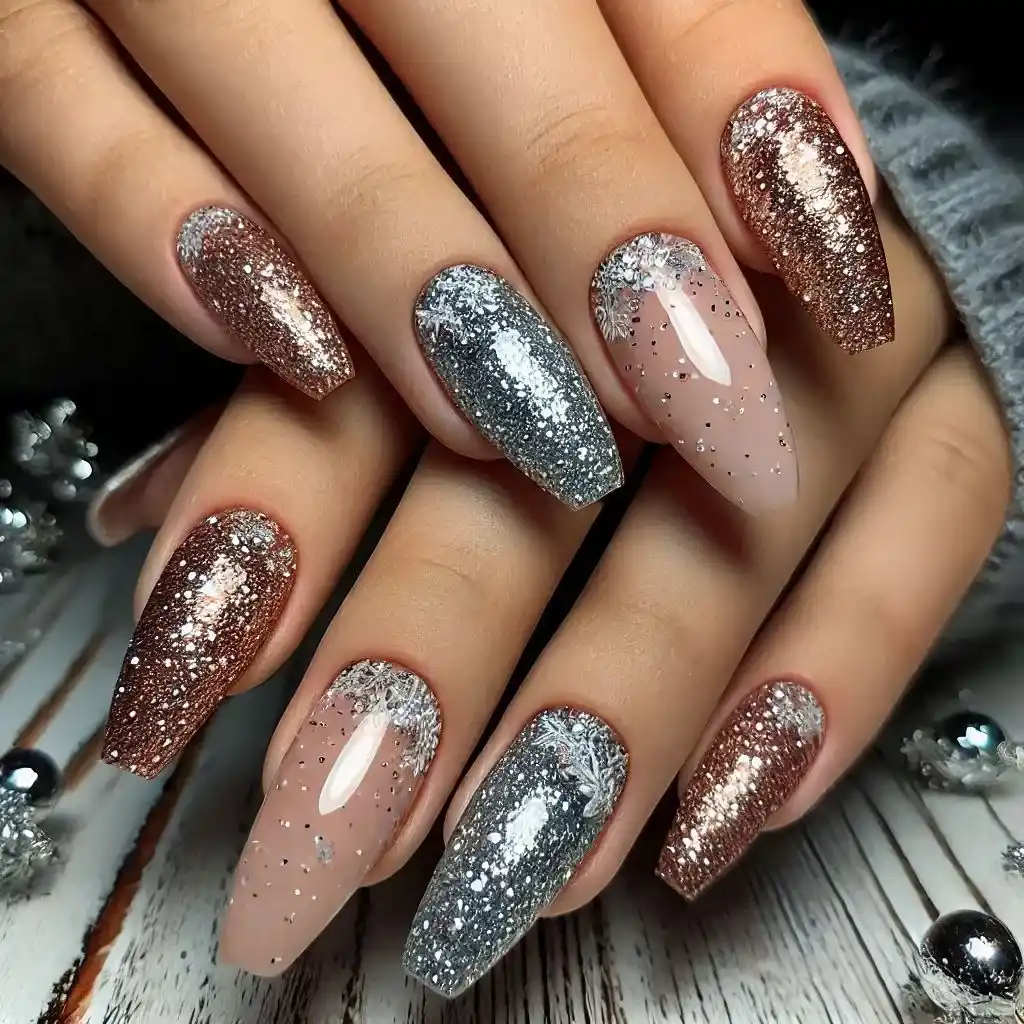
Add some sparkle to your January with a glitter gradient manicure. Starting with a nude or colored base, gradually increase the concentration of glitter towards the tips for a dazzling and festive look.
Steps to make nail design:
- Base Color: Paint your nails with a solid color like nude or pale pink.
- Glitter Polish: Apply glitter starting at the tips and lightly dragging it downward.
- Blend the Gradient: Use a sponge to blend the glitter for a softer effect.
- Seal with Top Coat: Apply a shiny top coat to smooth the texture.
Conclusion
January is the perfect time to refresh your look and set the tone for the year ahead—starting with your nails. These 18 unique designs cater to every style and occasion, whether you’re cozying up with frosted hues, showing off chic geometric patterns, or adding a splash of glamour with jewel tones. Nail art isn’t just about aesthetics; it’s a way to express yourself and embrace the trends of the moment. So, grab your favorite polishes, unleash your inner artist, and let your nails tell your story this January. Your next masterpiece is just a brushstroke away!
