Introduction
Ever looked down at your toes and thought, “These could use a little more sparkle?” You’re not alone! Many people focus on fingernail designs and forget that toe nails are just as important for completing a polished look. With sandal season or just a cozy day in your slippers, your toes deserve attention too. But what designs are in style now, and how can you keep up with the latest trends?
If you’re searching for fresh, fun, and fabulous ways to decorate your toe nails, you’ve come to the right place. We’ve done the research for you and put together a list of 22 trendy toe nail designs that are simple yet stylish. Whether you’re into bold patterns, minimalist vibes, or a little bit of shimmer, there’s something here for every taste.
Table of Contents
Elegant Trendy Toe Nail Designs
1. Pastel Ombre
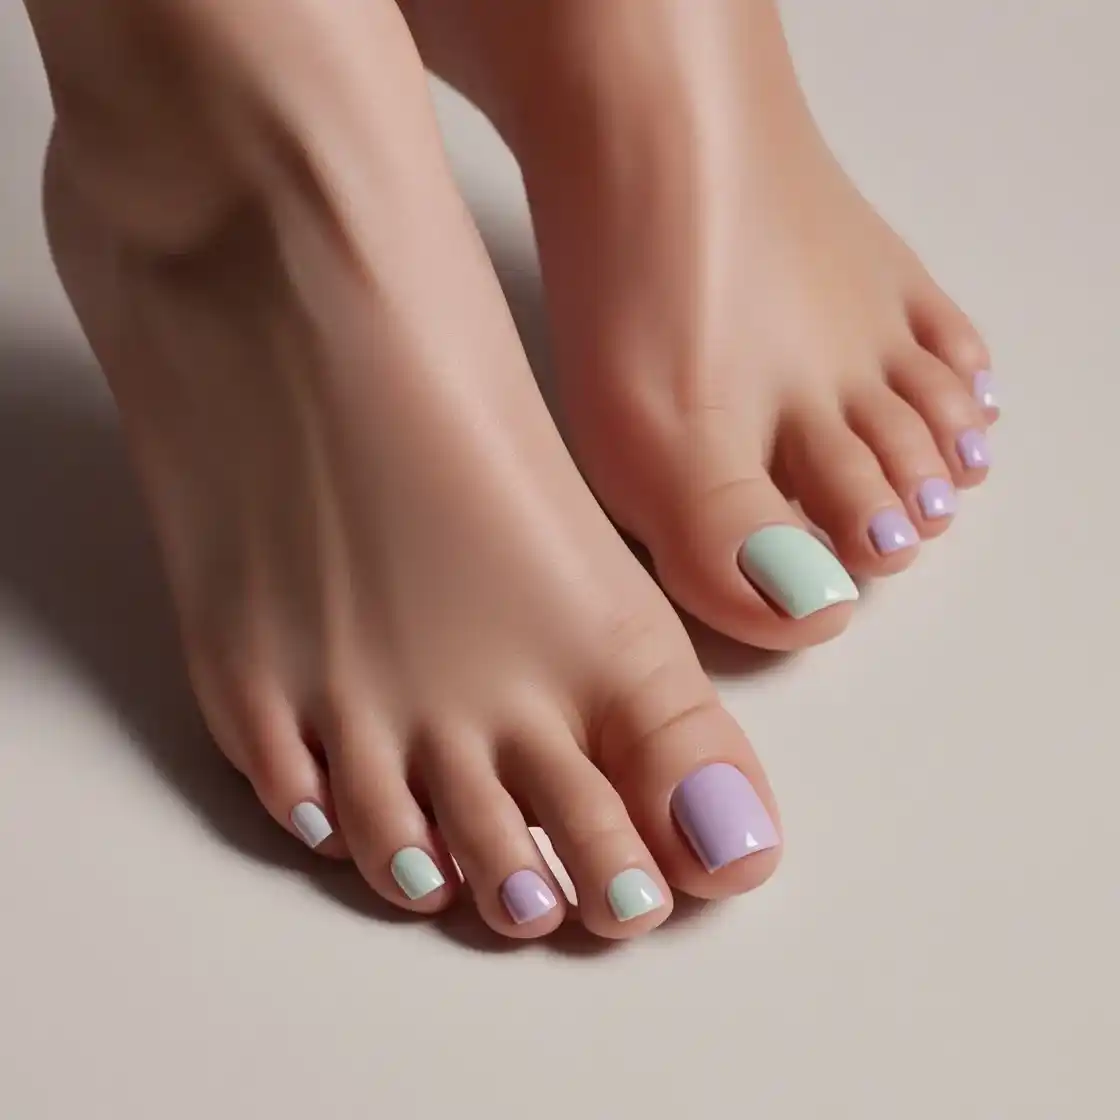
Start with a soft gradient of pastel shades blending from one toe to the next. This gives a smooth, subtle look perfect for spring or summer.
- Pick 3 or 4 soft colors like light pink, lavender, or mint.
- Start with a light base color on all your nails.
- Take a makeup sponge and apply small strips of the other colors next to each other.
- Dab the sponge gently on your nail, letting the colors blend together.
- Apply a clear top coat to smooth it all out.
2. Metallic Stripes
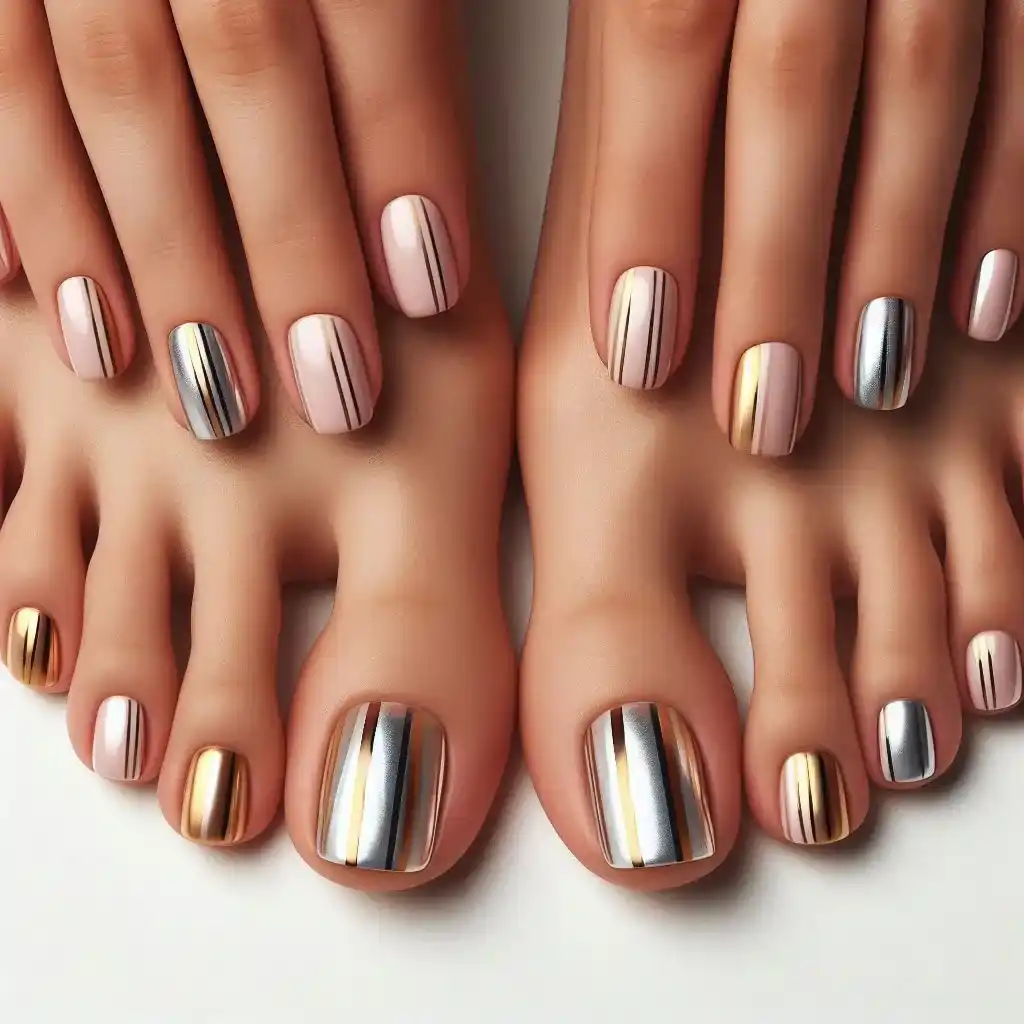
Use thin, metallic tape to create stripes on your nails. Go for silver, gold, or rose gold to make your toes pop with elegance and style.
- Choose a base color—nude or any pastel shade works well.
- Let the base color dry completely.
- Cut thin strips of metallic nail tape (silver or gold) and place them horizontally or vertically on your nails.
- Press the tape down firmly so it sticks well.
- Finish with a clear top coat to hold the stripes in place.
3. Abstract Art
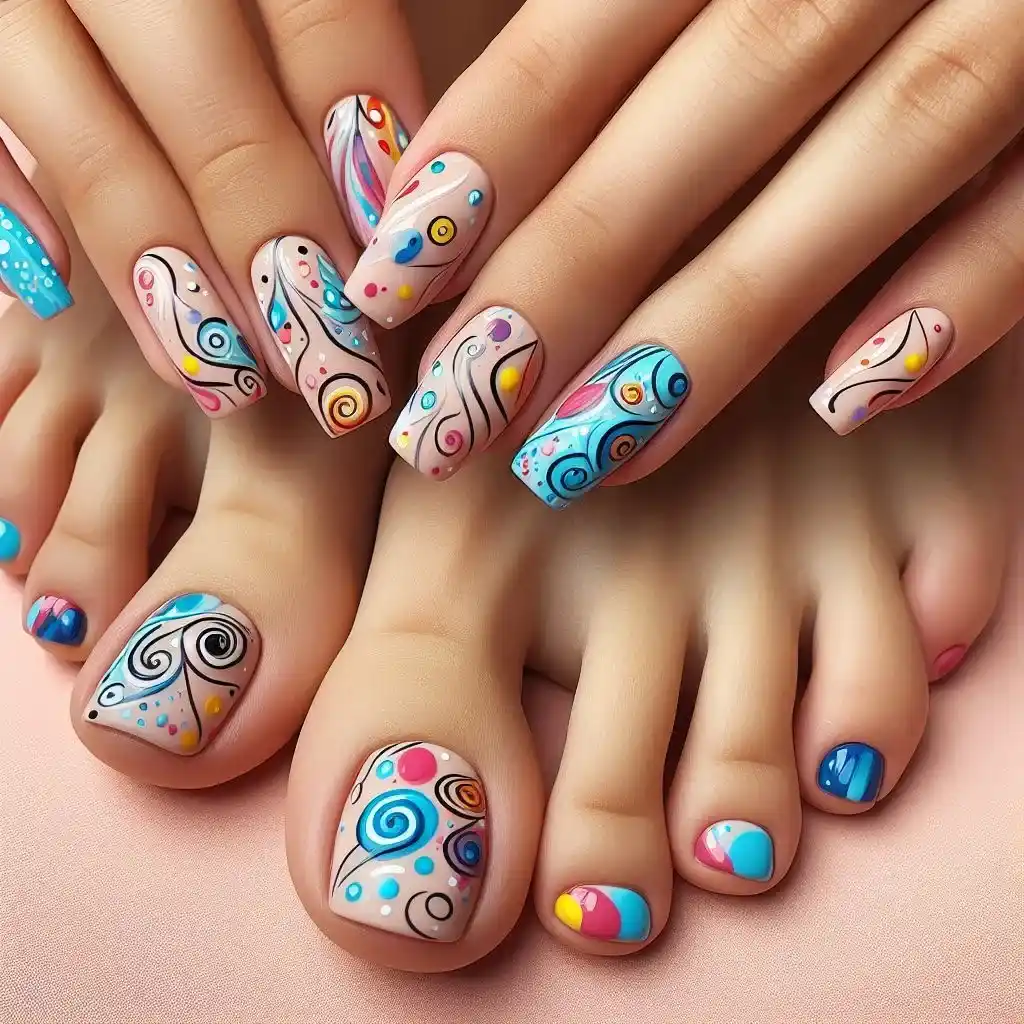
Go wild with abstract shapes and lines. You don’t need perfect lines; random splashes of color can create a unique, artsy look.
- Start by applying a white or nude polish as the base.
- Use a thin brush or a toothpick to create random swirls and shapes with different colors.
- Don’t worry about perfection! The more freehand it looks, the better.
- Let it dry and seal it with a glossy top coat.
4. Neon Accents
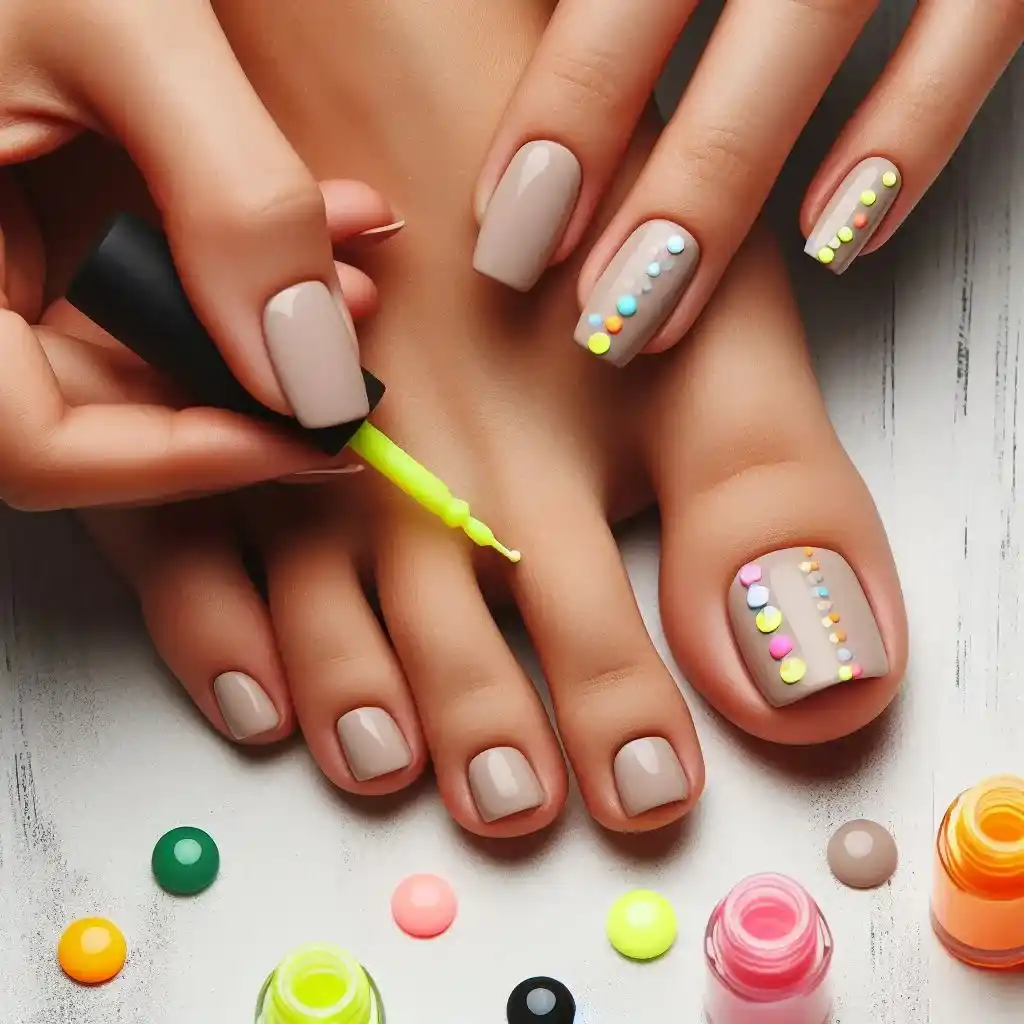
Bright neon colors never go out of style. You can add small neon dots or patterns on a neutral base to make a bold statement.
- Paint your nails a neutral color like beige or light grey.
- Pick a bright neon polish—yellow, orange, or green works well.
- Using a dotting tool, add small neon dots to the corners of each nail.
- Let the design dry before applying a top coat.
5. Glitter Gradient
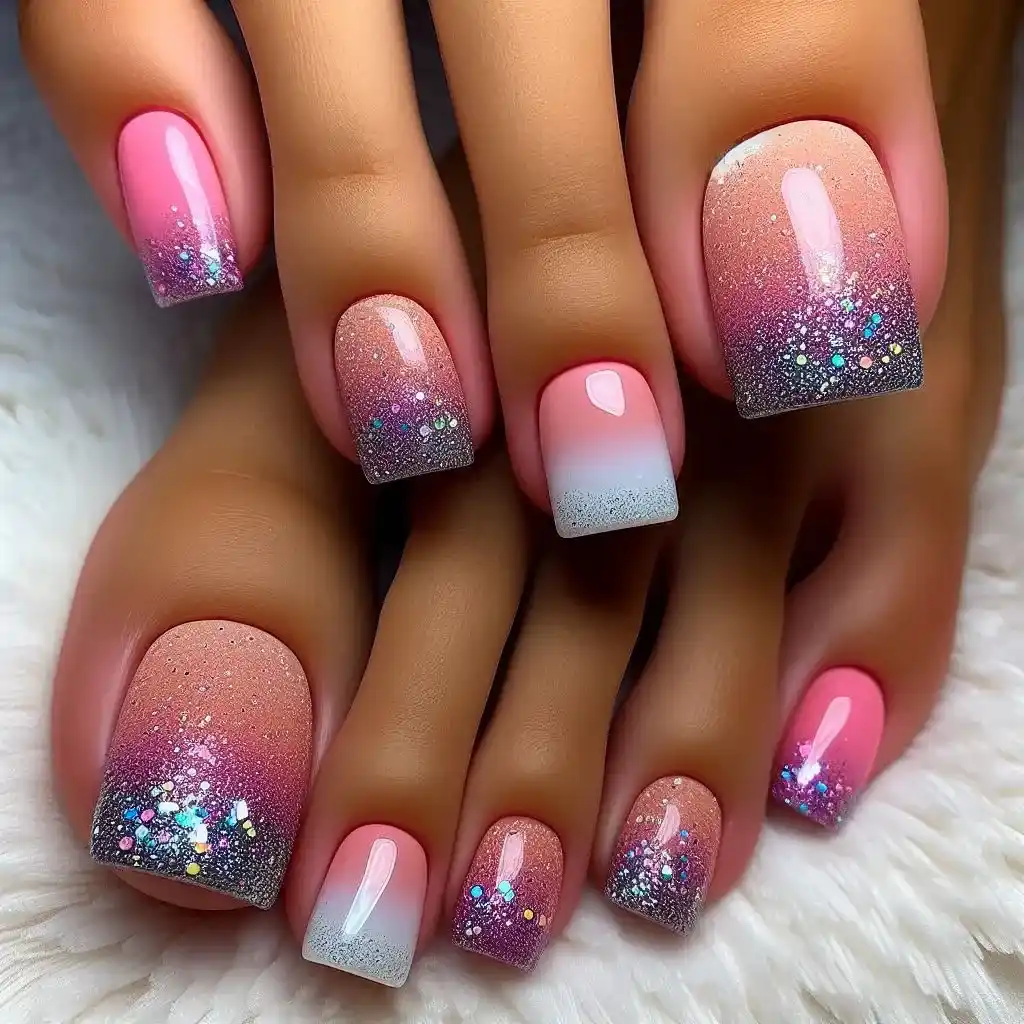
Create a dazzling effect by applying glitter from the tip of your nails and fading it toward the cuticle. This sparkly look is perfect for special occasions.
- Paint your nails in any solid color like pink or blue.
- Apply glitter polish only to the tips of your nails.
- Slowly drag the glitter toward the middle to create a fading effect.
- Once dry, add a top coat to smooth everything out.
6. French Tip with a Twist
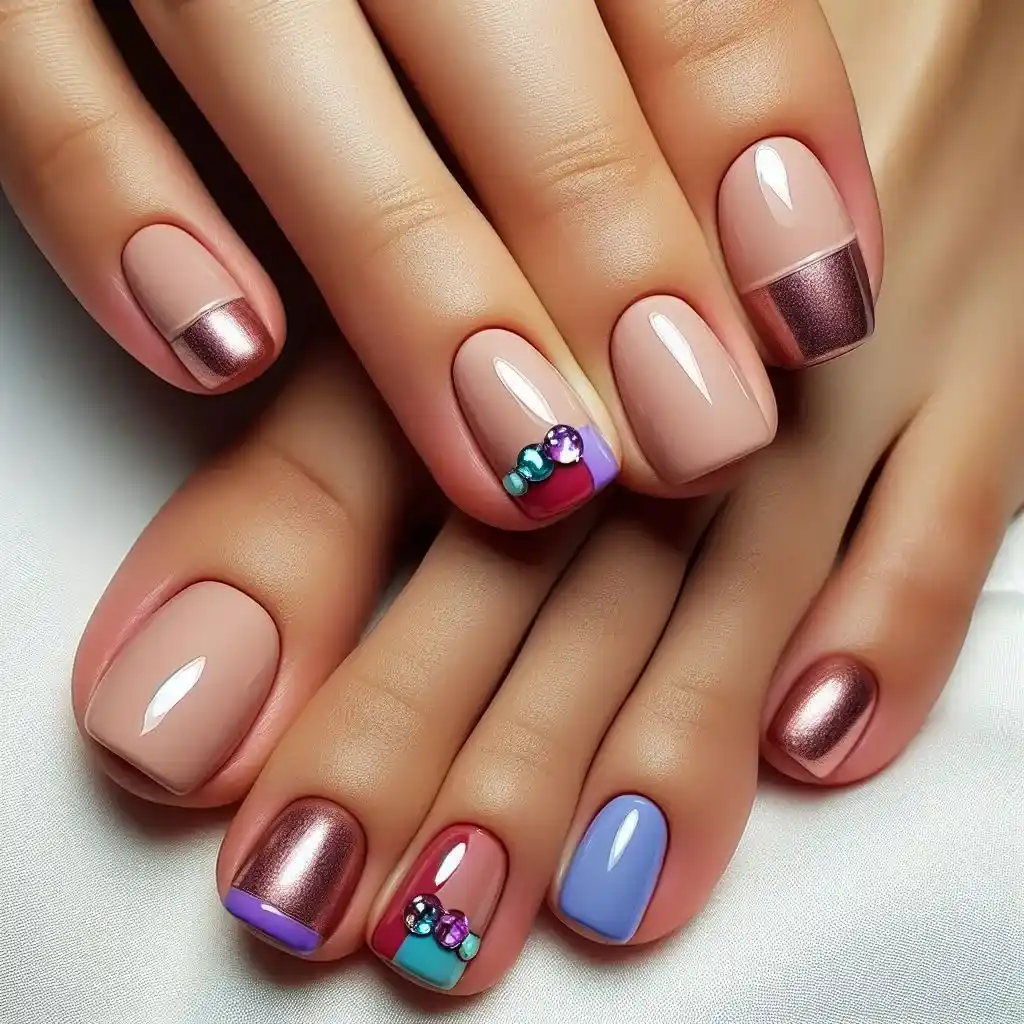
Instead of the traditional white tip, opt for bright colors or metallic tips for a fresh, modern take on the classic French pedicure.
- Paint your nails a nude or pale pink color.
- Instead of white, use a bright color (like red or purple) for the tips.
- Carefully paint the tips in a straight line or use nail guide stickers to help.
- Once dry, finish with a clear top coat.
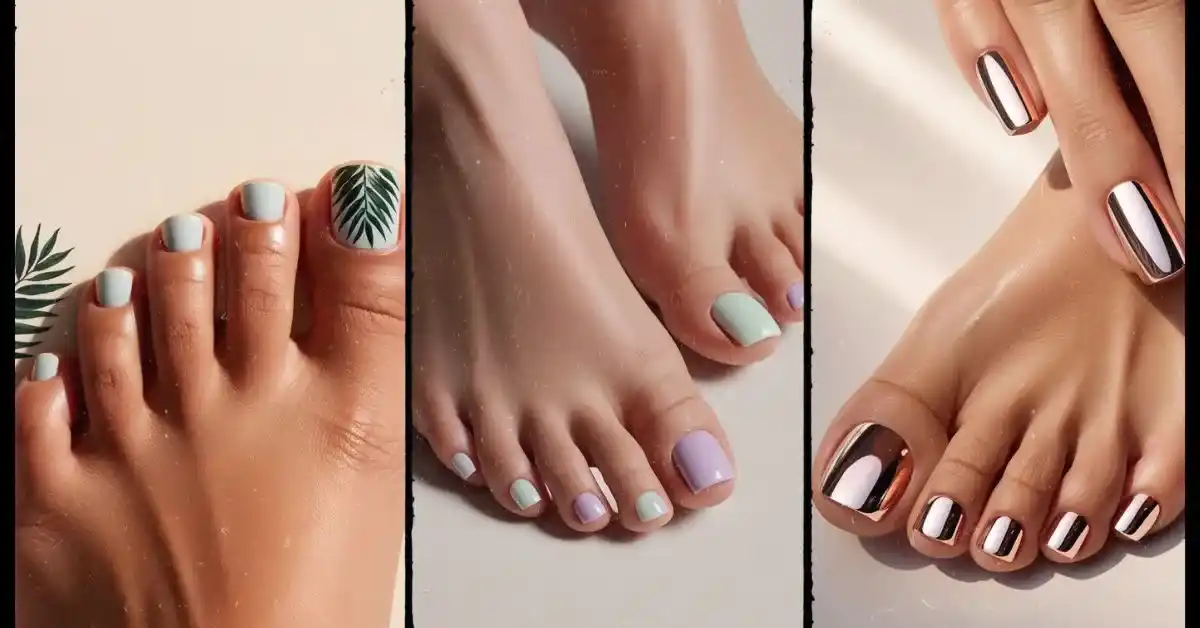
7. Tropical Palm Leaves
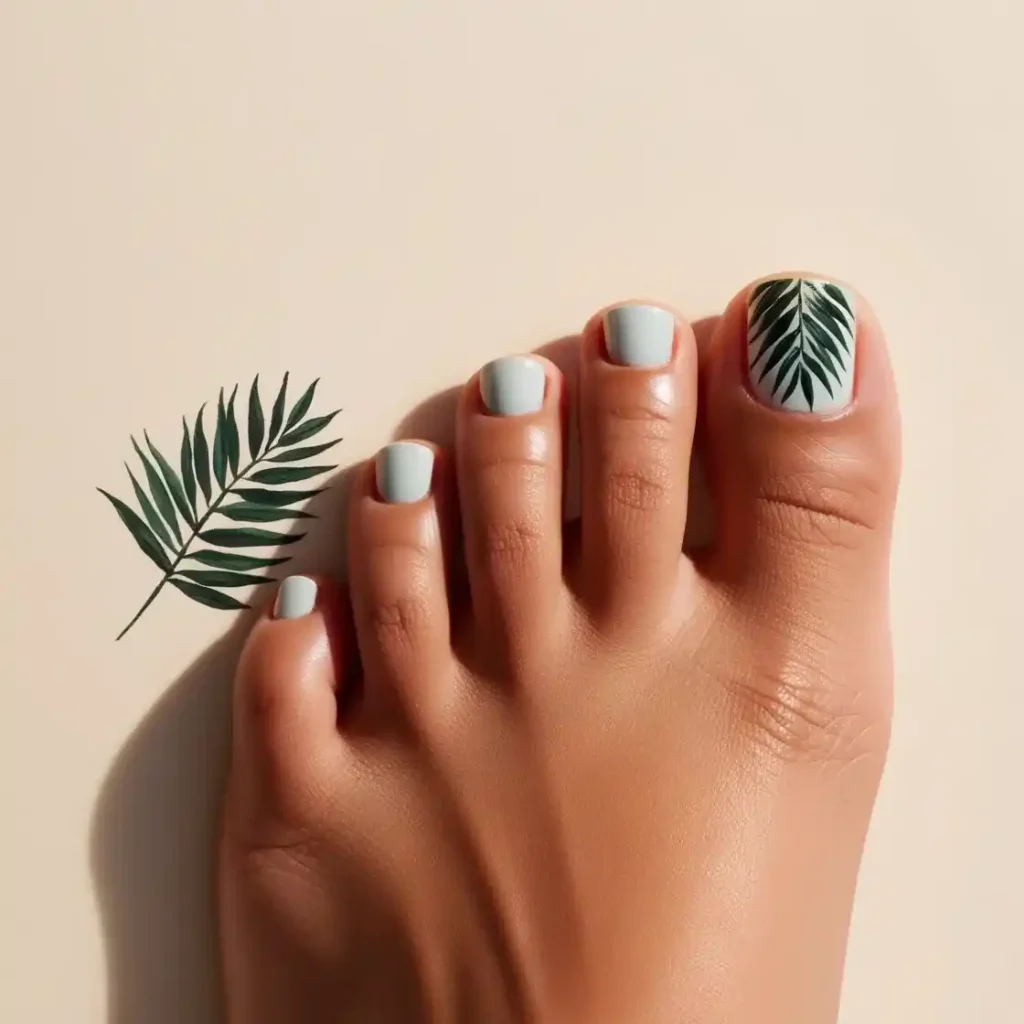
Add a little vacation vibe to your toes with simple palm leaf designs in dark green on a nude or pastel base.
- Use a light-colored polish (like baby blue) as the base.
- Take a small brush and use dark green polish to draw palm leaves.
- Add a few simple lines for the leaf stems and branches.
- Once it’s all dry, add a top coat to seal the design.
8. Animal Print Accents
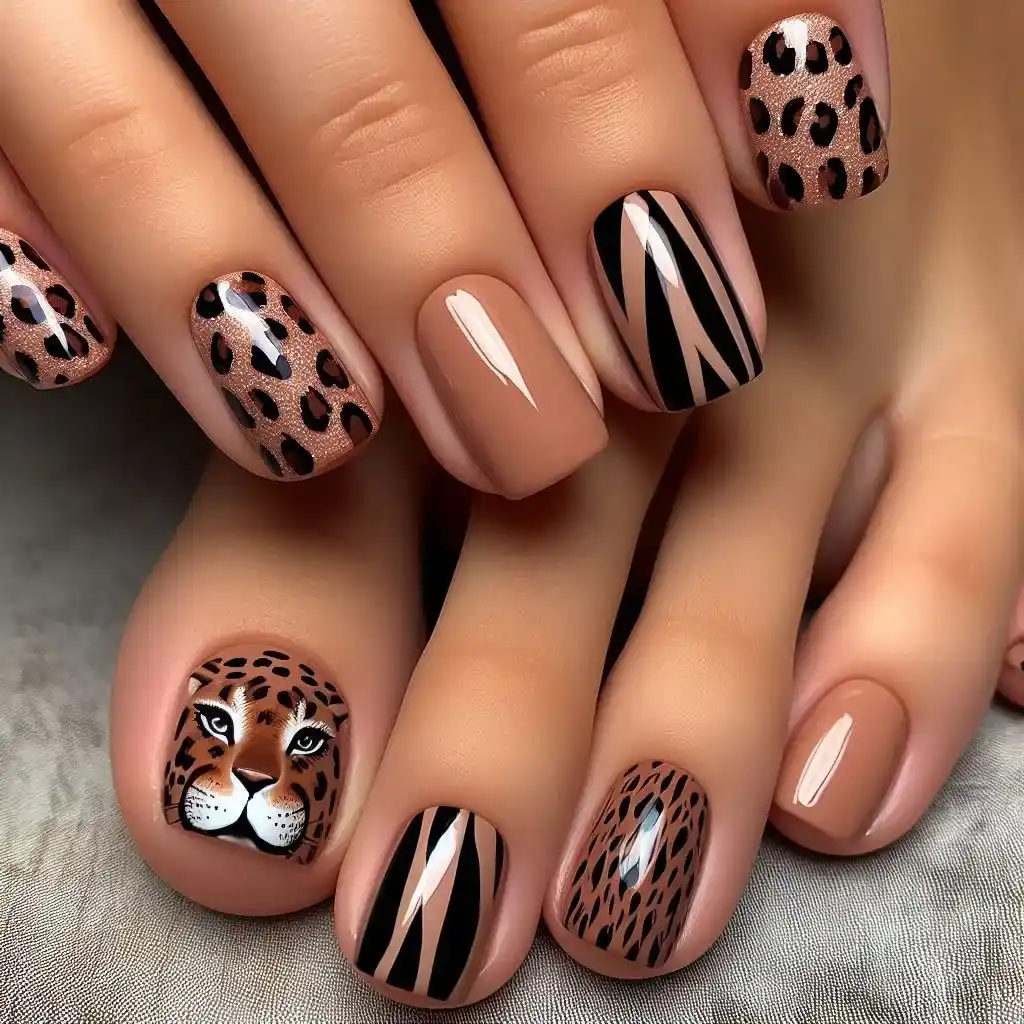
Incorporate leopard spots, zebra stripes, or even snake patterns on one or two accent toes for a wild and trendy look.
- Paint your nails with a solid base color—like nude or brown.
- For leopard spots, use a black polish to draw small, uneven circles.
- Fill in the middle of each circle with a lighter color like tan or beige.
- After drying, use a top coat to protect the design.
9. Minimalist Lines

If you prefer simplicity, fine horizontal or vertical lines on a nude or light background give your toes a chic, understated look.
- Start with a nude or light pink base.
- Use a striping brush or toothpick to create one fine line across each nail. You can place the lines horizontally, vertically, or diagonally.
- Let it dry and apply a clear top coat for a sleek finish.
10. Marble Effect
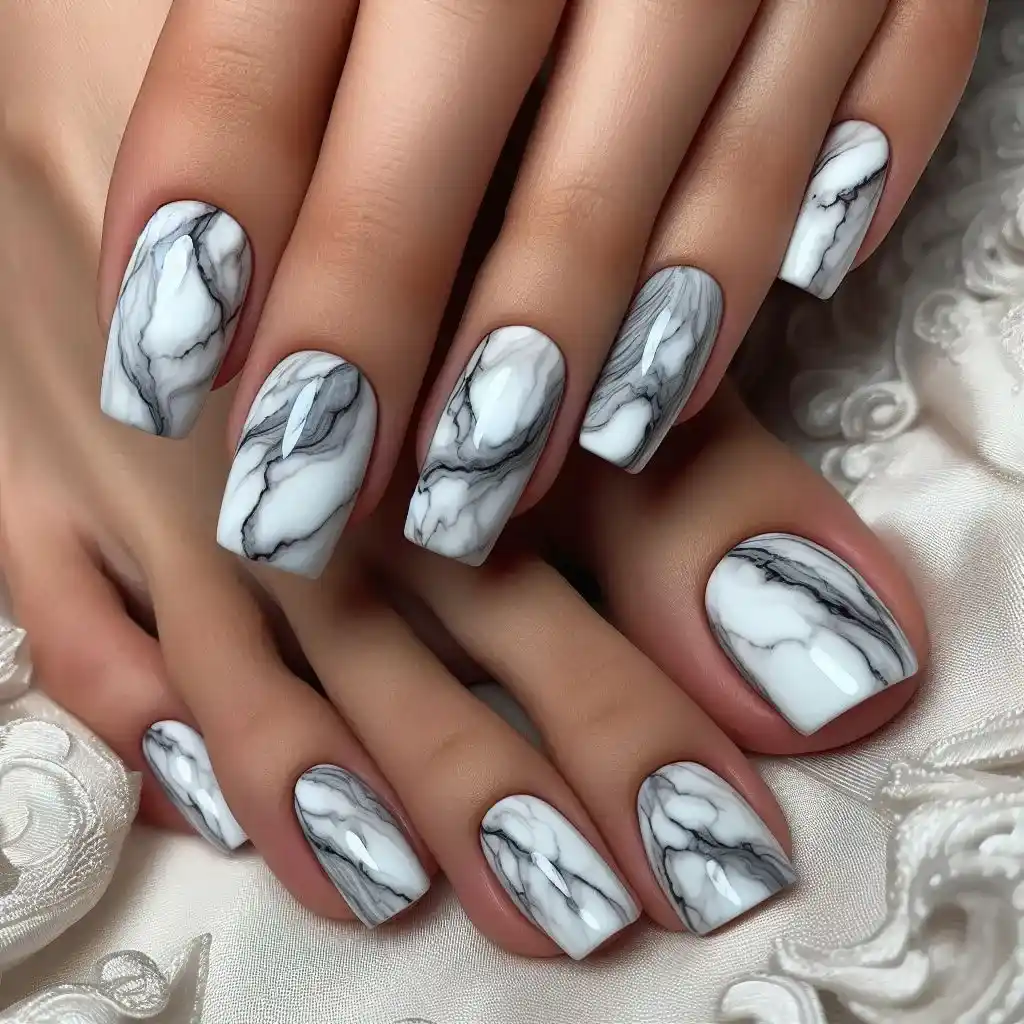
Using soft, swirling colors, you can mimic the look of marble stone on your toes for a luxurious, high-end finish.
- Begin by painting your nails a light color like white or grey.
- Take a darker polish (like black) and dip a thin brush in it.
- Gently swirl the dark polish over the base color in random patterns to mimic the look of marble.
- Once you’re happy with the design, apply a clear top coat.
11. Starry Night
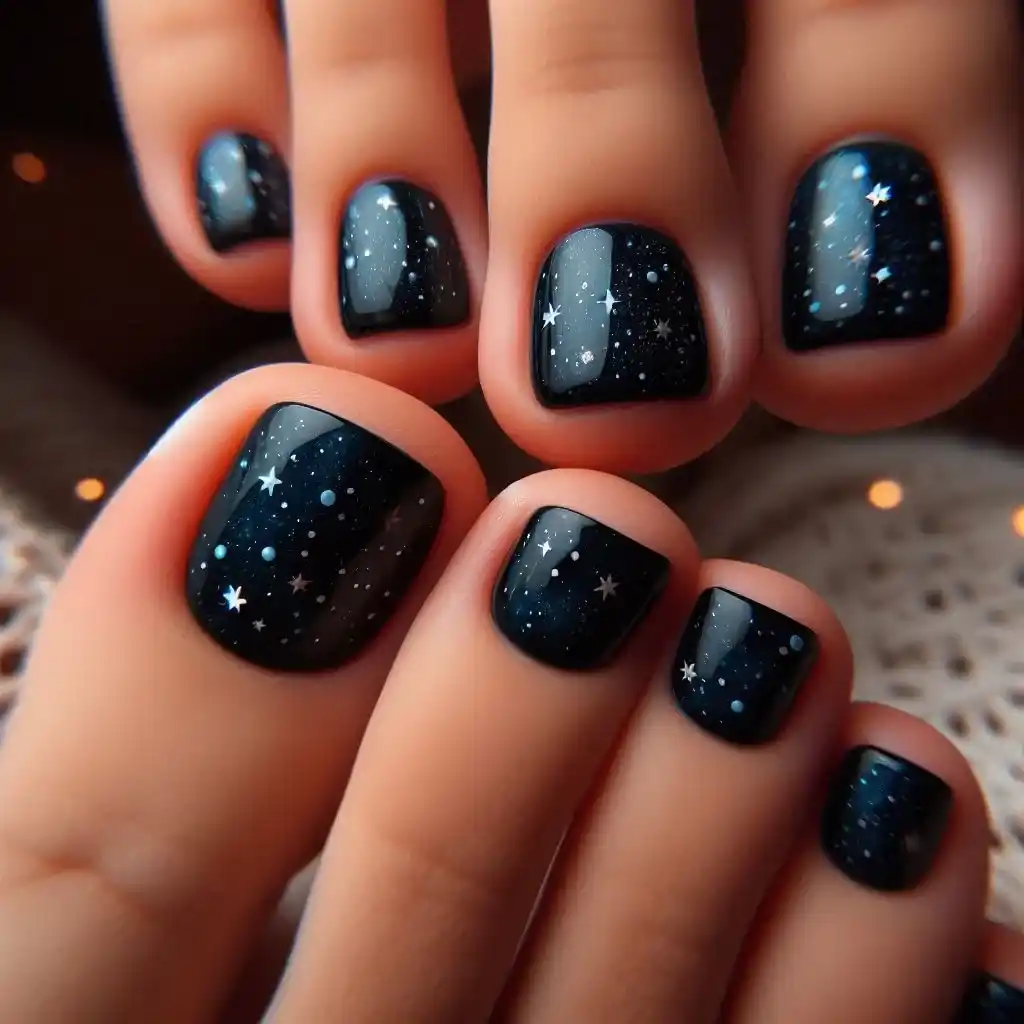
Dark blue or black nails speckled with tiny stars or glitter will give your toes a celestial feel, perfect for evening events.
- Start with a dark base color like navy blue or black.
- Use a small dotting tool to apply tiny white or silver dots to resemble stars.
- You can also add one or two larger stars using a small brush.
- Finish the look with a shiny top coat.
12. Rainbow Tips

Add a touch of color with rainbow tips on a clear or nude base. It’s playful and great for summer.
- Paint your nails with a clear or nude polish.
- Take different bright colors like red, orange, yellow, green, and paint a small stripe at the tip of each nail.
- Make sure the stripes are neat and uniform.
- Let it dry, then seal the design with a clear top coat.
13. Polka Dots
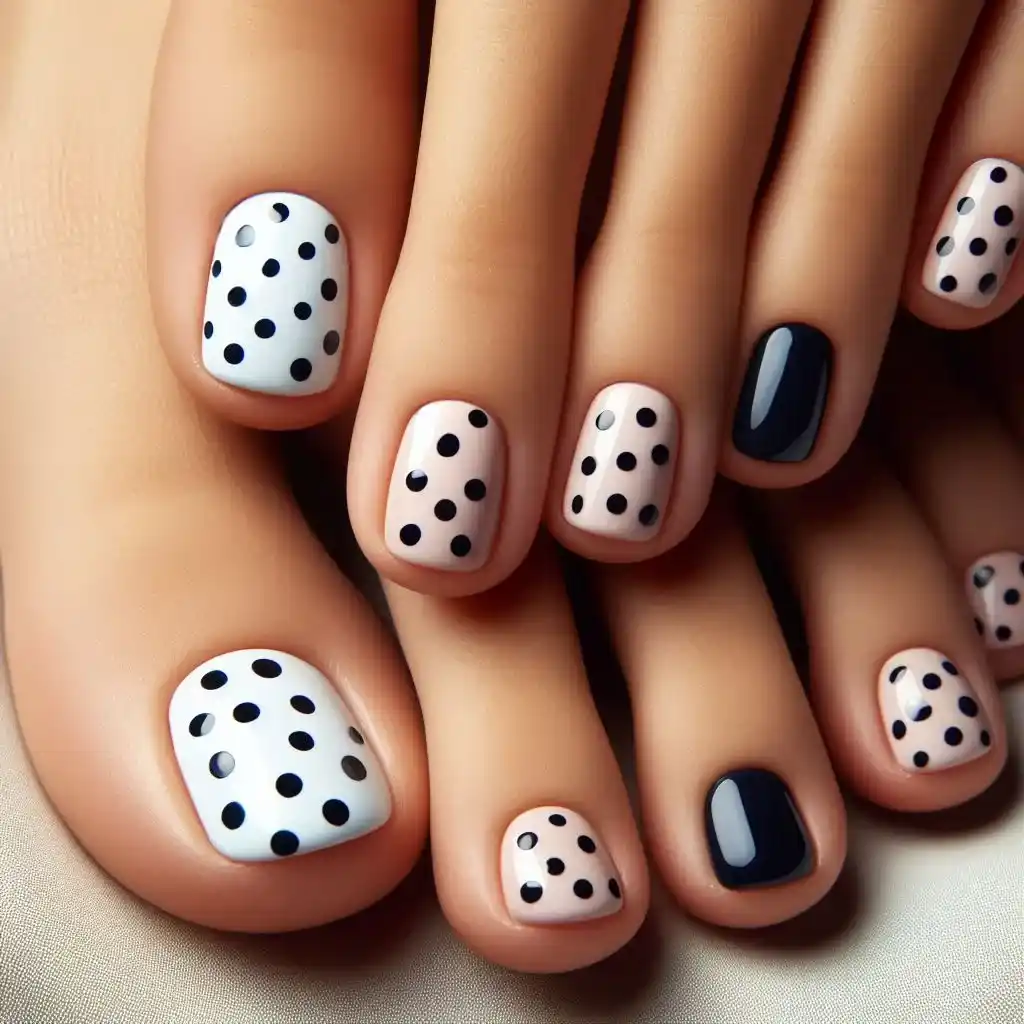
Simple and timeless, polka dots in contrasting colors can be playful or sophisticated, depending on your color choice.
- Start with a base coat in a light color, like white or pale pink.
- Use a dotting tool or the end of a bobby pin to apply dots in a darker color.
- Space the dots evenly across the entire nail or just in one area.
- Once dry, finish with a top coat for a smooth finish.
14. Floral Accents
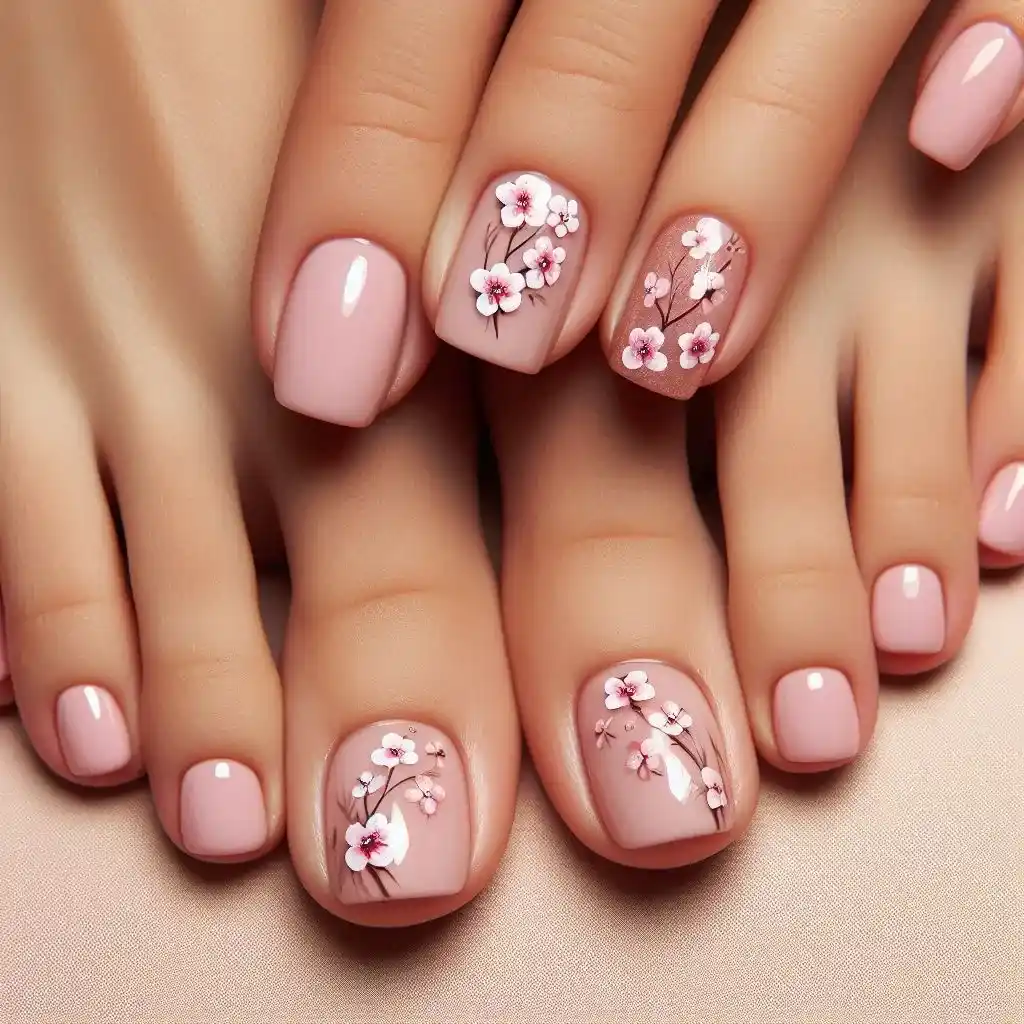
Add tiny, delicate flowers on a few accent nails to bring a feminine and fresh feel to your toes.
- Begin by painting your nails in a soft base color, like nude or pastel pink.
- Use a thin brush or toothpick to paint tiny flowers on one or two accent nails.
- You can add small dots or lines for the flower’s center or petals.
- Seal with a top coat to protect your design.
15. Chrome Finish
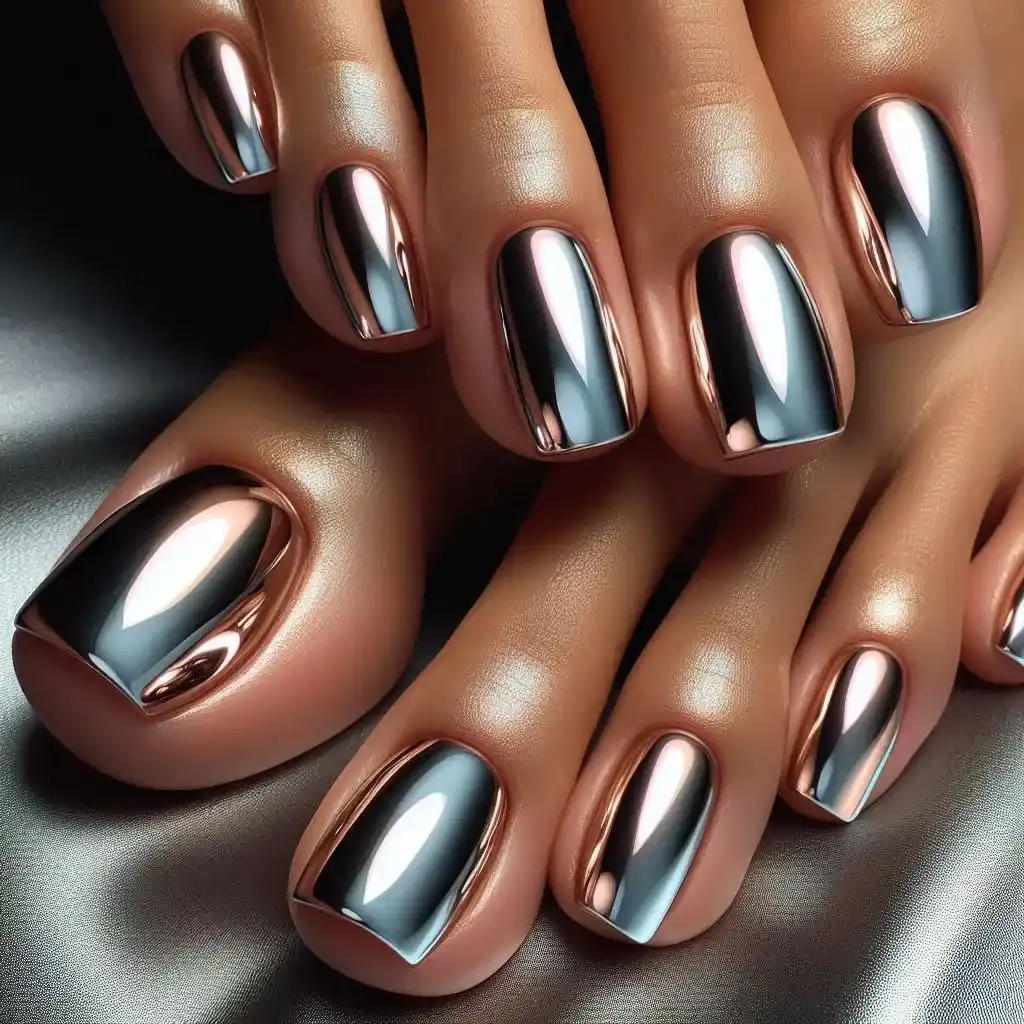
Give your toes a futuristic look with a high-shine chrome polish in silver, gold, or rose gold. It’s edgy and eye-catching.
- Start with a black or dark base coat.
- Use a chrome powder and rub it onto your nails while they’re still slightly tacky.
- Buff the powder until it shines.
- Finish with a top coat to lock in the chrome look.
16. Matte Black
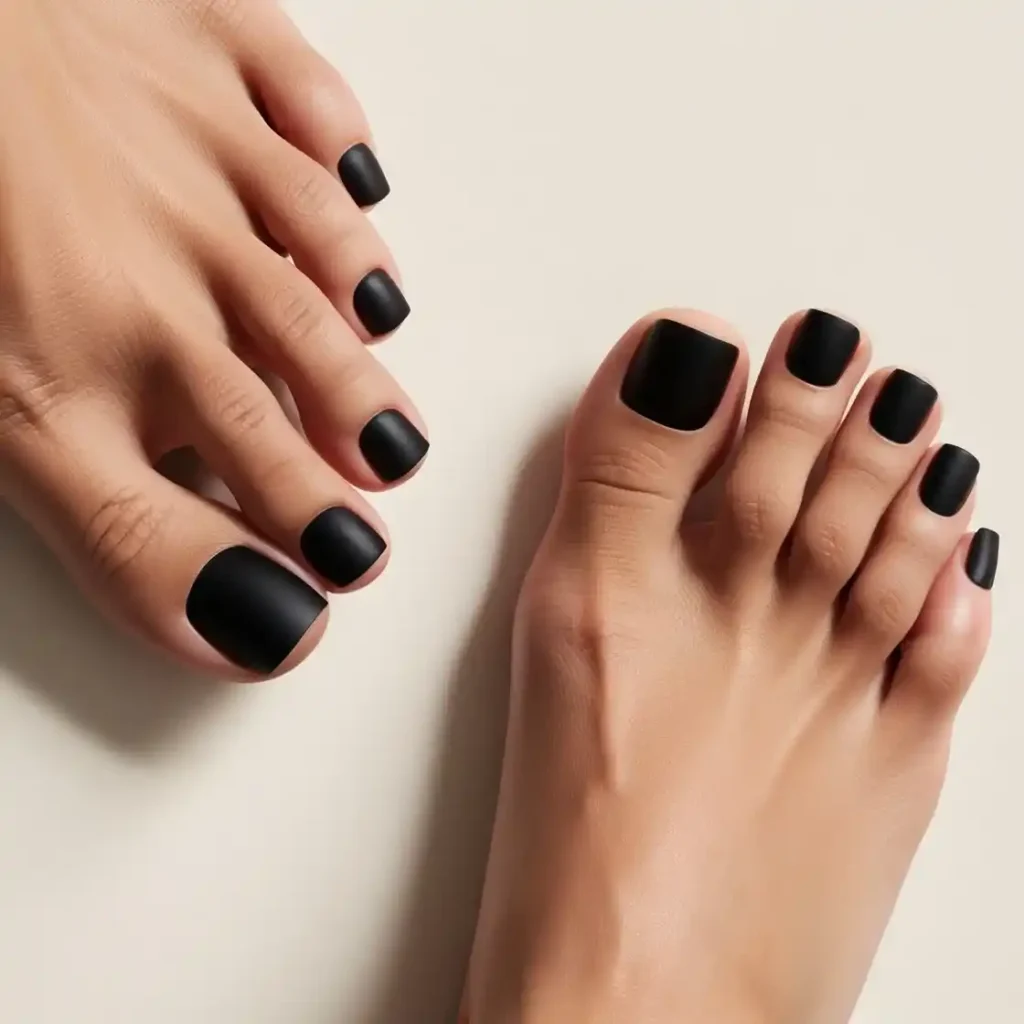
Matte black is bold, sophisticated, and never out of style. Add a matte top coat to your favorite dark shade for an ultra-chic look.
- Paint your nails with a glossy black polish.
- Wait until it dries completely.
- Apply a matte top coat over the black polish to give your nails a smooth, non-shiny finish.
17. Tie-Dye Toes
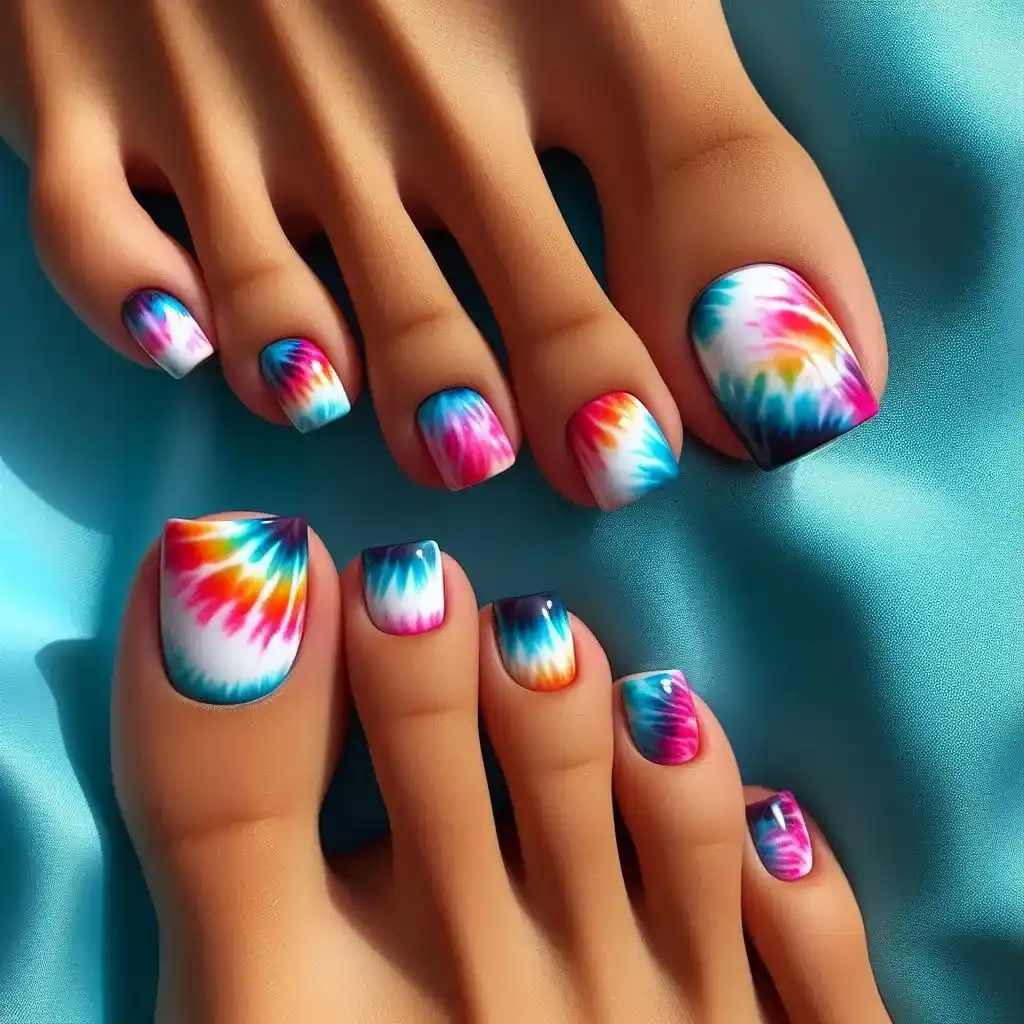
Tie-dye designs are making a comeback. Swirl multiple bright colors together for a fun, retro look.
- Begin by painting your nails white to make the colors stand out.
- Using a small brush, add drops of different bright colors (like pink, yellow, blue) onto the wet polish.
- Swirl the colors together using a toothpick for a tie-dye effect.
- Once dry, finish with a clear top coat.
18. Geometric Shapes
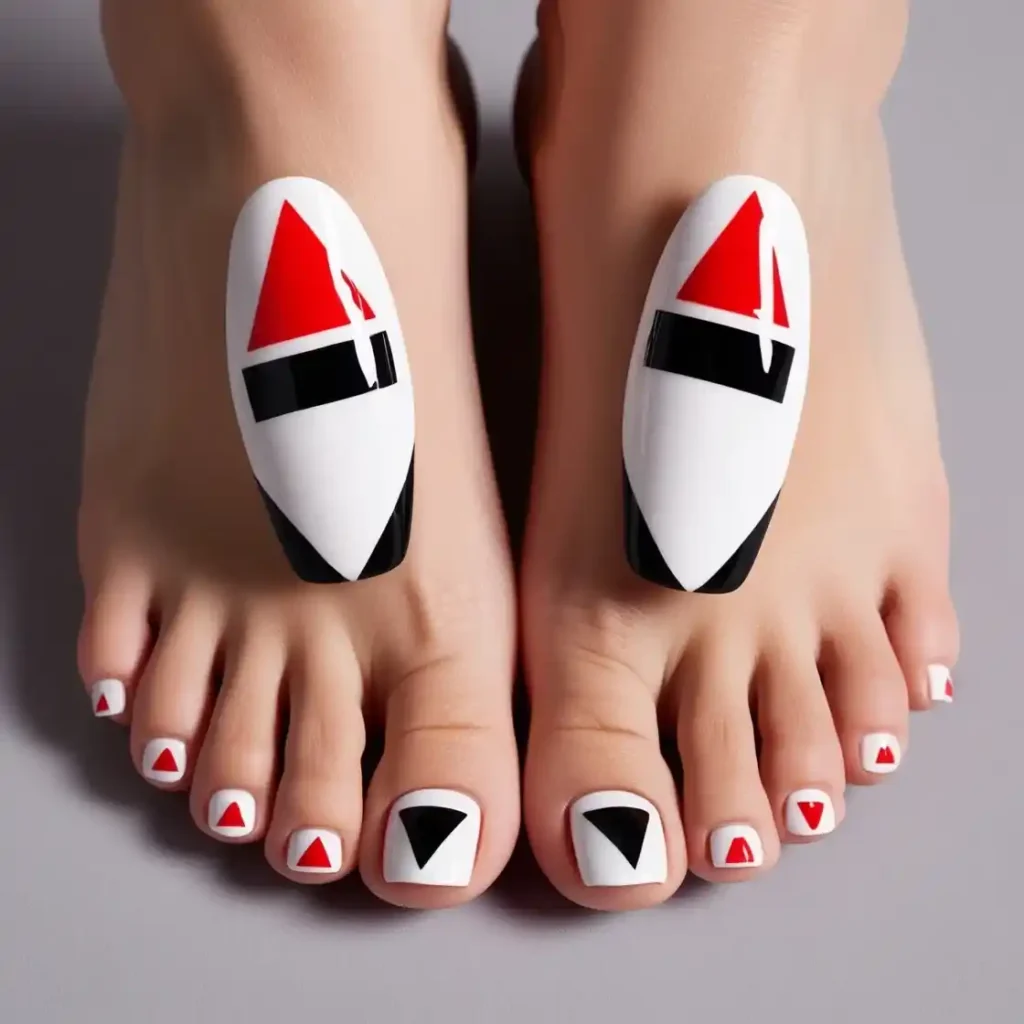
Using thin nail tape, create triangles, squares, or other geometric designs for a modern, sleek aesthetic.
- Apply a base coat in any color of your choice.
- Use nail tape to block off sections of the nail into triangles or squares.
- Fill in the shapes with contrasting colors.
- Remove the tape carefully, then apply a clear top coat to seal the design.
19. Pearl Accents
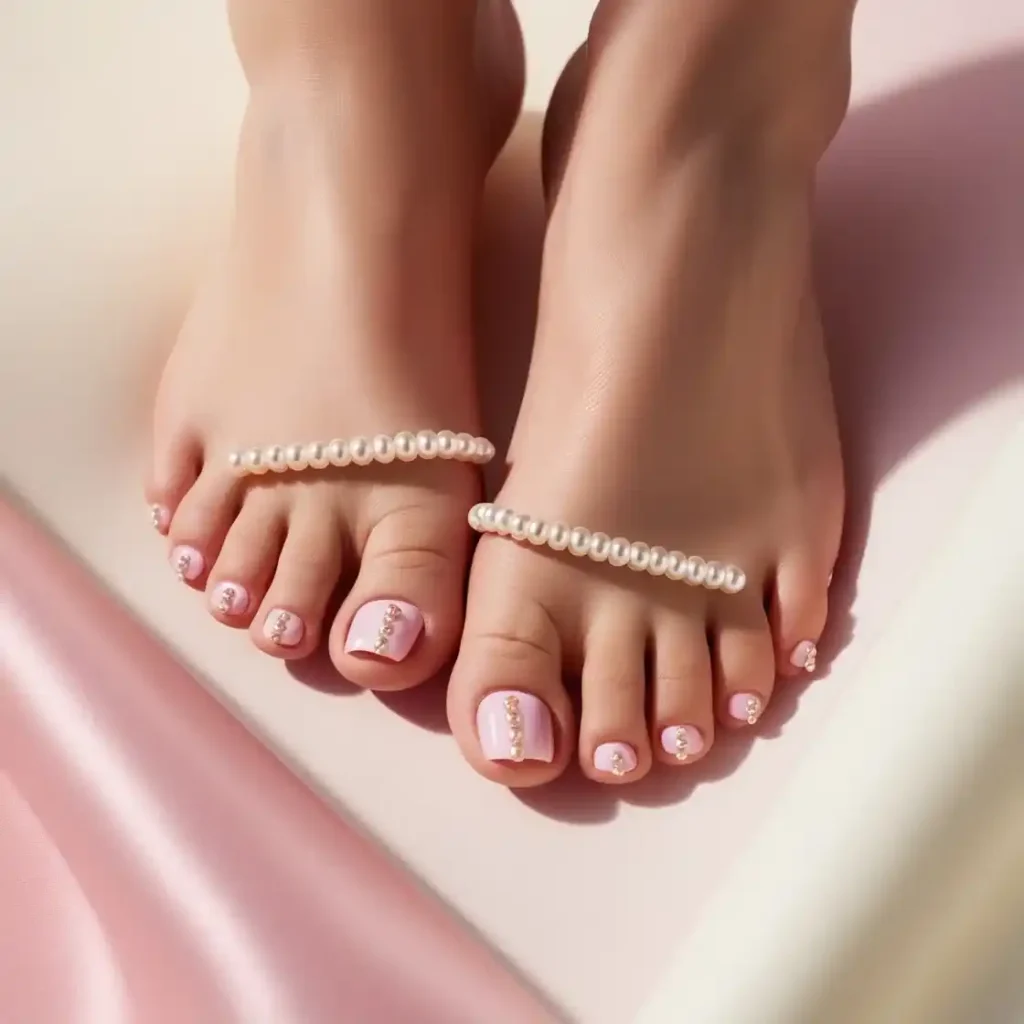
Add small pearls or pearl-like beads to one or two nails for a classy, elegant touch.
- Start by painting your nails in a soft shade like pink or beige.
- While the polish is still tacky, place tiny pearls or pearl-like beads onto one or two nails.
- Press the pearls gently to make sure they stick.
- Apply a top coat around the pearls to secure them in place.
20. Candy Stripes
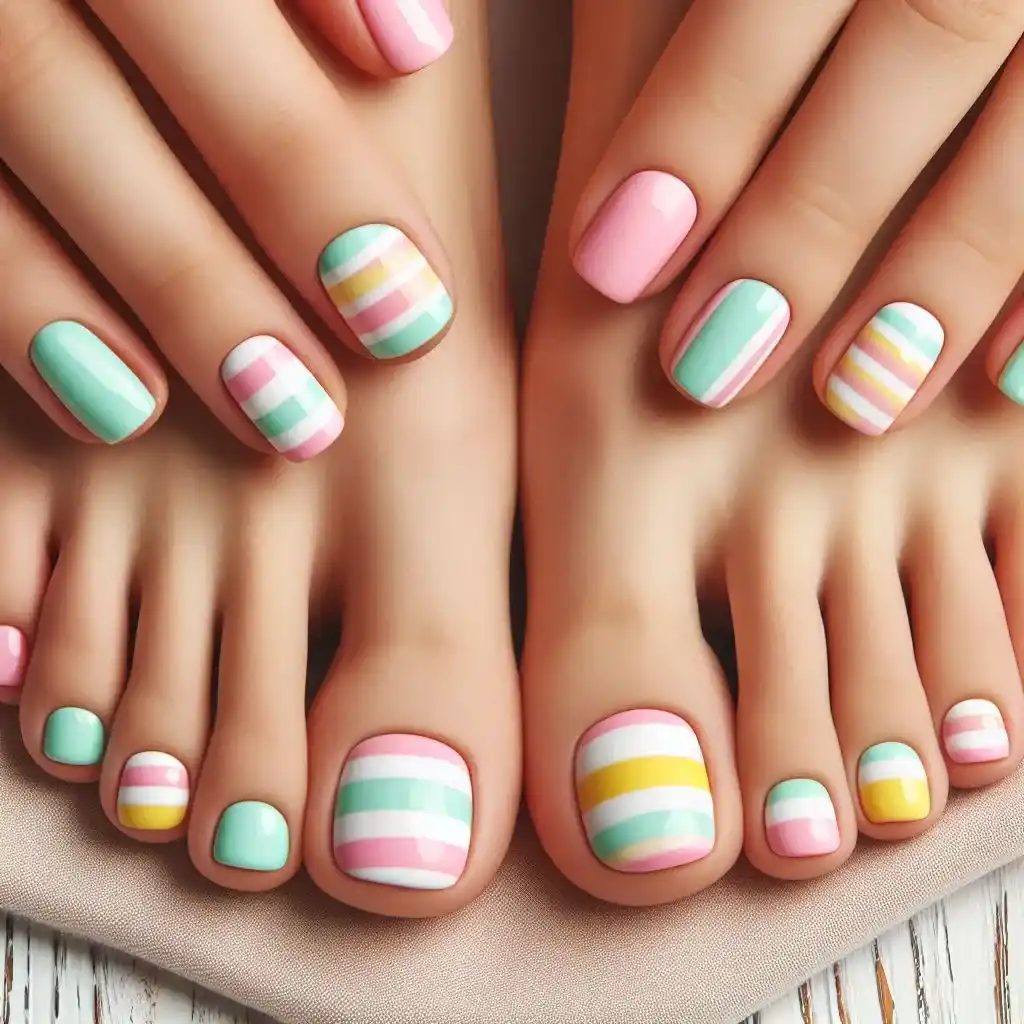
Think of colorful candy canes or sweet stripes in pastels or bold shades for a playful, candy-inspired look.
- Paint your nails with a light pastel color as the base.
- Use a thin brush or nail striping tape to create candy-like stripes with contrasting colors.
- Make sure to space the stripes evenly.
- Once dry, finish with a top coat for a glossy look.
21. Holographic Nails
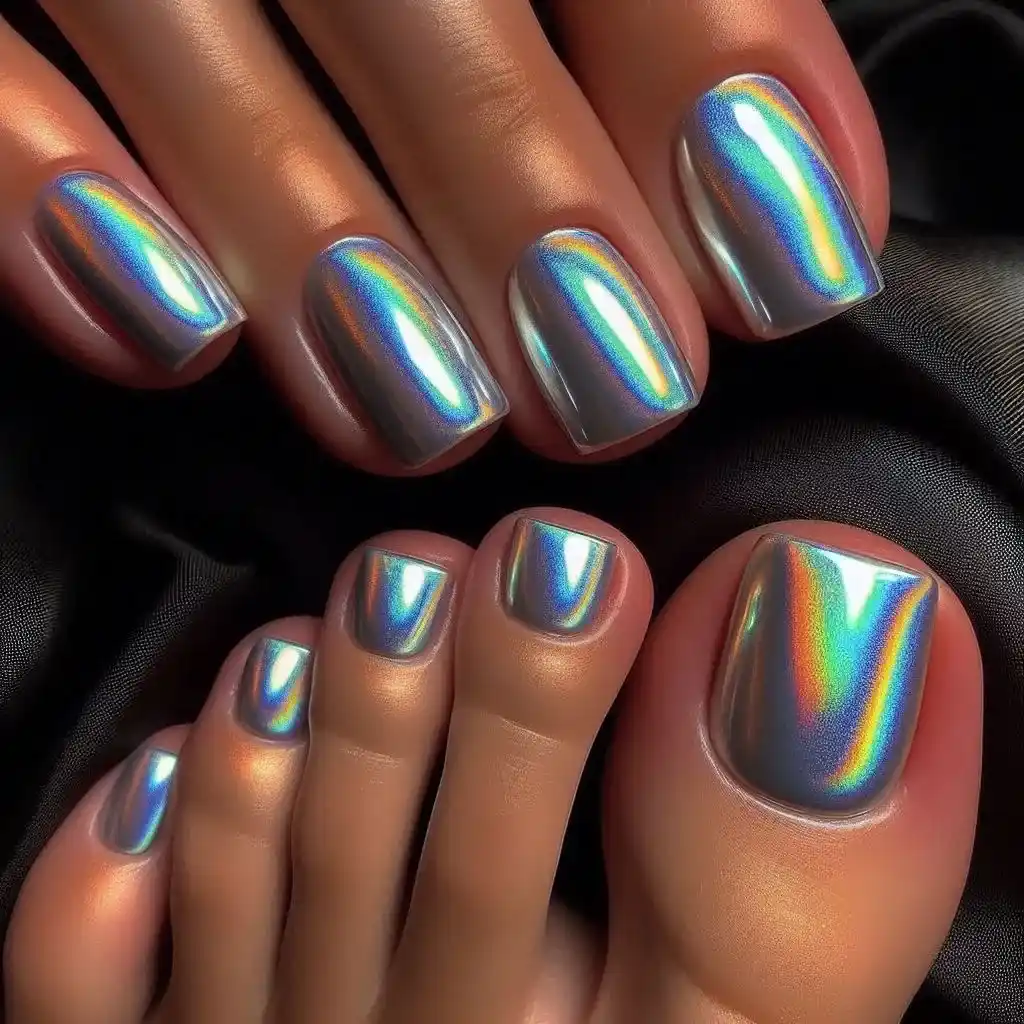
A holographic finish will catch the light in different ways, giving your toes a rainbow-like sheen that shifts with every move.
- Start with a light color base, like silver or white.
- Apply holographic nail powder over the top, rubbing it in to create a rainbow-like shine.
- Buff the powder to make it smooth and even.
- Seal with a glossy top coat to protect the holographic effect.
22. Nude and Gold Combination
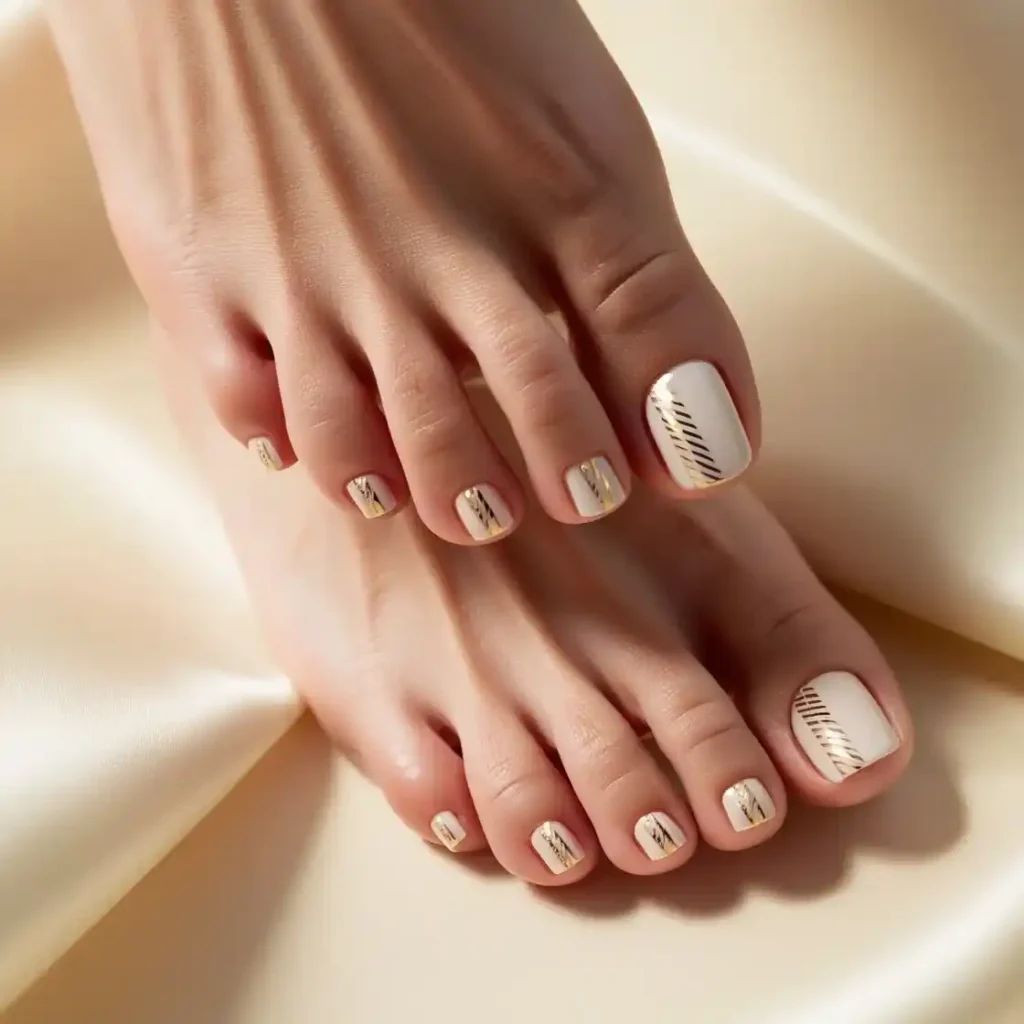
For an understated yet glamorous look, pair a nude base with delicate gold designs, like dots, stripes, or small accents.
- Paint your nails with a nude polish.
- Once dry, use a thin brush to add gold accents, like small dots, stripes, or diagonal lines.
- Keep the gold details simple and elegant.
- Finish with a clear top coat for a polished, refined look.
Conclusion
Your toe nails are the perfect canvas to express your style, whether you want something bold and bright or subtle and sophisticated. With these 22 trendy toe nail designs, you can easily switch things up and try new looks for any occasion. From glittery gradients to minimalistic lines, there’s something for everyone to enjoy. So, grab your favorite polish, get creative, and give your toes the attention they deserve. A fresh pedicure can make all the difference in feeling confident and put together, no matter where you step next!

