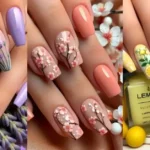
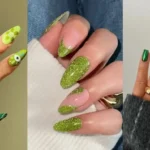
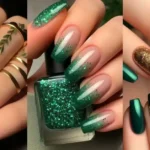
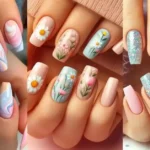
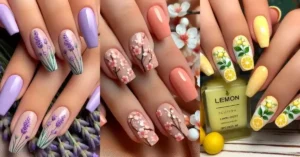
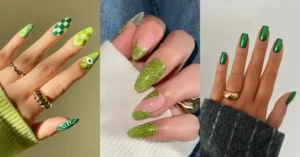
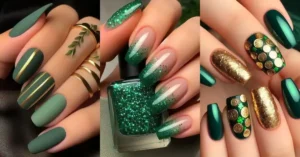
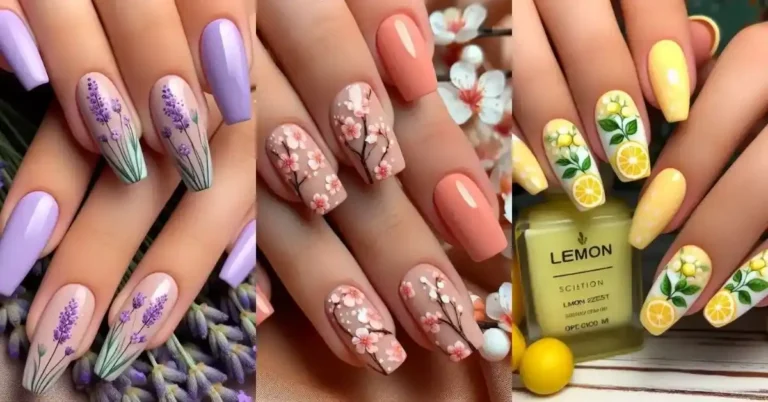
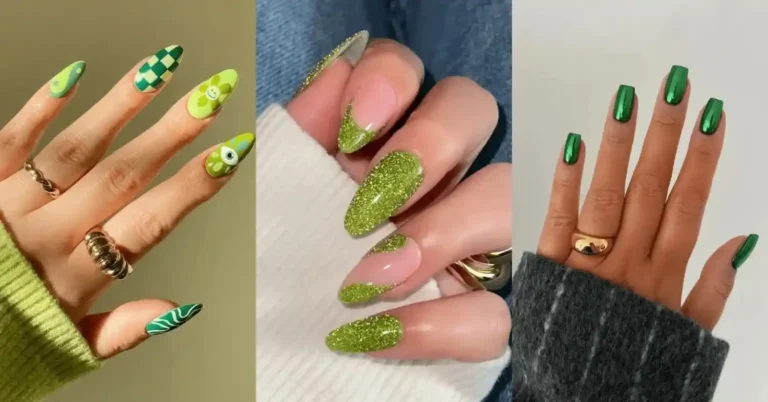
Your wedding day is one of the most special days of your life, and every little detail matters. But have you ever felt overwhelmed trying to choose the perfect nail design that complements your dress, makeup, and overall vibe? You’re not alone! With so many options, finding the right wedding nails can feel like a daunting task. But don’t worry—we’ve curated 20 stunning, trendy, and timeless wedding nail ideas to inspire your look for 2025.
Table of Contents
20 Elegant Wedding Nails Ideas
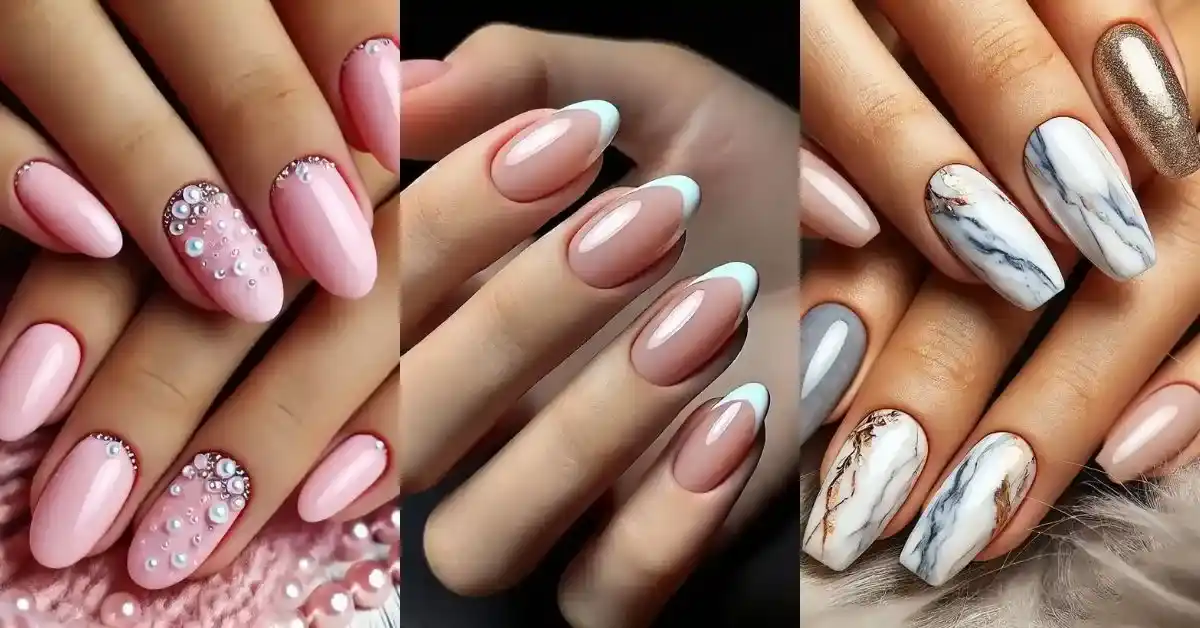
1. Classic French Tips with a Modern Twist
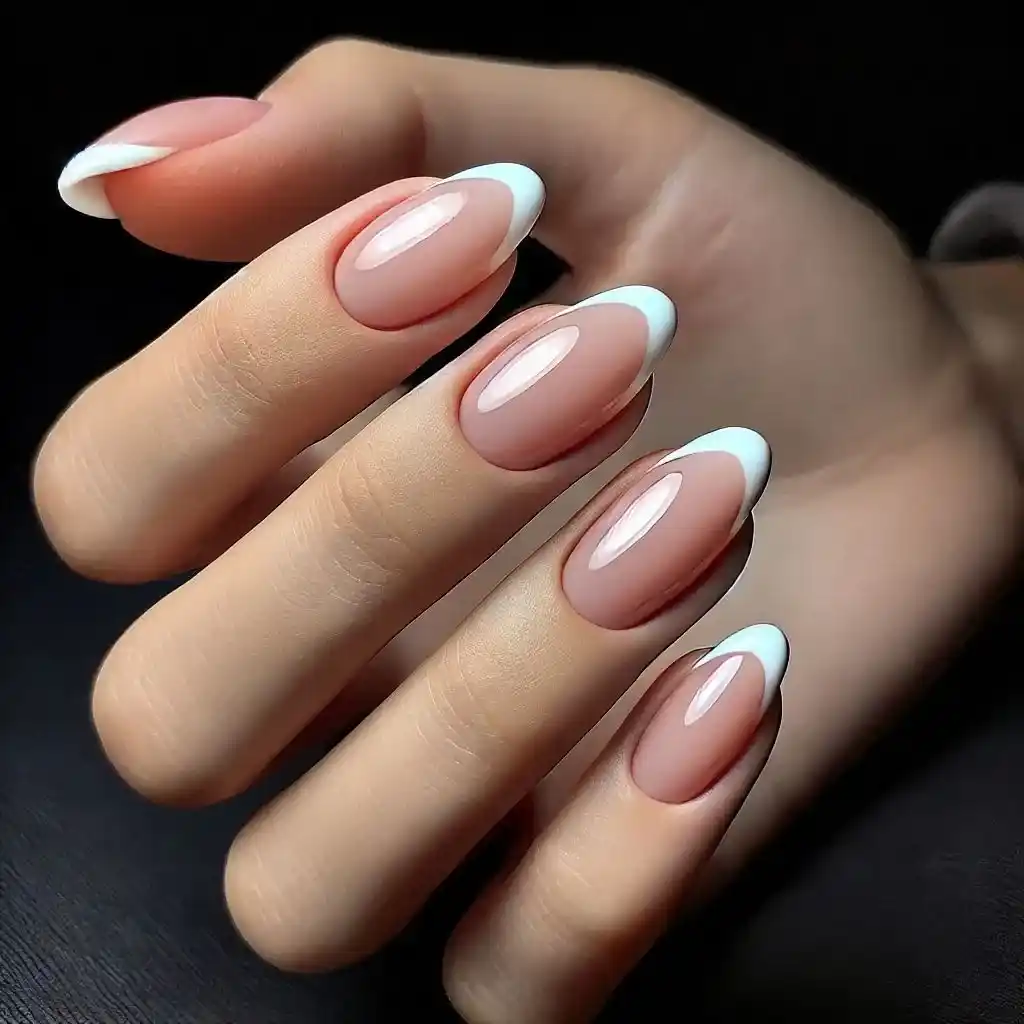
A timeless favorite, the French manicure gets a fresh update with delicate shimmer or a pearlized finish. The subtle sparkle adds a touch of glamour while maintaining the clean, elegant look.
To make nail design:
- Start by filing your nails into your desired shape.
- Apply a base coat to protect your natural nails.
- Paint your nails with a sheer nude or pink polish and let them dry.
- Use a thin striping tape to outline the tip of your nails.
- Fill in the tips with white polish for a clean finish.
- Add a thin layer of shimmer or pearl polish over the tips for the modern twist.
- Finish with a glossy top coat to seal the design.
2. Minimalist Nude Nails
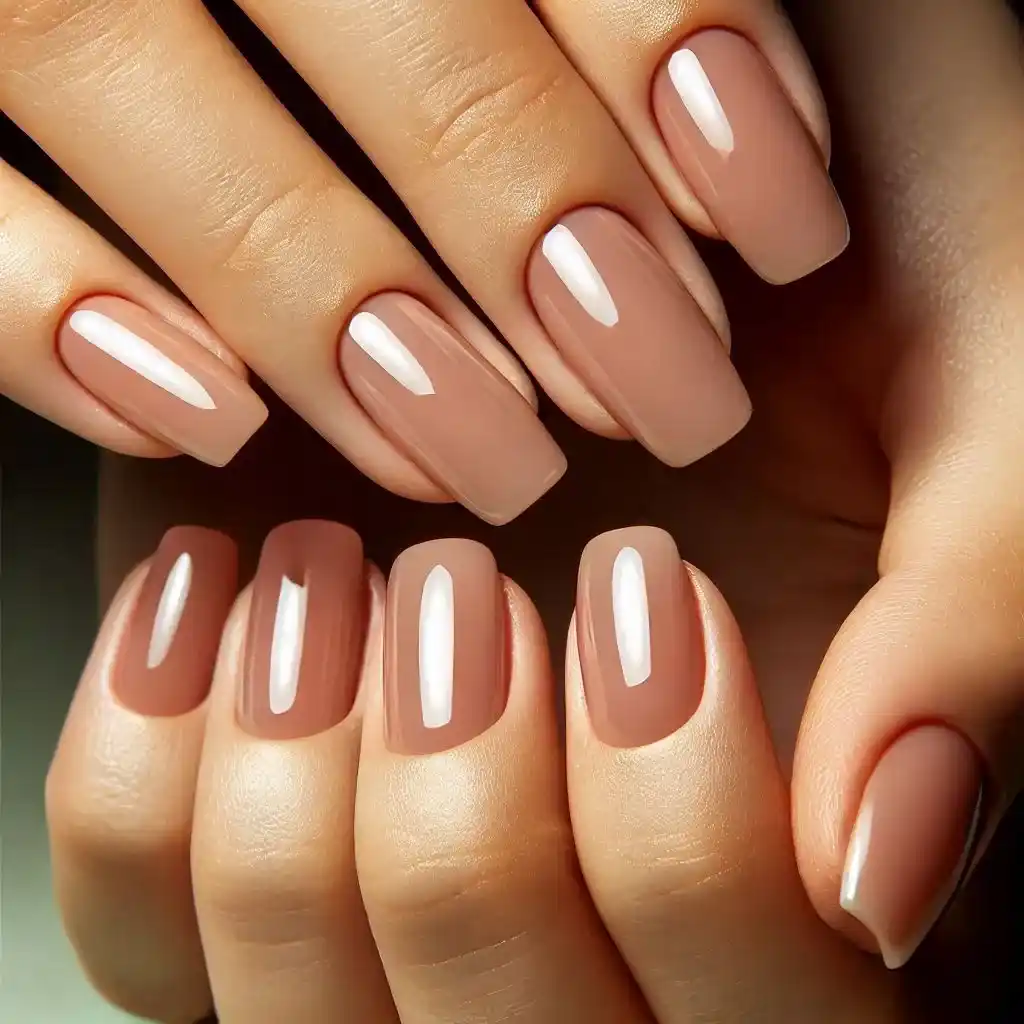
Nude nails with a sheer, glossy finish are perfect for brides seeking a simple and sophisticated look. This style complements any wedding theme and lets your natural beauty shine.
To make nail design:
- Trim and shape your nails with a file.
- Push back your cuticles gently with a cuticle stick.
- Apply a strengthening base coat.
- Choose a nude shade that matches your skin tone and paint each nail evenly.
- Apply a second coat for a more opaque look if needed.
- Finish with a high-shine top coat for a glossy effect.
3. Soft Ombré Nails
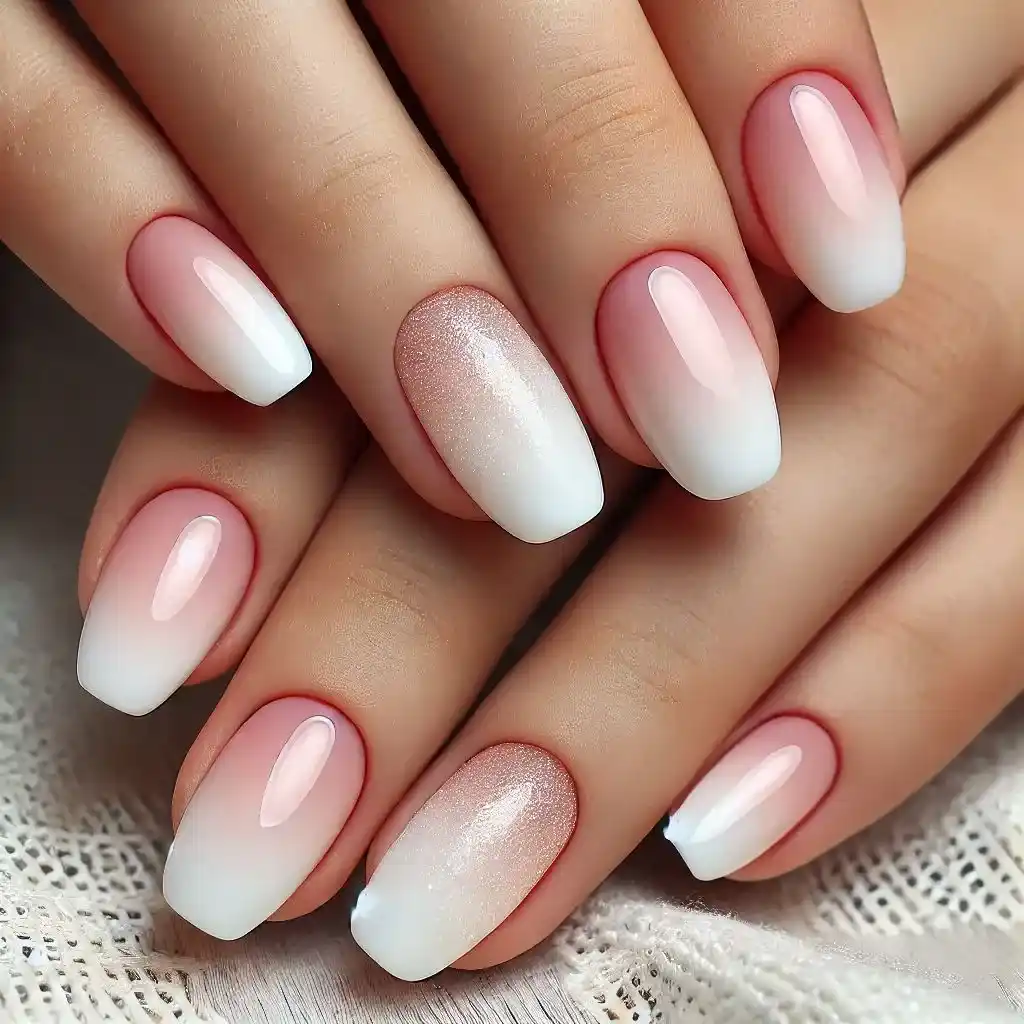
Create a dreamy effect with soft ombré nails that fade from a pale pink to white. This subtle gradient design exudes romance and pairs beautifully with any bridal gown.
To make nail design:
- File your nails into an oval or square shape.
- Apply a base coat to ensure smooth application.
- Use a makeup sponge and dab a light pink polish on one side and white polish on the other.
- Gently press the sponge onto each nail to create the gradient effect.
- Repeat for a more blended look, letting each layer dry in between.
- Clean up the edges with a brush dipped in nail polish remover.
- Seal the design with a clear top coat.
4. Delicate Floral Accents
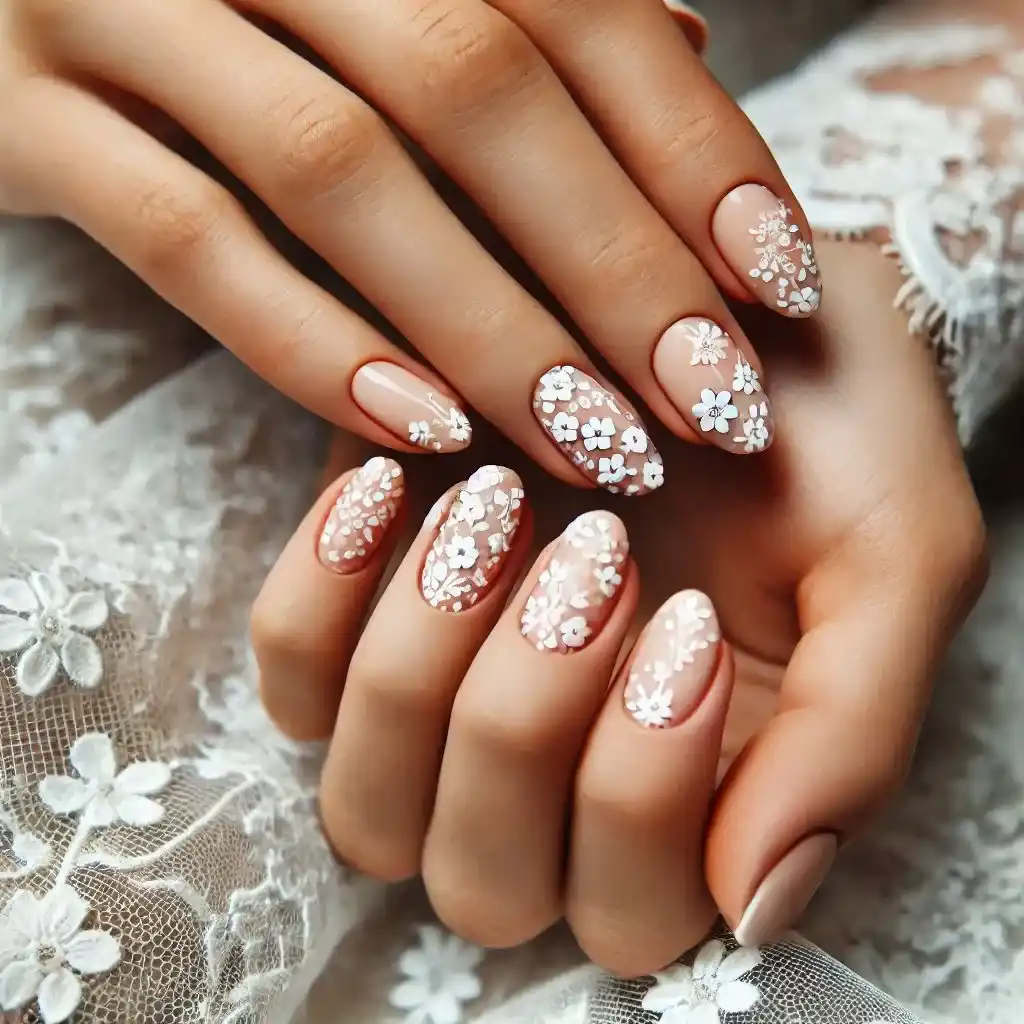
Add tiny hand-painted or decal florals to one or two nails for a charming, feminine touch. Choose designs that mimic your wedding bouquet for a cohesive look.
To make nail design:
- Shape your nails into a round or almond style.
- Paint your nails with a pastel or neutral base color and let them dry.
- Use a fine nail art brush to draw tiny flowers with white or pink polish.
- Add small dots in the center of the flowers using a dotting tool or a toothpick.
- Let the flowers dry completely.
- Apply a clear top coat to protect the design.
5. Pearl-Embellished Nails
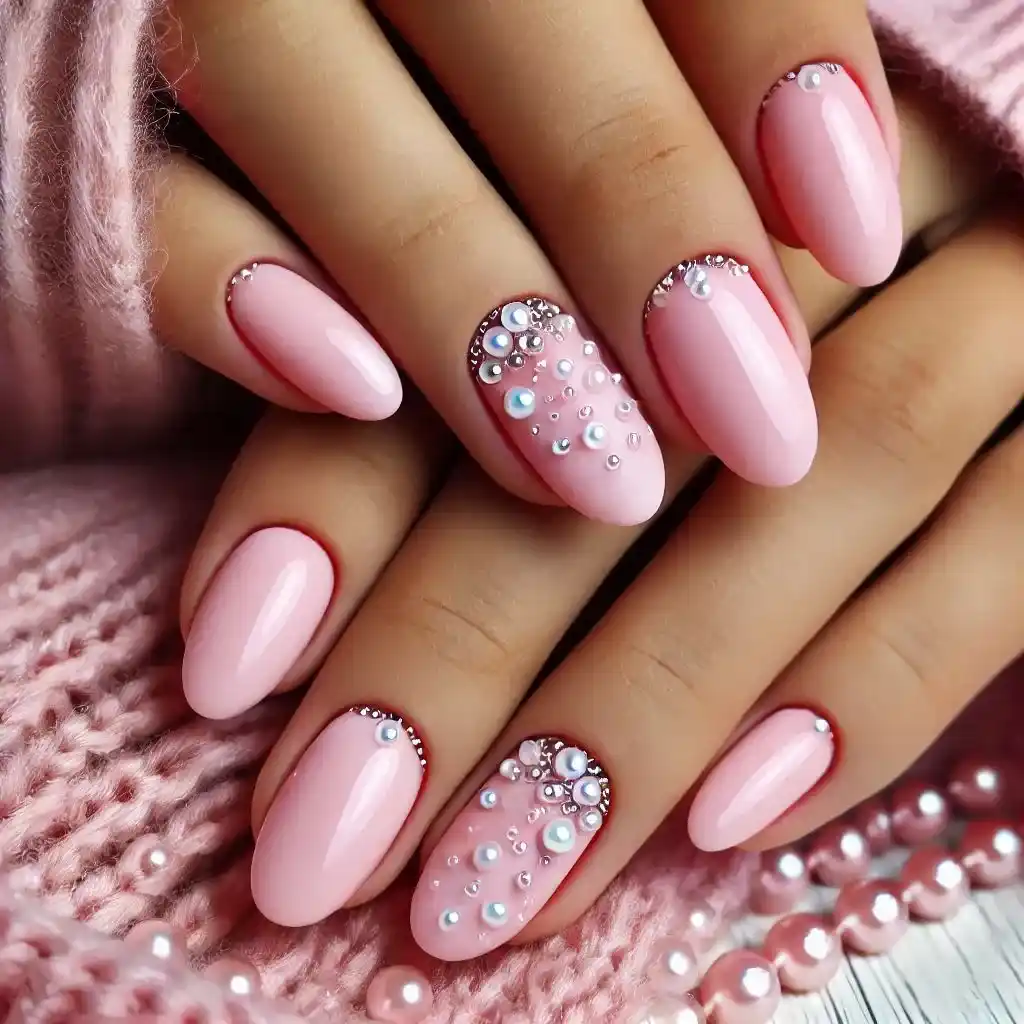
Pearls are making a big comeback in 2025, and they’re not just for jewelry. Incorporate tiny pearl accents onto a soft pink or nude base for a chic and luxurious vibe.
To make nail design:
- Start by cleaning and filing your nails into a soft square shape.
- Paint your nails with a pale pink or nude polish.
- Use a dot of nail glue to attach small pearl embellishments near the base of each nail.
- Arrange pearls in a straight line or in a scattered pattern for variety.
- Allow the glue to set completely.
- Finish with a gel top coat for extra durability.
6. Subtle Glitter Gradient
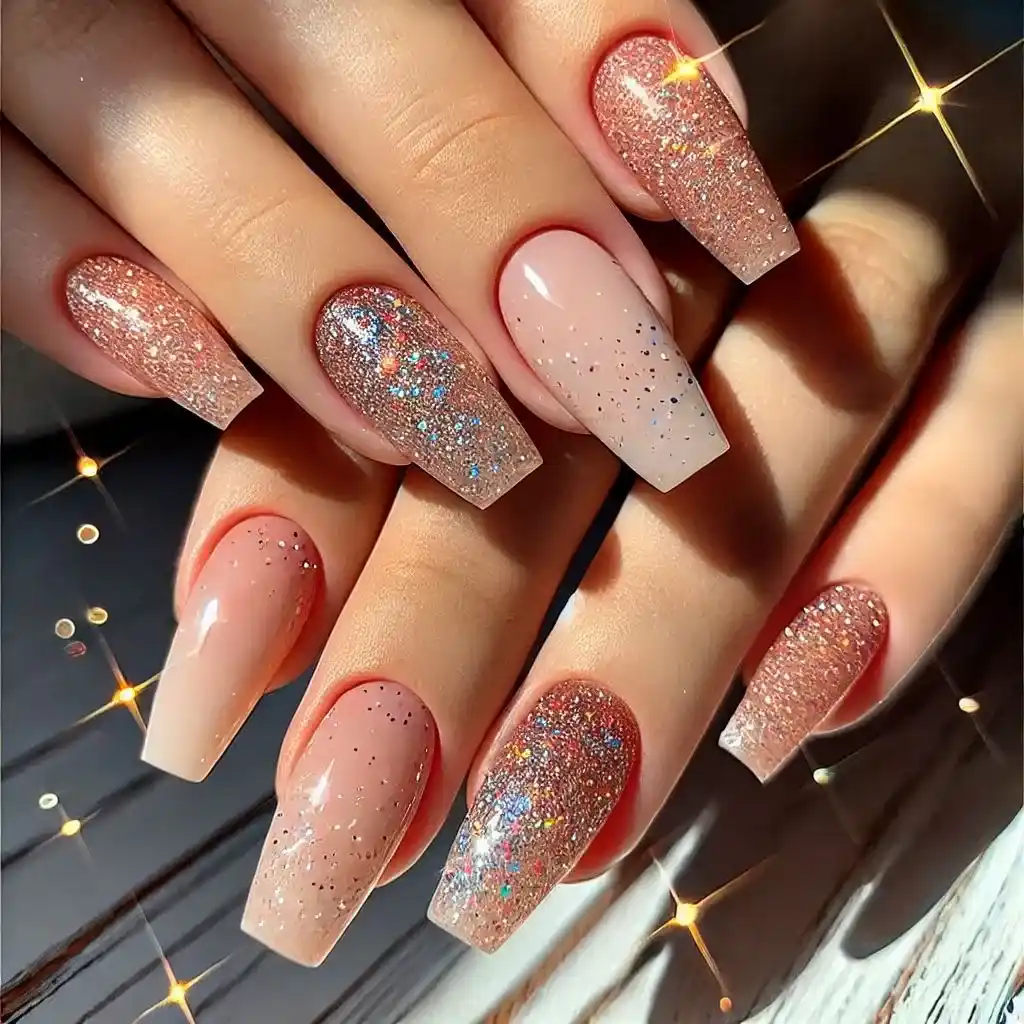
For a touch of sparkle, opt for a glitter gradient that starts near the tips and fades toward the nail bed. Choose gold, silver, or champagne glitter for a classic bridal look.
To make nail design:
- Shape and buff your nails for a smooth surface.
- Apply a base coat and let it dry.
- Paint your nails with a soft nude or beige polish.
- Dip a small sponge into glitter polish and dab it onto the tips of your nails.
- Blend the glitter toward the middle of the nail for a fading effect.
- Apply a clear top coat to lock in the sparkle.
7. Matte White Nails
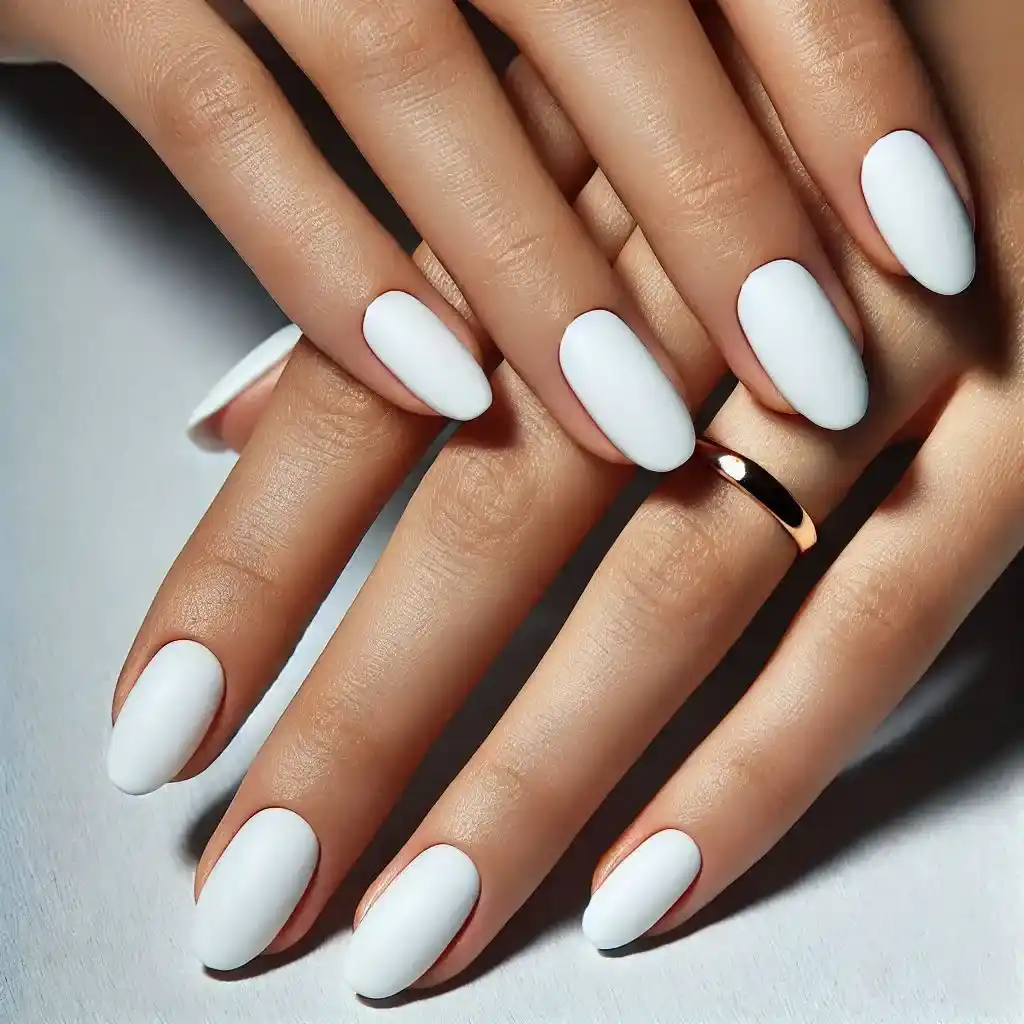
A modern take on traditional white nails, the matte finish adds a sleek and contemporary touch. This look is ideal for minimalist brides who want something unconventional yet classy.
To make nail design:
- File your nails into your preferred shape.
- Apply a ridge-filling base coat to smooth the surface.
- Paint your nails with two coats of white polish and let them dry fully.
- Use a matte top coat to achieve the velvety finish.
8. Silver Chrome Nails
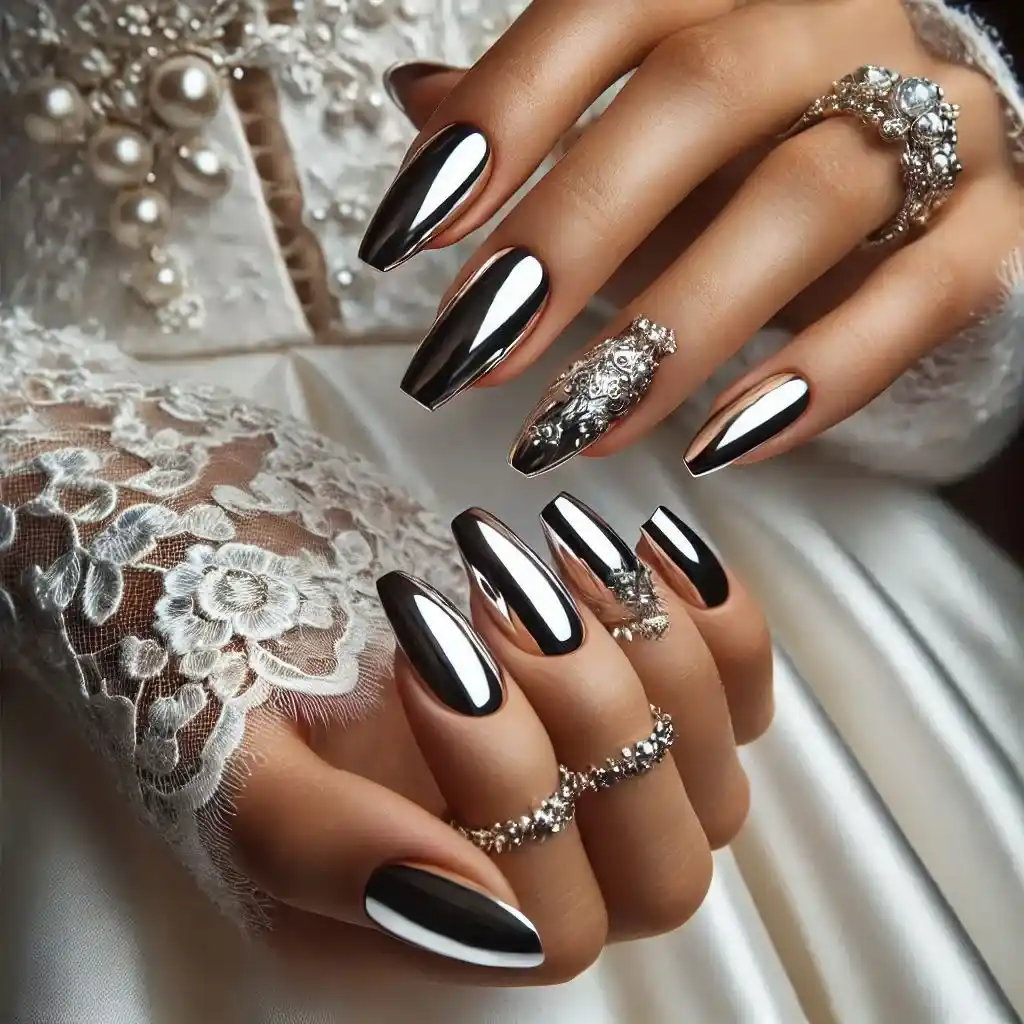
Bring a futuristic edge to your wedding day with silver chrome nails. The metallic shine looks stunning in photos and pairs well with cool-toned accessories.
To make nail design:
- Buff your nails to ensure they’re smooth and even.
- Apply a silver chrome base coat or use a metallic silver polish.
- For a mirrored effect, rub chrome powder onto the nails using a soft applicator.
- Brush off excess powder and seal the design with a glossy top coat.
9. Sheer Pink with Gold Foil
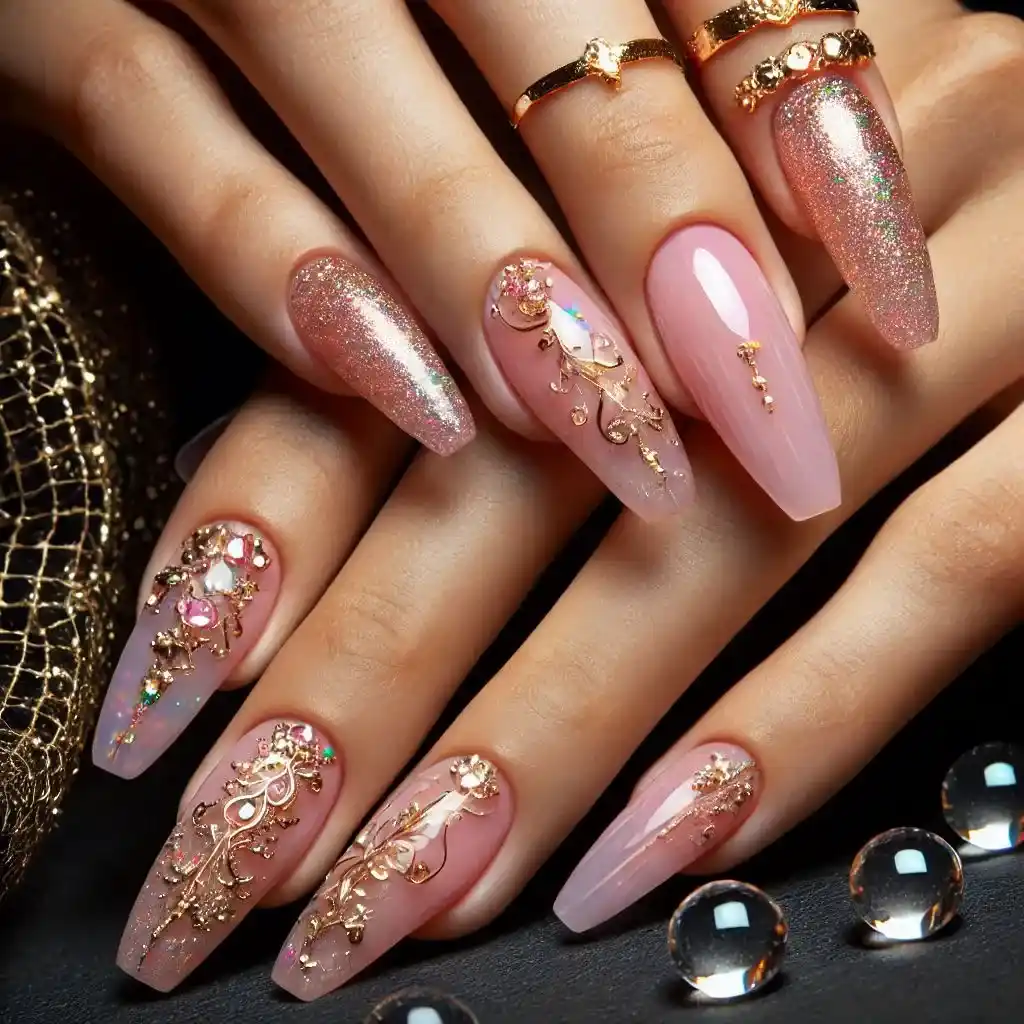
A soft pink base combined with delicate gold foil accents adds a romantic and luxurious touch to your nails. This look is versatile and works for both traditional and modern weddings.
To make nail design:
- Start by cleaning and trimming your nails.
- Apply a sheer pink polish as the base.
- While the polish is still slightly wet, place small pieces of gold foil onto the nails using tweezers.
- Gently press the foil down to flatten it.
- Once dry, seal the design with a glossy top coat.
10. Lace-Inspired Nail Art
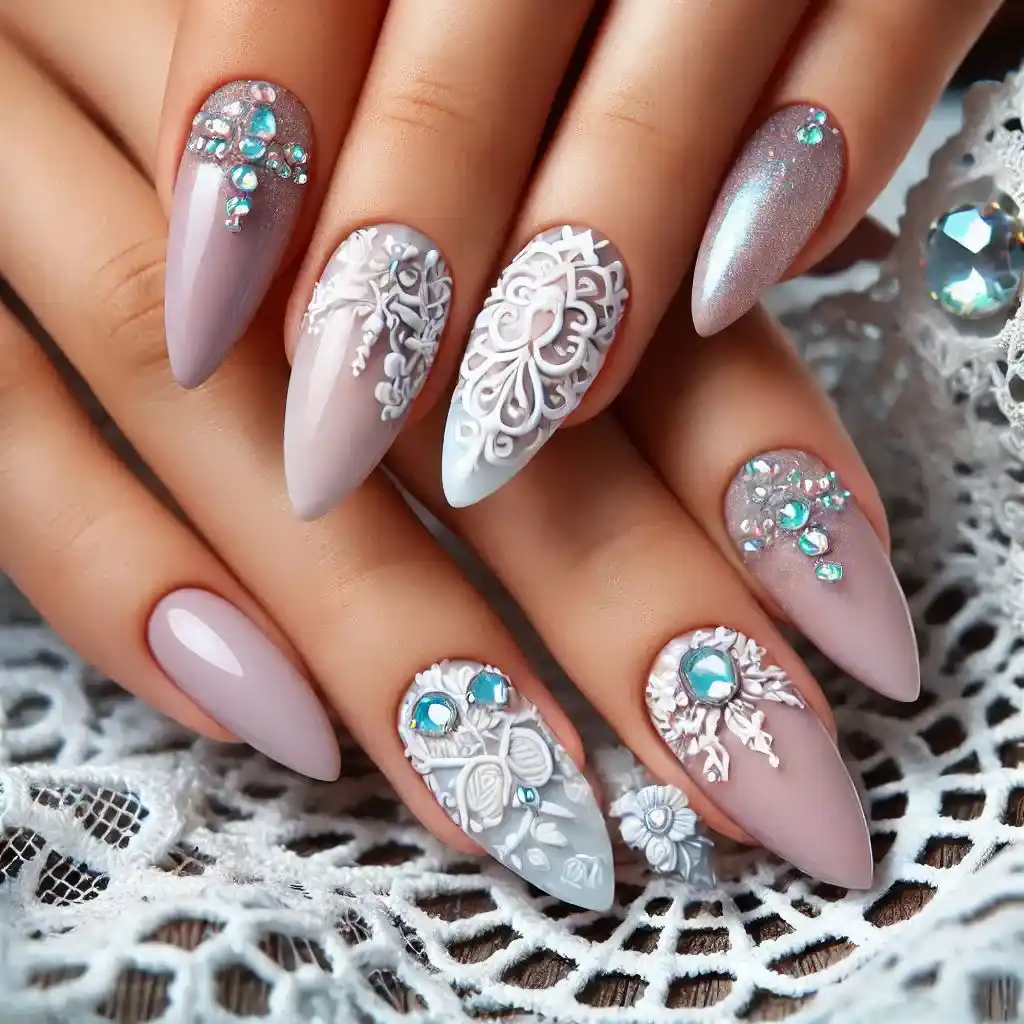
Mimic the intricate details of your wedding dress with lace-inspired nail art. Choose subtle white patterns over a nude or blush base for an elegant, cohesive appearance.
To make nail design:
- File your nails into an almond or oval shape.
- Paint your nails with a neutral base color, like soft beige.
- Use a fine nail art brush to create lace-like patterns with white polish.
- Focus on adding intricate details like swirls and dots.
- Let the design dry fully.
- Protect the artwork with a top coat.
11. Soft Milky Nails
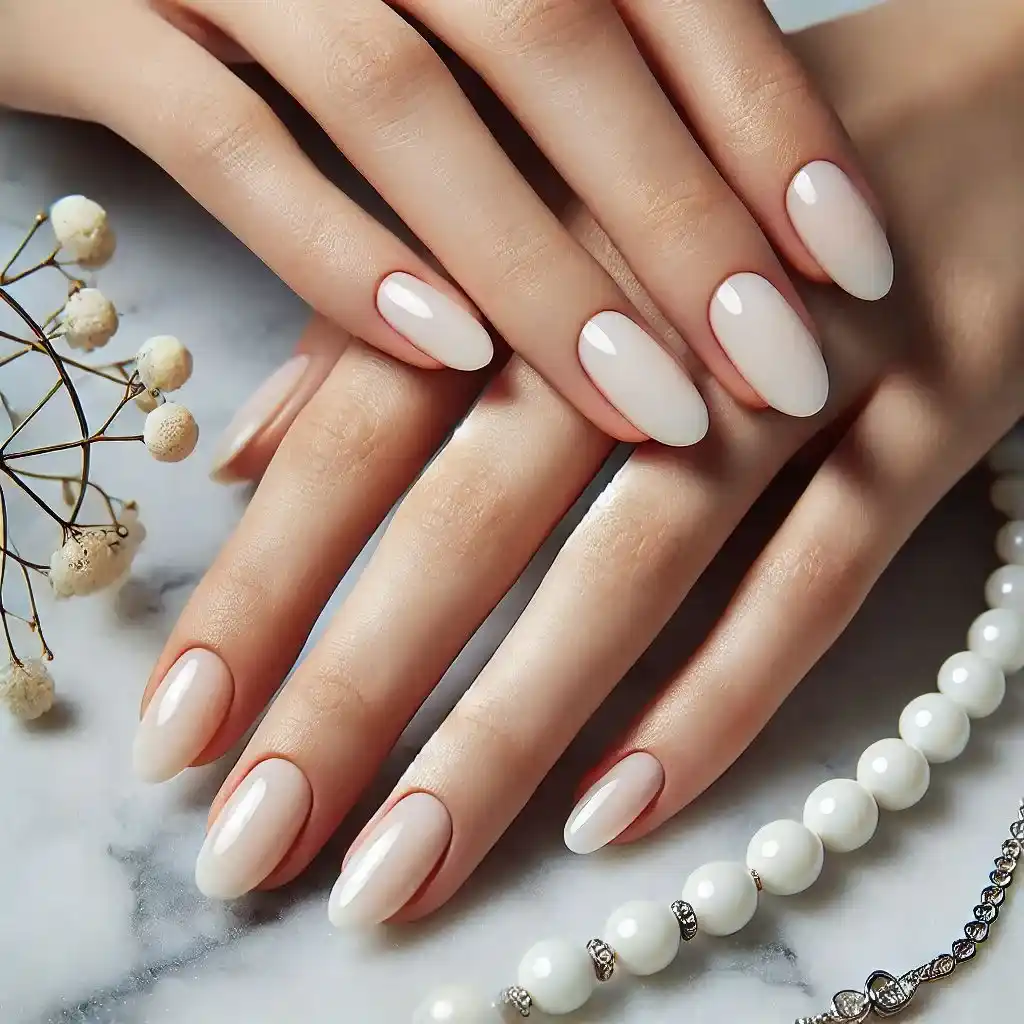
Milky white nails are a growing trend in 2025 for their understated elegance. The semi-opaque finish gives a natural and polished look that’s perfect for any bride.
To make nail design:
- Buff and shape your nails to your liking.
- Apply a semi-opaque milky white polish.
- Let the first coat dry, then apply a second coat for depth.
- Finish with a clear, shiny top coat to enhance the look.
12. Crystal-Clear Nails
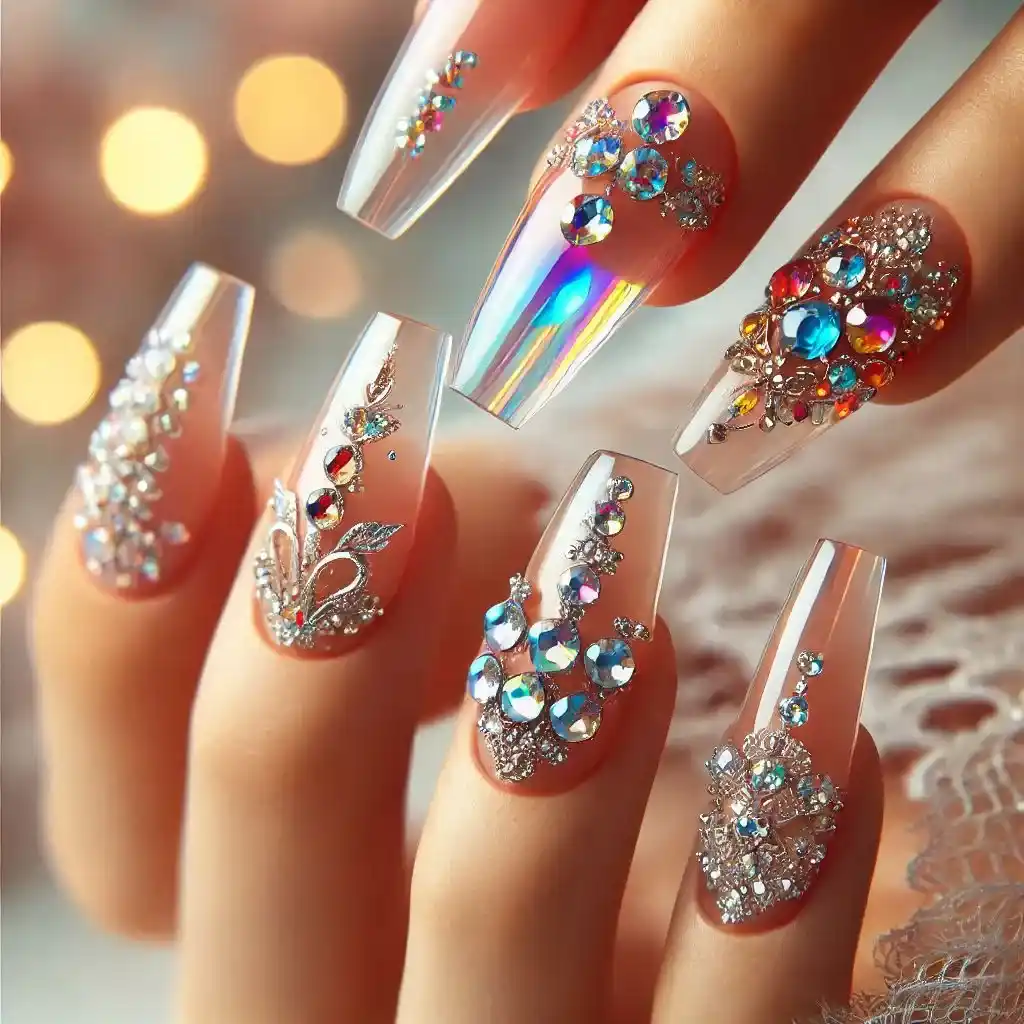
Transparent nails with subtle embellishments like rhinestones or glitter create a unique and ethereal effect. This look is great for brides seeking a bold yet elegant design.
To make nail design:
- Prep your nails by cleaning and buffing them.
- Use a transparent base coat to give a smooth finish.
- Attach small crystals or rhinestones with nail glue.
- Arrange the crystals in a simple pattern or scatter them for a whimsical look.
- Seal the design with a clear gel top coat.
13. Delicate Gold Stripes
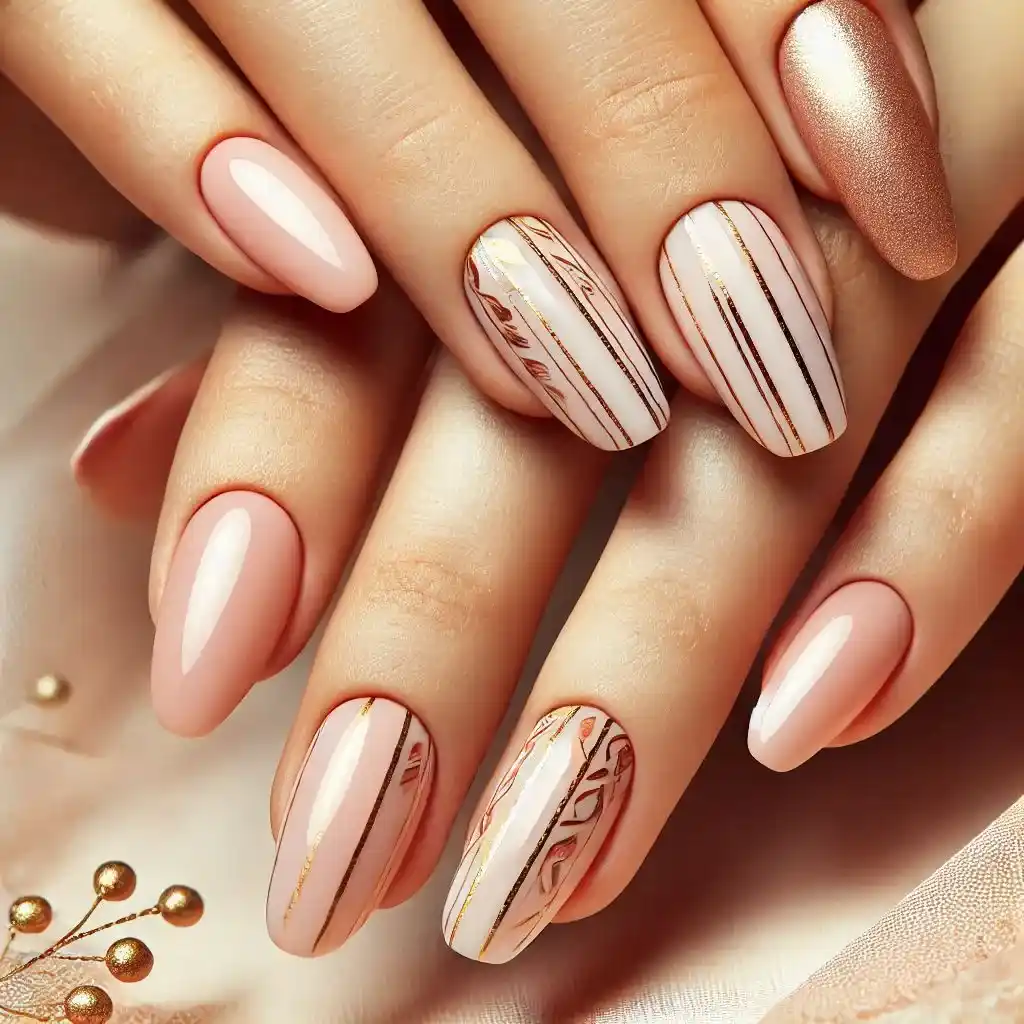
Thin gold stripes over a nude or pink base add a minimalist yet glamorous touch to your nails. This style is perfect for brides who prefer clean and geometric designs.
To make nail design:
- Shape your nails and push back cuticles.
- Paint your nails with a nude or light pink base color.
- Use gold striping tape or a nail art brush to create thin, straight lines across the nails.
- Trim any excess tape with scissors if needed.
- Seal the design with a clear top coat.
14. Monochrome Pastels
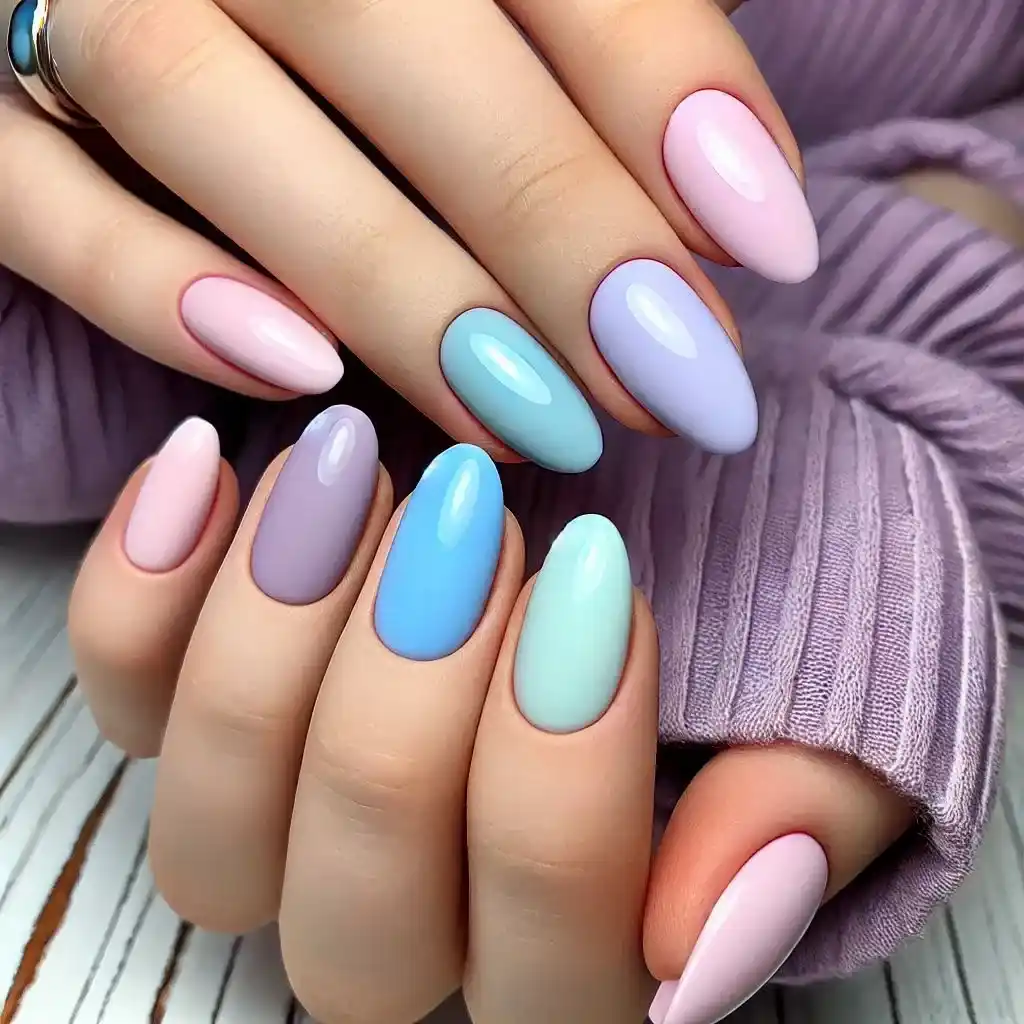
Choose soft pastel shades like lavender, baby blue, or mint green for a fresh and modern look. Keep the finish glossy for added elegance.
To make nail design:
- Choose a pastel shade for each nail, like lavender, mint, or baby blue.
- Paint each nail with two thin coats of polish, allowing them to dry between coats.
- Apply a glossy top coat to bring out the color.
15. Vintage-Inspired Nails
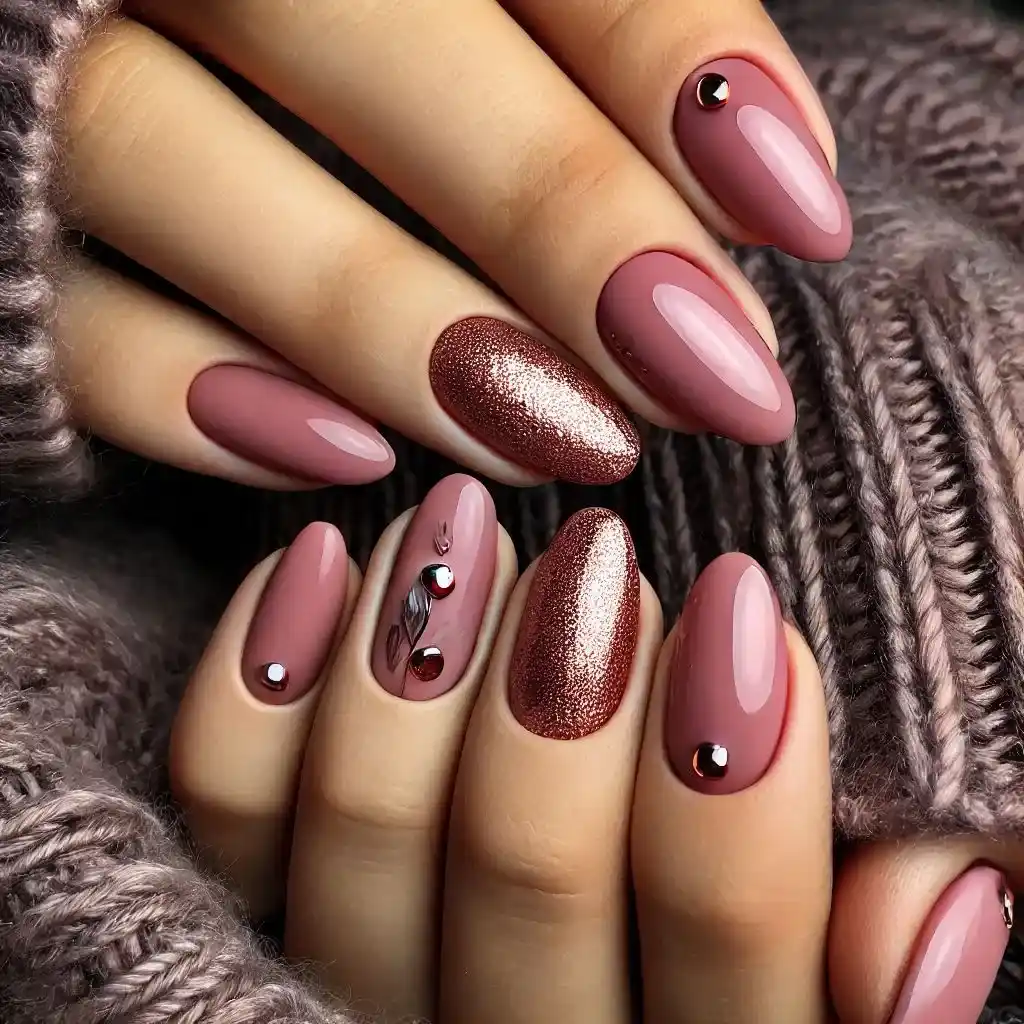
Channel a vintage vibe with muted tones like dusty rose or ivory paired with tiny rhinestones or metallic accents. This style complements a retro-themed wedding beautifully.
To make nail design:
- Shape your nails into a soft square or oval.
- Paint them with a muted tone, such as dusty rose or ivory.
- Add small metallic accents like dots or lines using a nail art brush.
- Finish with a clear top coat for a polished look.
16. Watercolor Nails
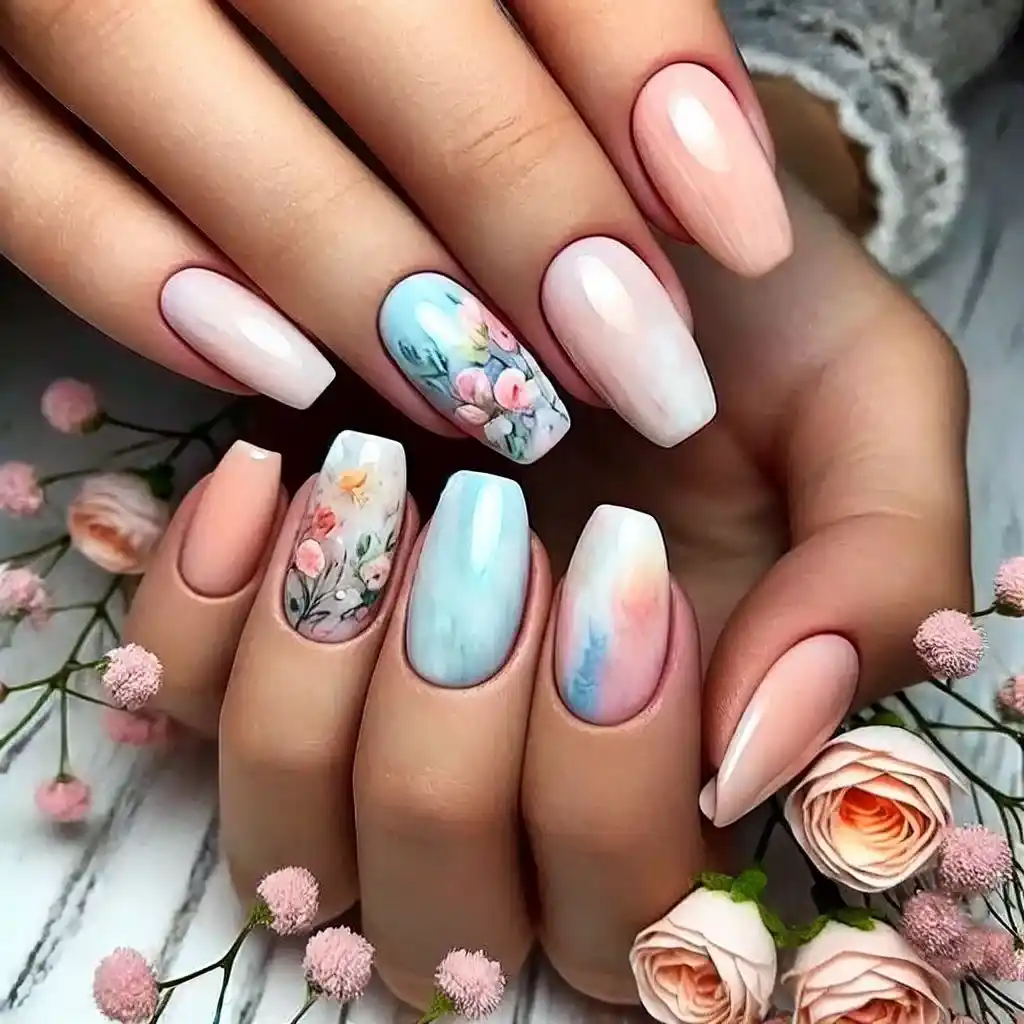
Create a whimsical effect with soft watercolor patterns in muted tones. This unique design adds a touch of artistry to your bridal look.
To make nail design:
- Start with a white or light-colored base.
- Dab small drops of pastel polish onto the nail.
- Use a small brush dipped in acetone to gently blend the colors together for a watercolor effect.
- Let the design dry completely.
- Protect with a clear top coat.
17. Short Almond Nails
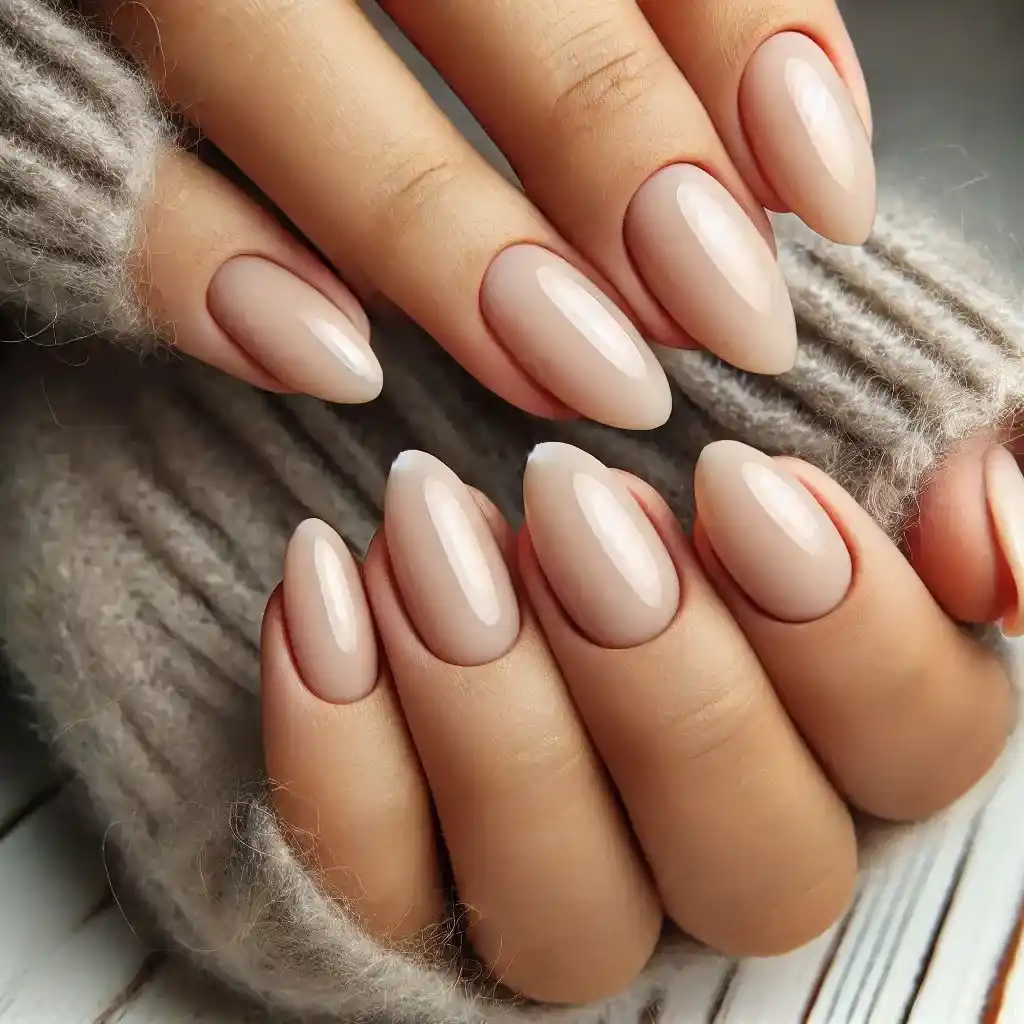
Short almond-shaped nails are practical and stylish. Choose a neutral or sheer shade to emphasize their natural beauty, keeping the look simple and chic.
To make nail design:
- File your nails into a short almond shape.
- Apply a strengthening base coat to prevent breakage.
- Choose a neutral or sheer polish and apply two coats.
- Finish with a shiny top coat for a neat and tidy look.
18. Subtle Marble Nails
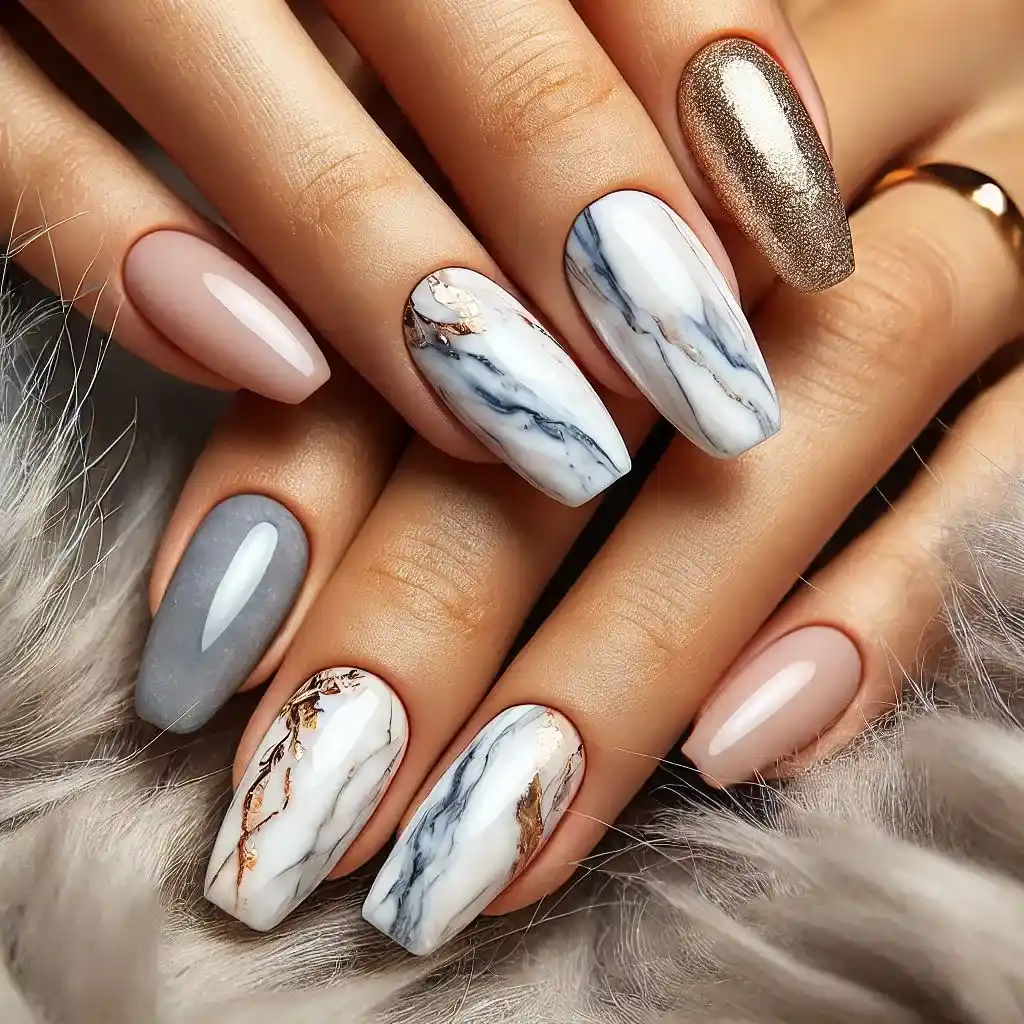
Marble patterns in white and gray tones create a sophisticated and contemporary look. This design works best on a few accent nails to keep it understated.
To make nail design:
- Apply a white or light gray base color.
- Use a thin brush to draw light gray veins on the nails.
- Blend the veins slightly with a fine brush or sponge.
- Let the design dry and add a top coat to seal it.
19. Rhinestone Accents
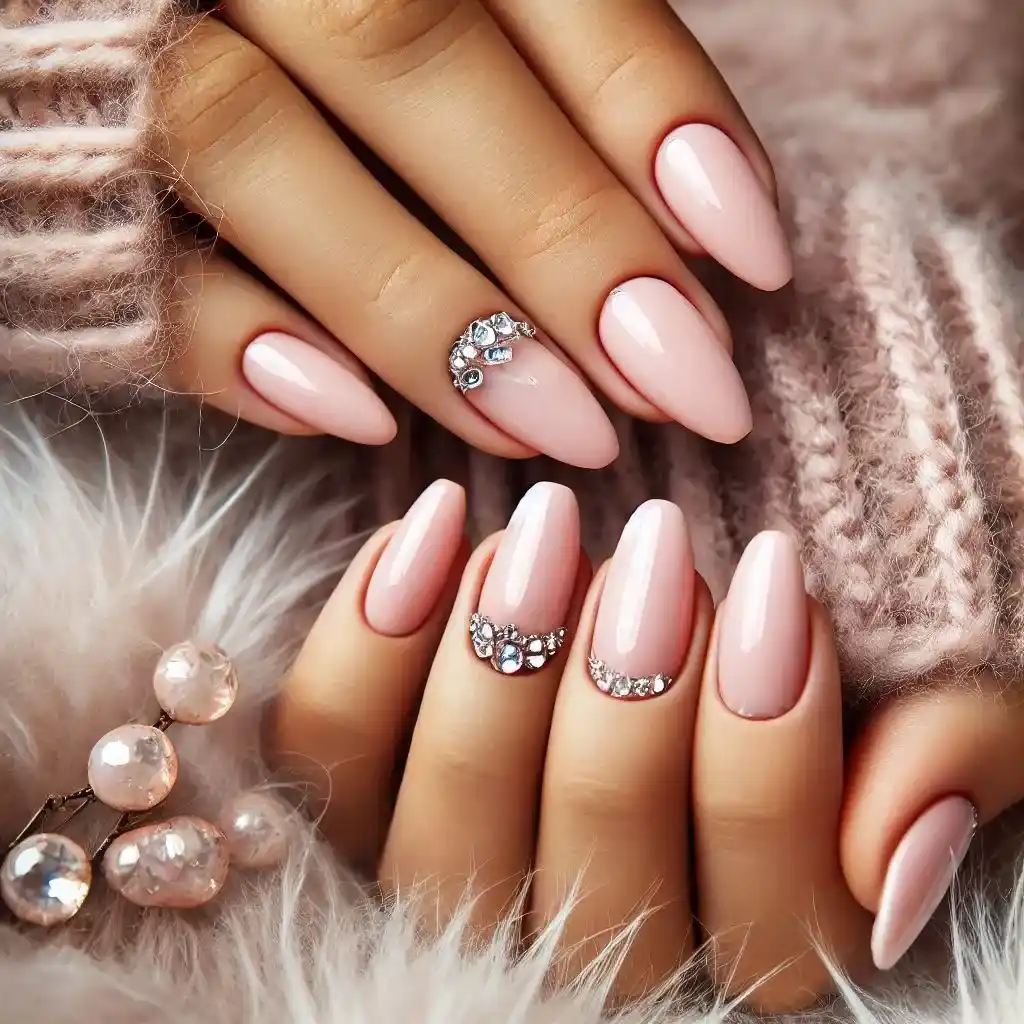
Add tiny rhinestones near the cuticle for a subtle sparkle. This look is perfect for brides who want a touch of glamour without overpowering their overall style.
To make nail design:
- Paint your nails with a soft base color, like blush pink.
- Use nail glue to attach tiny rhinestones near the cuticle or tips.
- Allow the glue to set.
- Apply a clear top coat to keep the rhinestones in place.
20. Clean Line Art
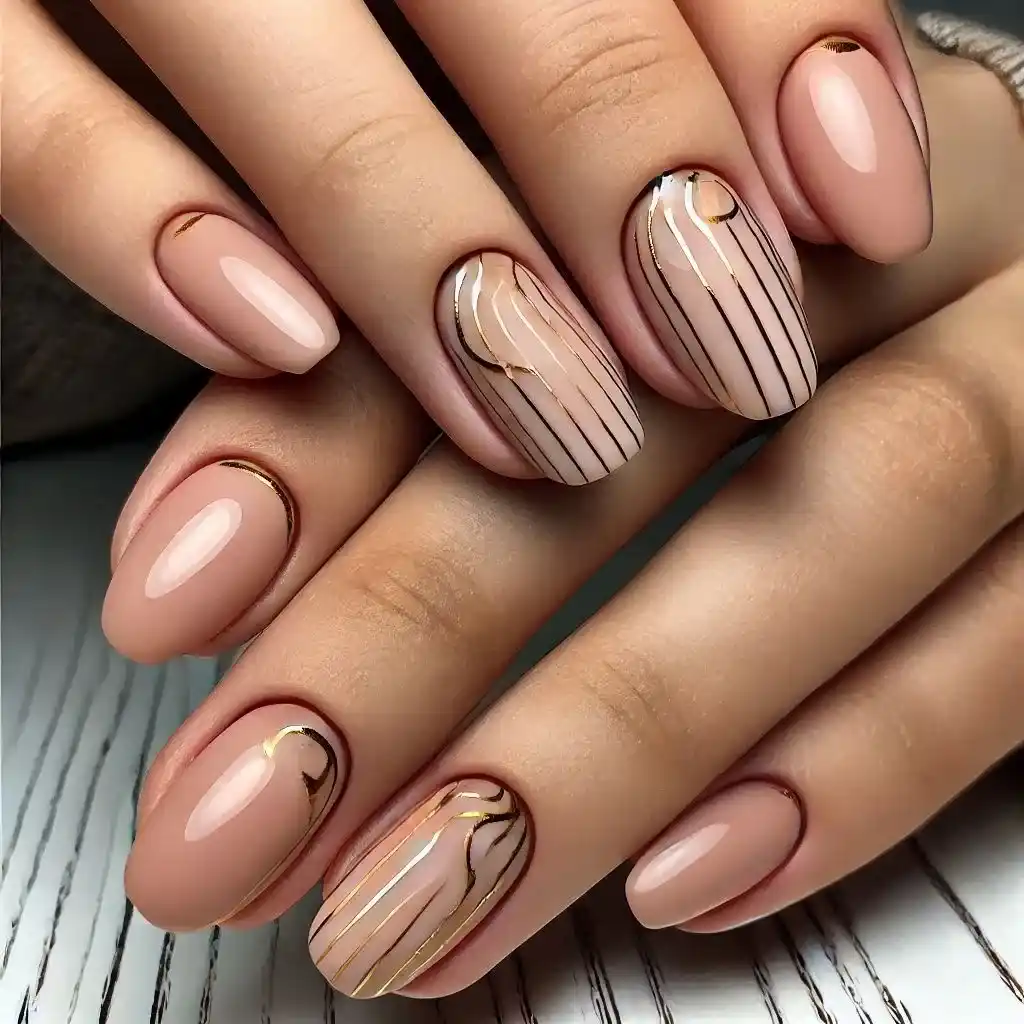
Delicate line art in gold or silver on a nude base creates a modern and artistic look. Choose abstract designs or something meaningful, like initials or wedding dates.
To make nail design:
- Paint your nails with a nude or neutral base color.
- Use a fine nail art brush to create simple line patterns in gold or silver.
- Allow the design to dry completely.
- Finish with a clear top coat for shine and protection.
Final Words
Choosing the perfect nail design for your wedding day is an important part of completing your bridal look. From timeless classics to trendy modern designs, these ideas offer something for every style and personality. By following these step-by-step guides, you can create nails that are not only beautiful but also uniquely yours, ensuring you feel confident and radiant on your big day. Whether you go for elegant minimalism or add a touch of sparkle, your nails will be the perfect finishing touch to your wedding ensemble. Let your hands tell their own story as you walk down the aisle with confidence and grace.
